19/06/2020
| in category:Patchwork baby blanket
Patchwork is my huge passion. It was this technique that made me reach for a sewing machine and learn how to sew. Joining tens, hundreds or even thousands of pieces is a great way to de-stress. The effects of work are usually not very fast, but each time extremely satisfying. I think patchwork is a technique that everyone should try at least once in their sewing adventure.
My heart was first stolen by simple patchwork baby blankets and I want to present such a quilt today.
Follow my instructions and you will soon enjoy a beautiful product that will be a lovely gift for your baby or a newborn baby in yor family.
Let's begin
Prepare all the materials: printed fabric panel, batting (you will find these in the kit), scissors, safety pins (pins will do the job as well), threads.
A piece of adhesive tape will also be useful (the best will be the one used for painting, but others should also do their job too).
No special feet are required for this design. However, if you have a possibility, use a walking foot.
Iron the panel, cut it into pieces. There are 63 squares of 12.5 cm (for the blanket), 8 squares of 19 cm (for the pillow). There are also: one large element for the back of the blanket measuring 82 cm x 110 cm and 4 strips measuring 6.25 cm x 110 cm. These will create one long strip for binding after being sewed together.
Check if 0.5 cm from the needle is marked on the needle plate of your sewing machine. Apply some tape (painting tape or washi) in this place. It will be helpful in accurate fabric handling. Accuracy in this design is very important.
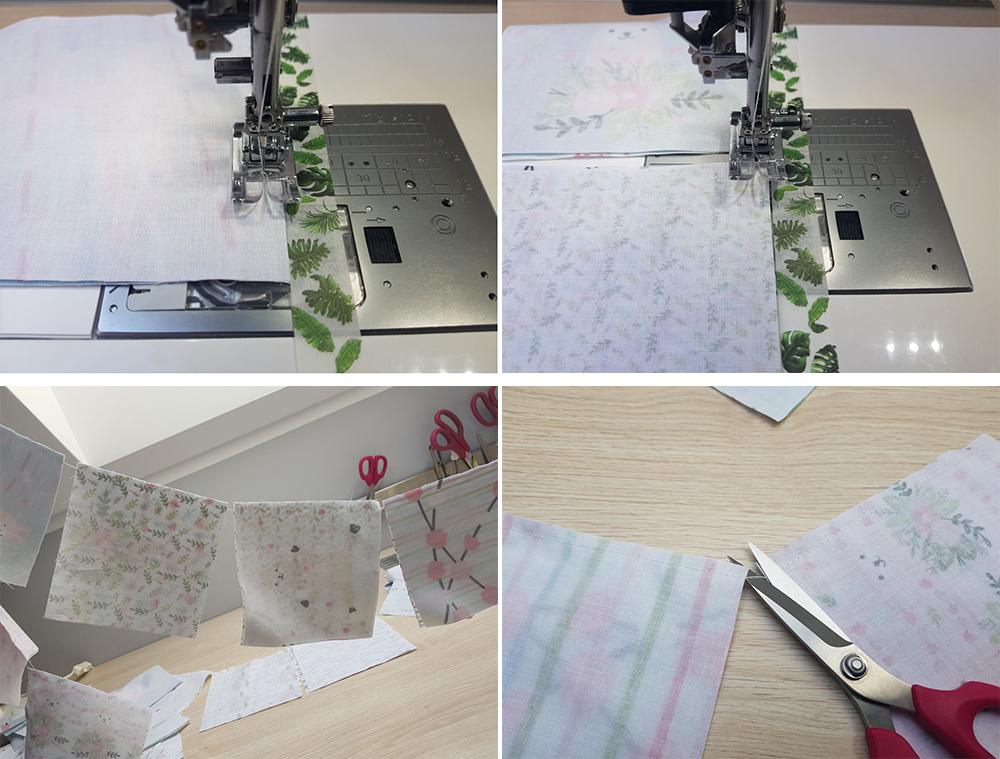
Arrange the squares of the blanket or just sew them without any fixed order. Sew two squares, stacking them evenly with the edges, right sides together. You can try chain sewing, which means piecing without breaking the thread. After joining two pieces prepare the next pair of squares to sew. This is my favorite sewing technique. Thanks to it, the sewn elements look professional, without tangled threads on the left side of the blanket top. What's more, the sewing process is much faster.
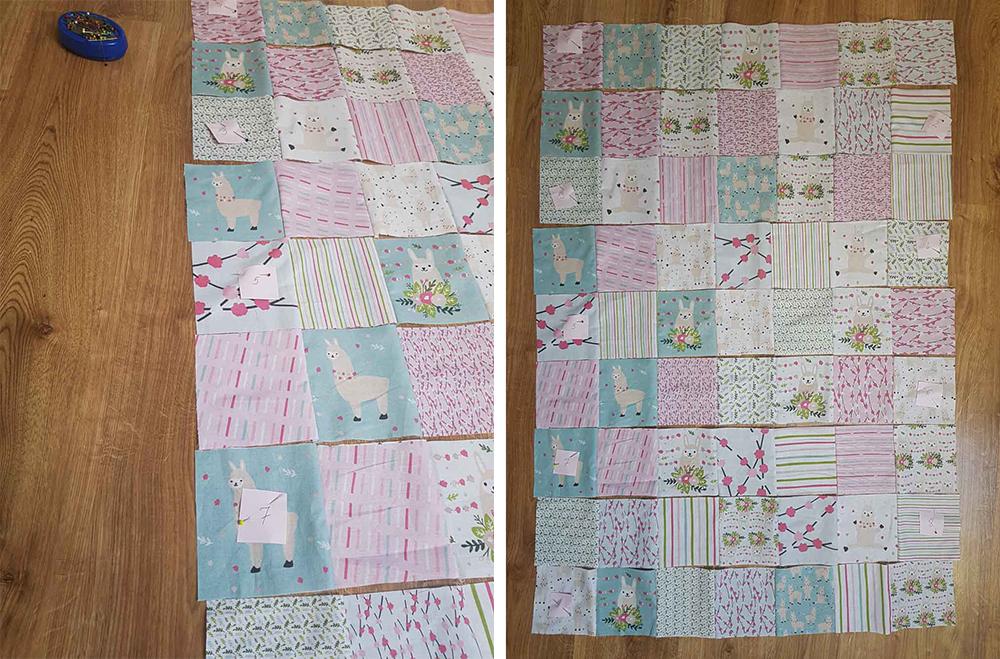
The whole process of sewing one of the 9 stripes one by one can be found in picture below.

Lay the stripes on the floor.
Prepare cards with numbers 1 - 9. Using pins, fasten them alternately at opposite ends of the strips. This marking will be helpful during good seam pressing.
Press the seams on the wrong side of the top in one direction, starting from the side with the card attached.
Thanks to this technique, the seams will meet (nest) nicely during joining the strips and the seam allowances will not create any bulk. Put the strips right sides together inserting a pin every place the squares meet.
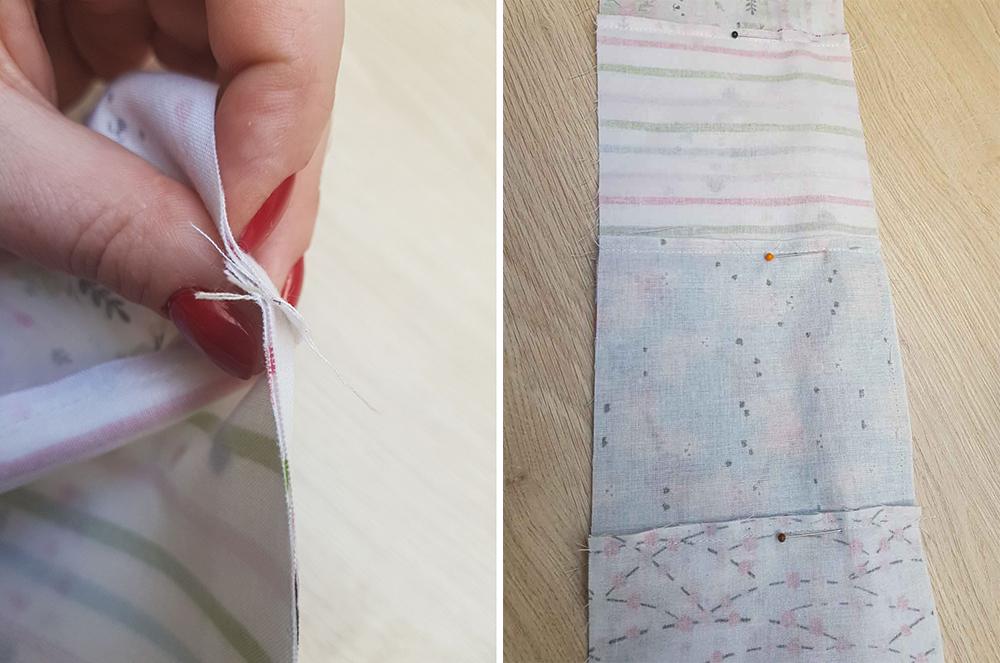
The wrong side of the top will look really neat after sewing and ironing.
The next step is the so-called "sandwiching" or putting several layers of the blanket on each other with certain rules.
Place the bottom of the blanket (the biggest piece cut from the printed panel) right side to the floor. Attatch the corners to the floor with some tape gently stretching the fabric.
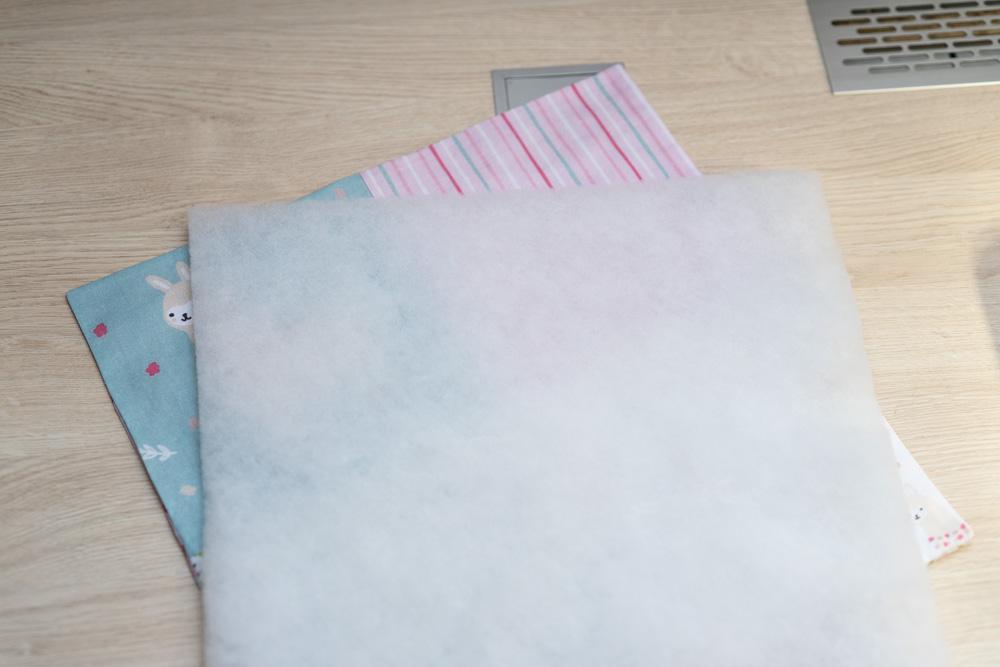
Lay a piece of batting (85 cm x 115 cm) cut from the batting attatched in a kit on the back of the blanket. Note that it is smaller than the lower layer. Spread the top of the blanket on the batting. It will also be a few centimeters smaller than the previous layer.
Pin all the layers of the the sandwich with safety pins or pins. Personally, I prefer safety pins, pins can easily poke hands. I usually put a pin in every second square.
Prepare the binding. Sew the four strips of fabric together to form a long strip.
Lay the ends of two straps with right sides together at a right angle, draw a line from one corner to the other and sew along it. This technique of sewing stripes avoids the accumulation of fabric within a seam.
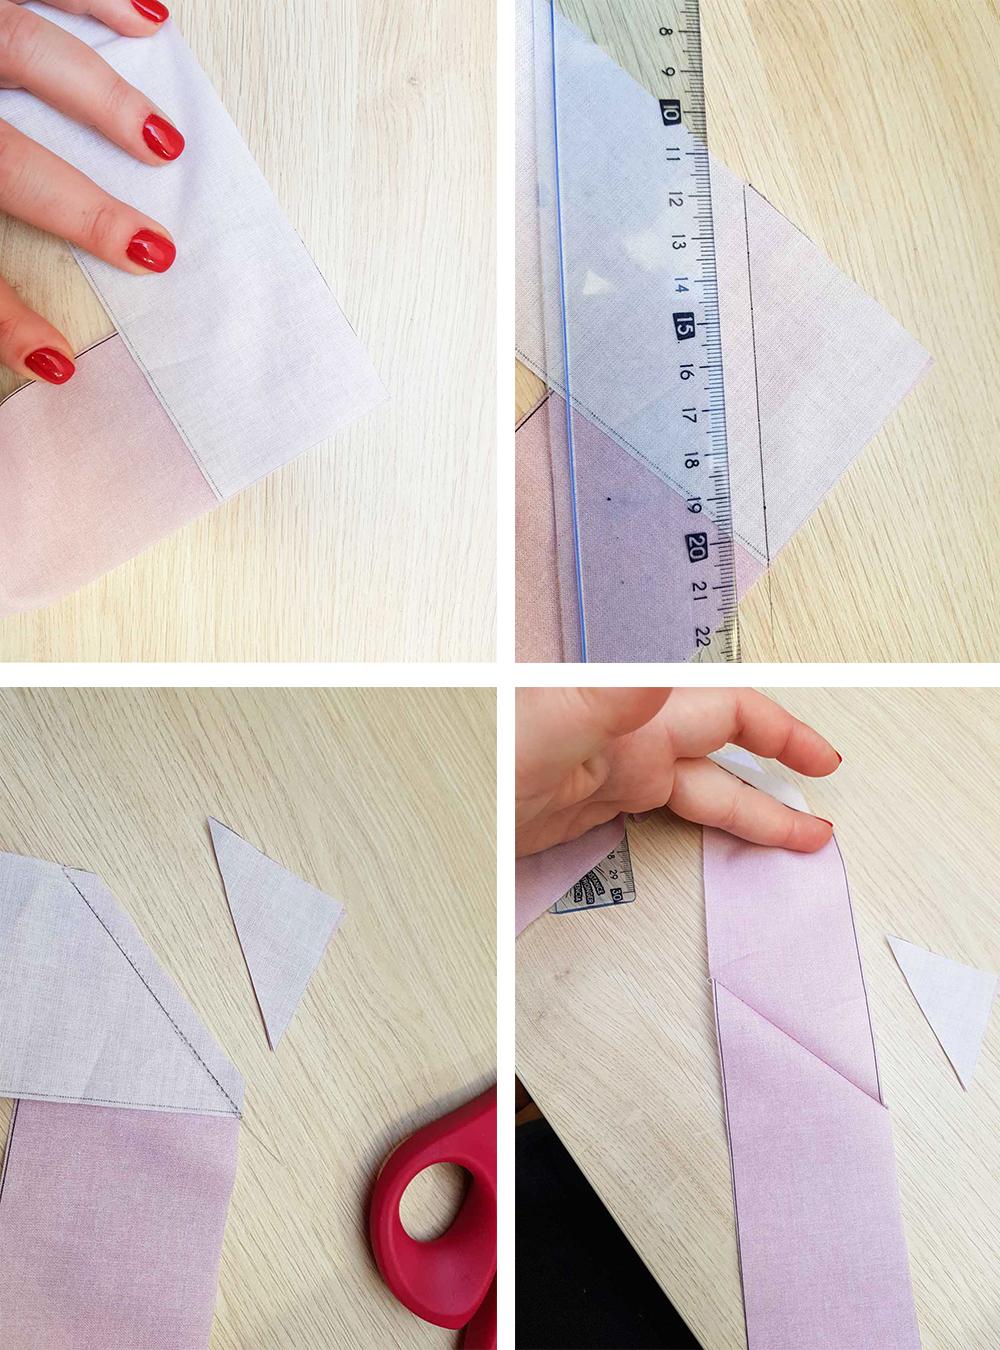
Iron the seams and press the long strip wrong sides together. Set aside.
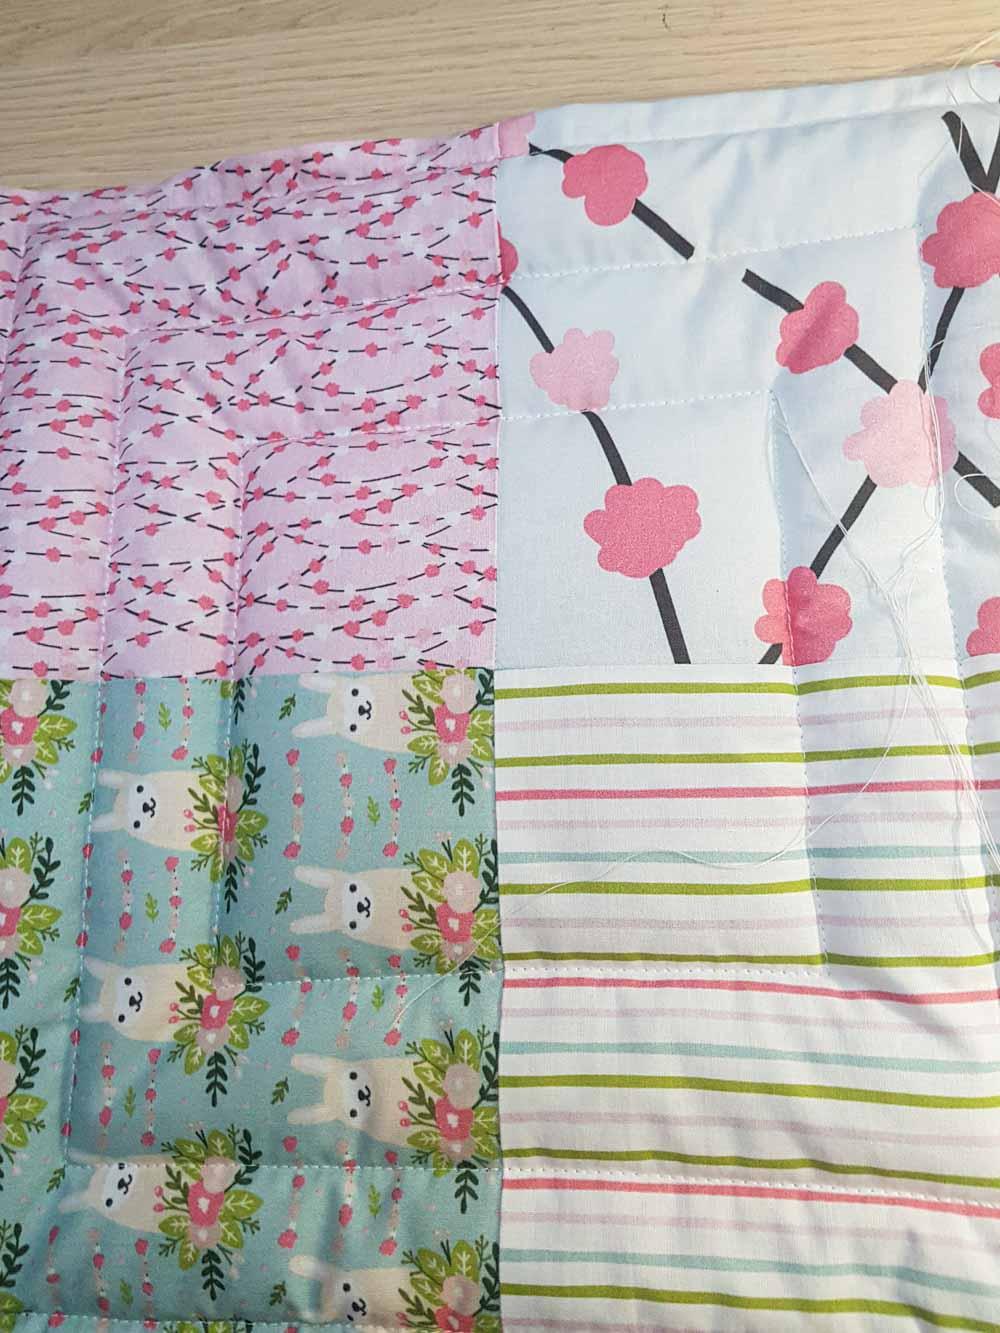
Quilt the sandwich (sew through all the layers. In this case, the most reasonable seems to be leading the seam in the lines marked by the sewn squares. However, you can also quilt diagonally or at a distance of 1 cm from the seams. In this case, a walking foot will be a good choice, as it will evenly feed the top and bottom layer of the fabric (this can be more important for batting of a weight of 200 g / m and above). With this blanket, you can easily manage using the universal foot.
Trim the quilted sandwich. Cut off the excess of the batting and back of the blanket.
Place the pressed binding evenly to the raw edges of the blanket on the back. Leave an unstitched piece of about 20 cm long. Start sewing just behind the half of the long side of the blanket, keeping a distance of about 0,7 cm from the edge. Again, the tape stuck at the right distance from the needle will help you guide it evenly.
Approaching the corner of the blanket, bend the binding diagonally and draw a line on the fold. Continue sewing by stopping on the line, raise the presser foot, gently change the sewing direction and finish sewing on the line out.
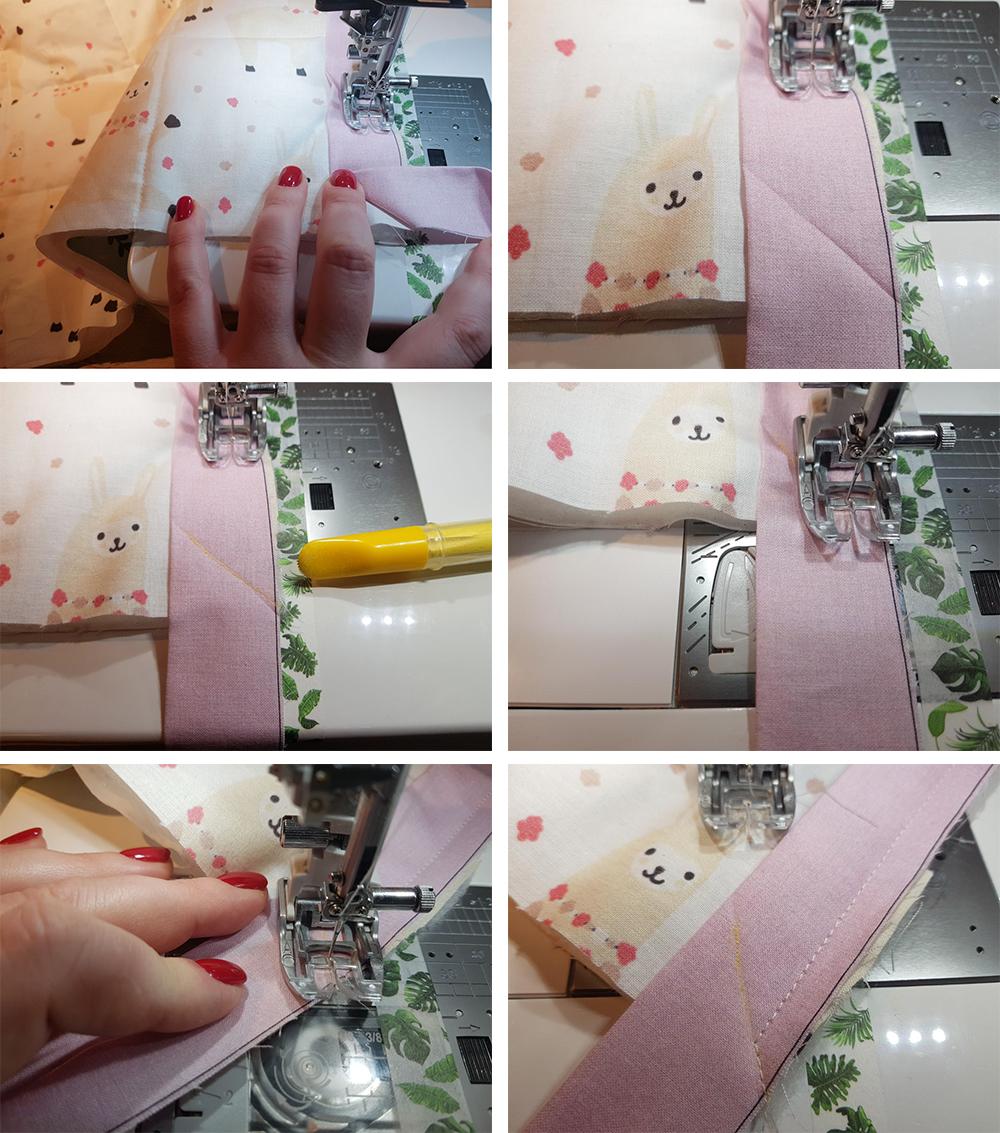
In the next stage, bend the trimming the other way, also diagonally, and draw a line.
Start sewing by placing the needle exactly on the line. In this way, sew the binding to all the corners.
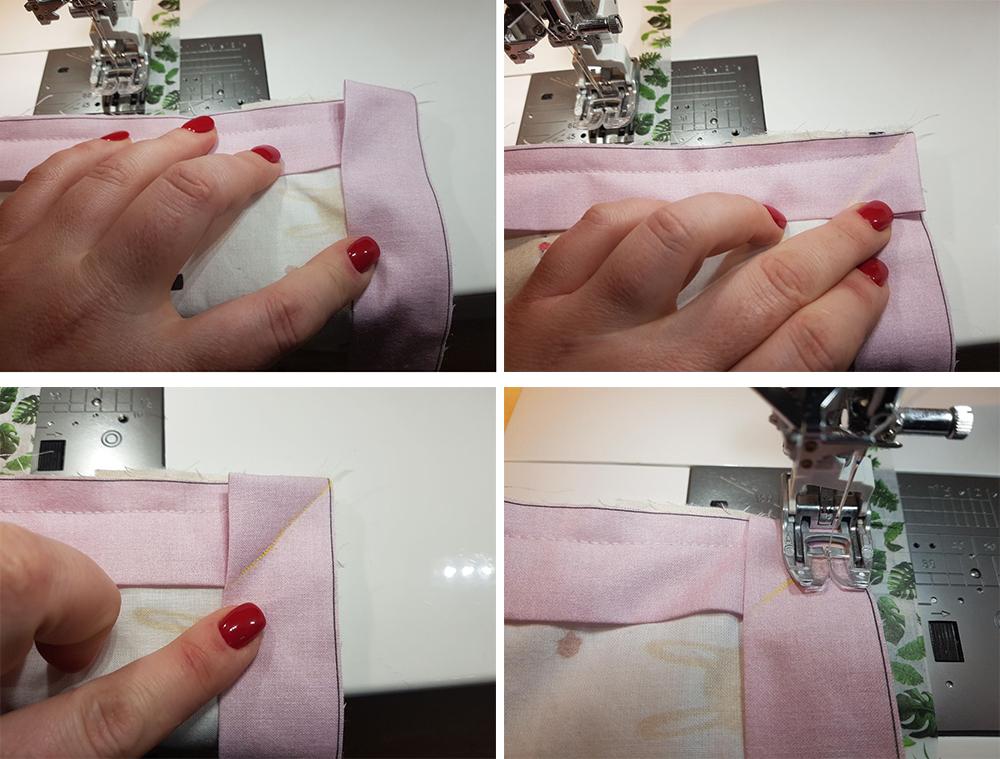
Approaching the meeting of the two ends of the binding, mark the point of sewing both of them. Unfold the pressed hem and sew along the lines (I cut these points and sew from point to point).
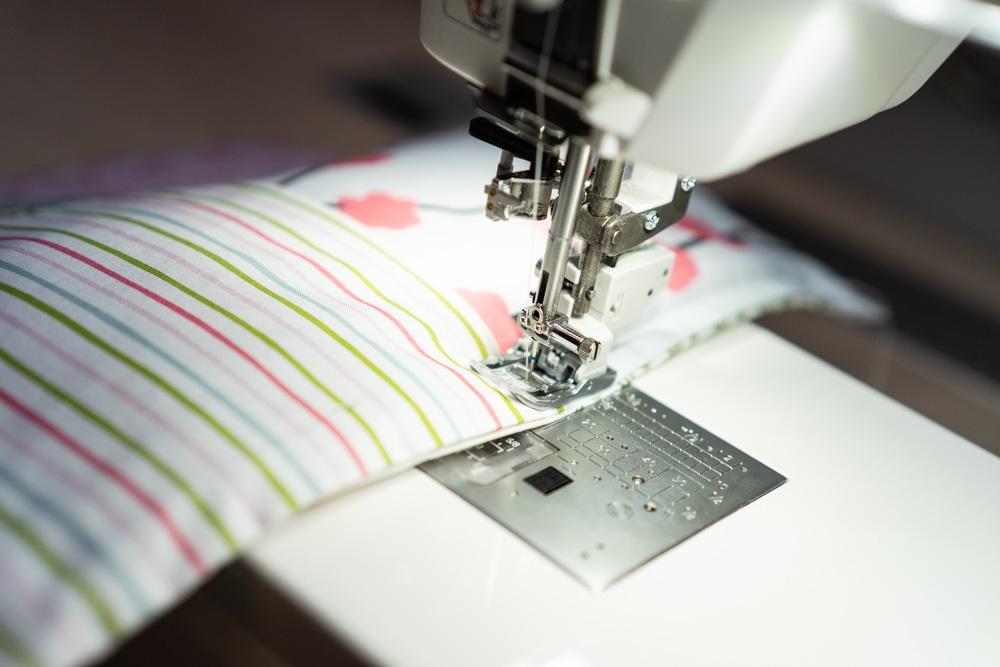
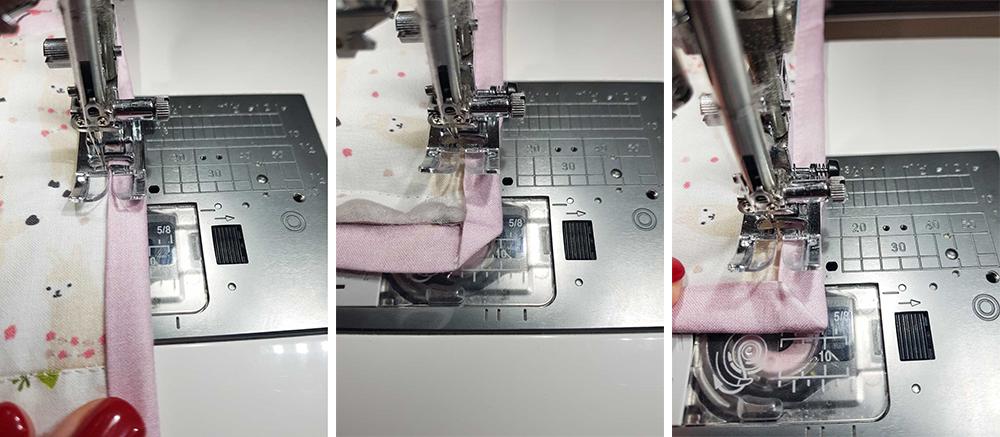
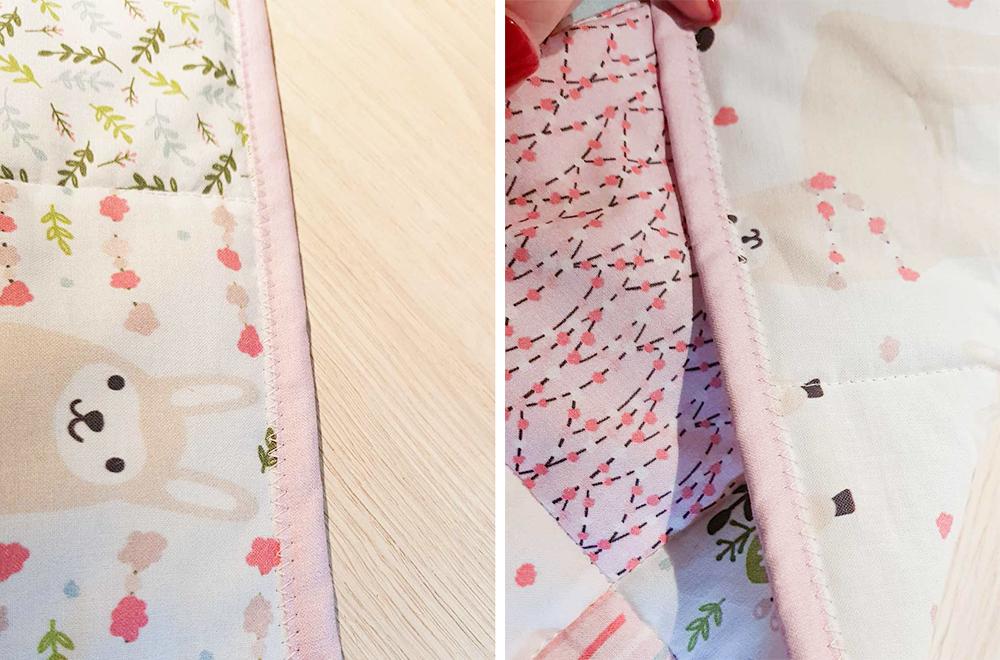
Unfold thr binding to the other side of the blanket so that it covers the raw edges and sew on the right side. A wide zigzag stitch forgives a lot of errors and does not require great precision. Simply guide the edge of the binding (with the trim nicely stretched) in the center of the presser foot. Arrange the strip carefully in the corners and continue sewing after changing the sewing direction to perpendicular.
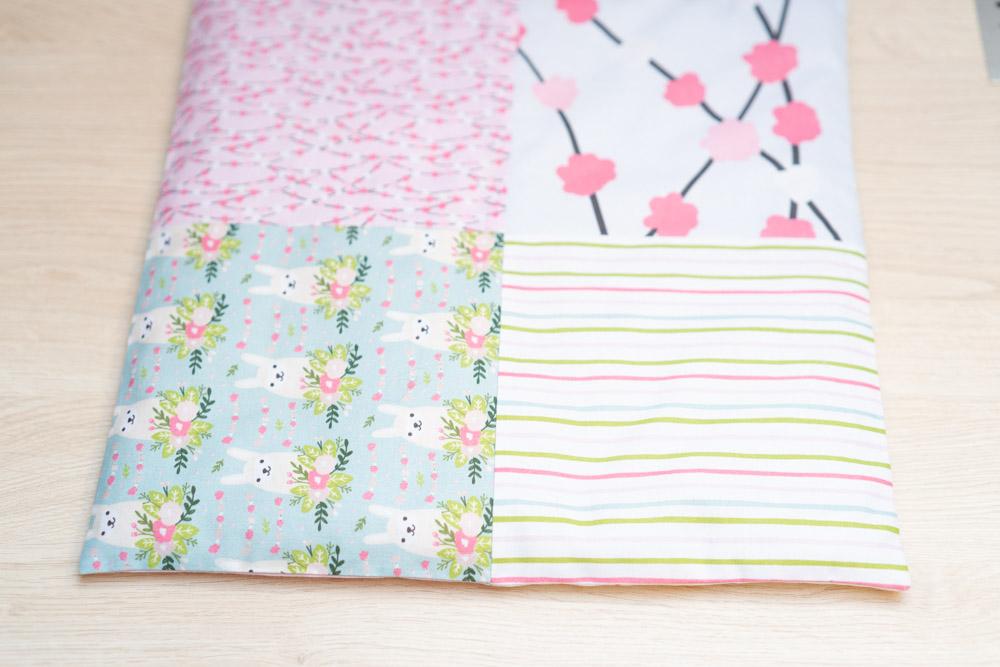
Time for the pillow. Make a larger square out of four smaller (19 cm ) ones, remembering to press the seams. Repeat using the other four squares.
Place the two new squares with right sides together and sew about 0.5 cm from the edge. Leave an unsenwn section of about 20 cm. You will insert the batting through this hole. Cut the corners (be careful not to cut the seam).
Flip the pillowcase to the right , iron it. Cut the filling from the rest of the batting (there should be enough for two layers), insert into the pillowcase.
Sew the hole with a ladder stitch. The cushion is ready, you can quilt it if you like.
This time I'm showing different way of quilting, not in seams. Of course it is entirely up to you how you will quilt the pillowcase. You can also leave it unquilted.
Finally, hide loose threads, tying them and pulling inside (I use self-threading needles for that).

Anna Rozwadowska
Kreatywnie Zakręcona


Post Comments (0)
To add a comment, you must be a registered customer.
click here to log in


