13/09/2022
| in category:Dresses Bianca and Abella
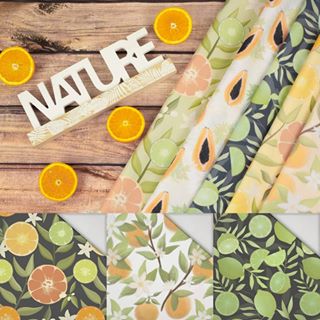
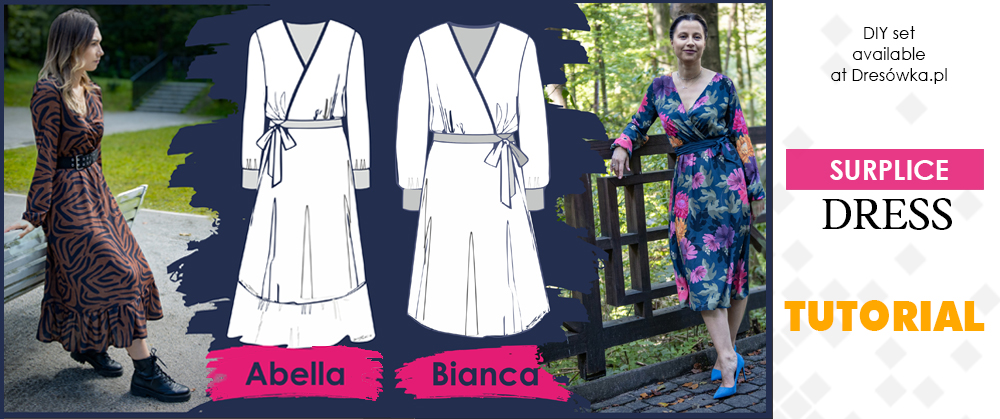
If you are looking for a dress for any occasion then you have come to the right place! The patterns for the Bianca and Abella dresses are printed on both airy and flowing crepe. The material is simply magical and looks great on every body type. The envelope neckline beautifully accentuates the neck and breasts, and gives you the opportunity to tailor it to your individual preferences. The super trendy midi length will ensure comfort for everyday wear and elegance for important events. Dresses combined with heavy boots and leather accessories gain a spicy vibe. And when they are complemented with high heels and delicate accessories, they are simply perfect for elegant celebrations. In short: Bianca and Abella are dresses that will work at the office, on a date and at a wedding. So it's time for them to join your wardrobe.
REMEMBER: The fabric should not be decatised before sewing/cutting the pieces. The die-cut includes seam allowance (0.7cm).
To sew the dress I used:
- a multifunctional machine,
- Janome MyLock 744D serger,
- thin universal needles
- scissors, circular cutter (makes cutting much faster, also on curves), pins, clothespins and tailor's soap
Prepare also:
- a buttonhole machine foot, buttons and a 5mm elastic band
Preparation

1. Cut out all the elements from the ready-made panel for the crepe envelope dress.
- 2x front
- 1x back
- 2x sleeves
- 2x the bottom of the dress (skirt)
- 2x cuff
- 2xbelt

Blouse
2. Pin the shoulder edges of the blouse together and sew.


3. Overlapping envelope front and neckline are now one line. Hem this line on a serger and tuck in about 1 cm. In order to make sure that the neckline will not stand out and lay nicely you can tape it with an interlining tape.

4. Iron the lined edge.
5. Place the blouse fronts one on top of the other according to the printed markings. Pin the fronts together, this will be your envelope neckline in the dress.


6. Fold the sleeves in half and make a cut in the place of half of their sphere (top of the sleeve). Pin this spot to the shoulder seam of the blouse. Then, evenly distribute the excess material, pin the rest of the sleeve and sew it.


Cuffs
7. At the bottom of the sewn-in sleeves, following the seam line, mark a distance of 10 cm from the bottom. This will be our cuff opening.

8. Hem the 10cm of the bottom of the sleeve you just marked on the serger. Do it only on one side of it. Then pin up the sleeve and the side of the blouse and sew them on the serger starting from the bottom of the blouse and ending on the still unhemmed side of the sleeve. With this, you now have the sleeve and side of the blouse sewn together and also the cuff opening hemmed.


9. Tuck up about 1 cm and sew the formed opening.

10. The bottom of the sleeve with already sewn opening should be wrinkled, do it on the machine or with the help of a dense baste. Wrinkled bottom should measure about 20 cm (we also recommend you to adjust it to your own wrist).

11. Fold the cuffs in half (right sides facing each other) and sew their shorter sides together.
12. On the sewn cuffs, mark a distance of about 4 cm from one edge. Leave this 4 cm loose, pin the rest (but only one side of the cuff, the other must be left free) to the wrinkled bottom of the sleeve (right side to right side).

13. Turn the cuff over, fold inward the resulting allowance, put the other side of the cuff on it. Wrap the edge to the center and sew along the top 1 mm including the loose 4cm fastening.


Belt
14. A dress belt consists of two identical pieces. Fold them right sides together and sew to form one long belt. Fold the resulting belt along its length and sew once more, leaving an opening for the turn-out. Turn the belt over to the right side and quilt it while simultaneously sewing the hole.


Skirt
15. The bottom of the dress consists of two pieces. Lay them right sides together and sew the sides. Hem the bottom on a serger and tuck in about 0.5cm, then sew on 1mm.


Flounce
16. For a dress with a flounce skirt, join the two pieces of the flounce with the shorter sides, so that one long piece of fabric is formed. Then wrinkle it with a sewing machine or on a thread. Sew the wrinkled side of the flounce to the bottom of the skirt. Tuck the bottom of the flounce in about 0.5cm and sew on 1mm.
Combining the elements of the dress
17. Pin the resulting skirt to the envelope top of the dress. Start the pinning from the side seams. Sew the skirt and blouse together.

18. Sew a thin elastic band to the resulting seam allowance (I used 5mm), so that it will wrinkle our waist line.


19. On the parts of the cuffs that stick out beyond the sleeve, mark the places for buttonholes with tailor's soap. You can make the holes by hand or on a multi-purpose machine. Cut and clean the hemmed holes carefully.

20. Sew buttons to the other side of the cuffs.

OPTIONS: As an alternative to buttons, you can use press studs. You can also leave no slit in the sleeve, do not wrinkle the bottom, sew a cuff to it (like the welt in the sweatshirts from the DIY kits) and put an elastic inside the cuff, which will wrinkle the sleeve. With this option, I recommend reducing the height of the cuff.
21. Your dress for autumn go-outs is ready. This creation goes well with boots, but also with sports shoes.


Iwona Bartczak
Post Comments (0)
To add a comment, you must be a registered customer.
click here to log in


