02/09/2022
| in category:Hydrophobic sweatshirt - UNISEX
Buying a set for a sweatshirt in the store dresówka.pl, you will receive a ready-made pattern PRINTED on the material. Thanks to this, you do not have to waste time tracing the pattern on paper (or gluing dozens of sheets of A4) and painstakingly transferring it to the material. The material consumption has been planned in such a way as to get the least possible waste, while perfectly matching the patterns.
Do not decatize the material before sewing / cutting out the elements. The die-cut includes a seam allowance (0.7 cm).
- Janome MyLock 744D overlock (serger),
- super stretch needles
NOTE: To sew the blouse, you will only need a multifunction machine or a serger, so this is a project for everyone!
- scissors, circular cutter (it speeds up cutting considerably, including on curves), pins, clothespins and a pen
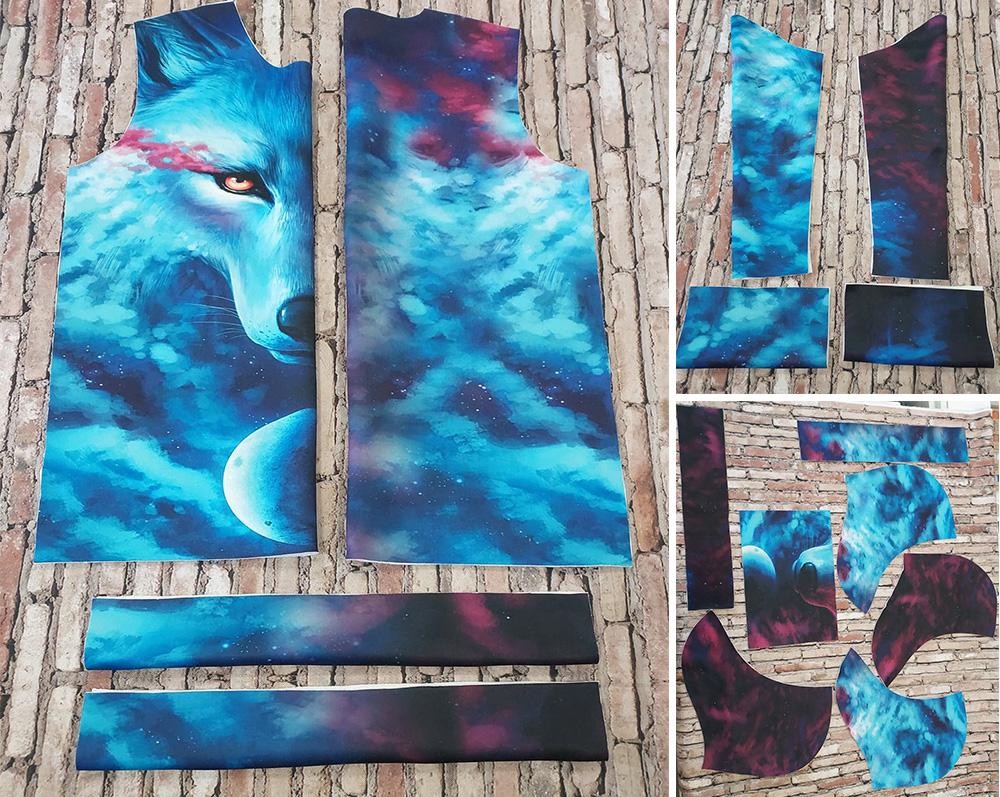
HYDRA sweatshirt consists of:
- 1 front,
- 1 back,
- 2 pieces of trim at the bottom of the sweatshirt (acting as a welt),
- 2 sleeves (symmetrical),
- 2 sleeve trim pieces (acting as a welt),
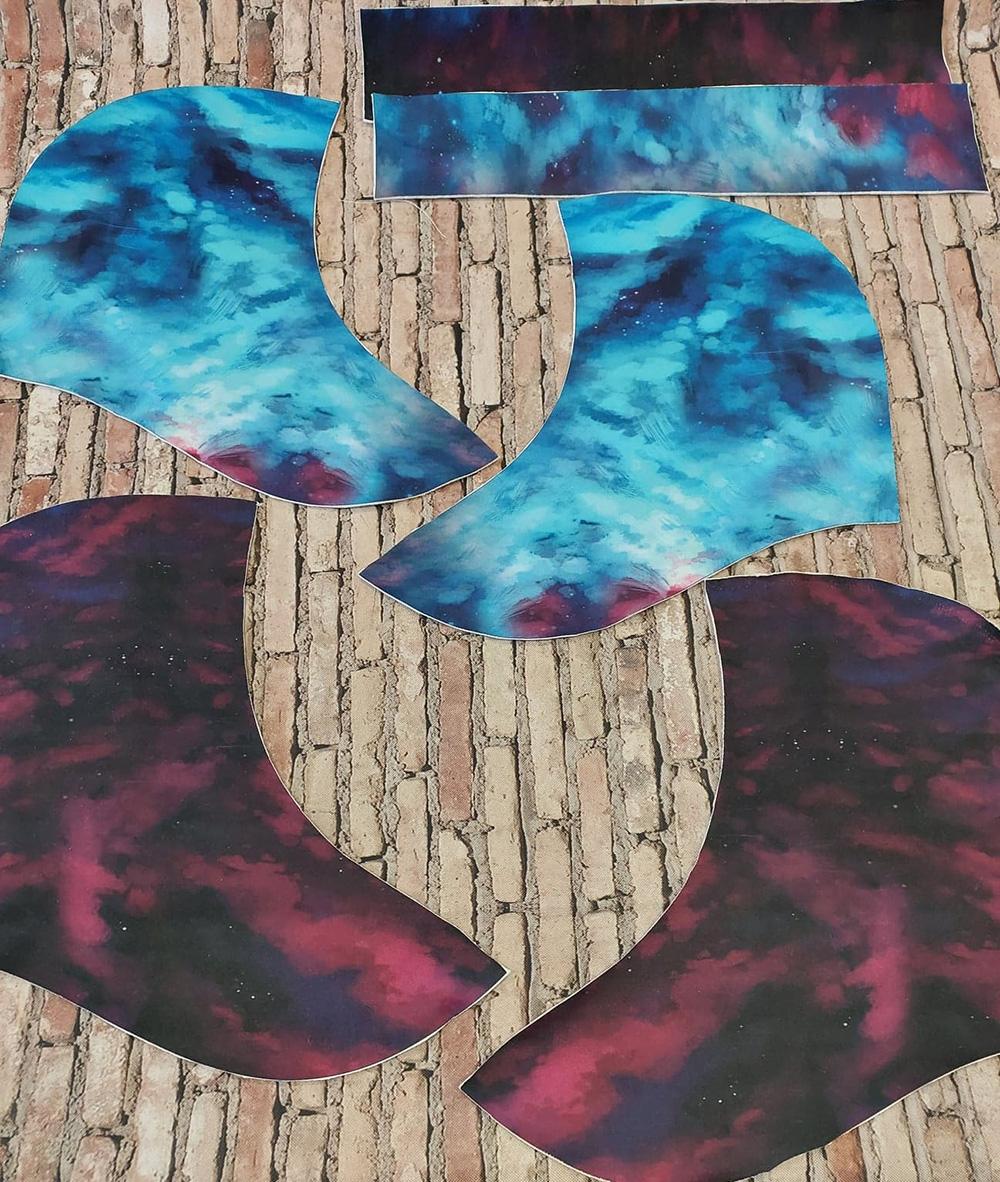
- 6 hood elements (3x outer layer, 3x inner layer),
- 1 pocket.
These pieces should be cut from the included panel.
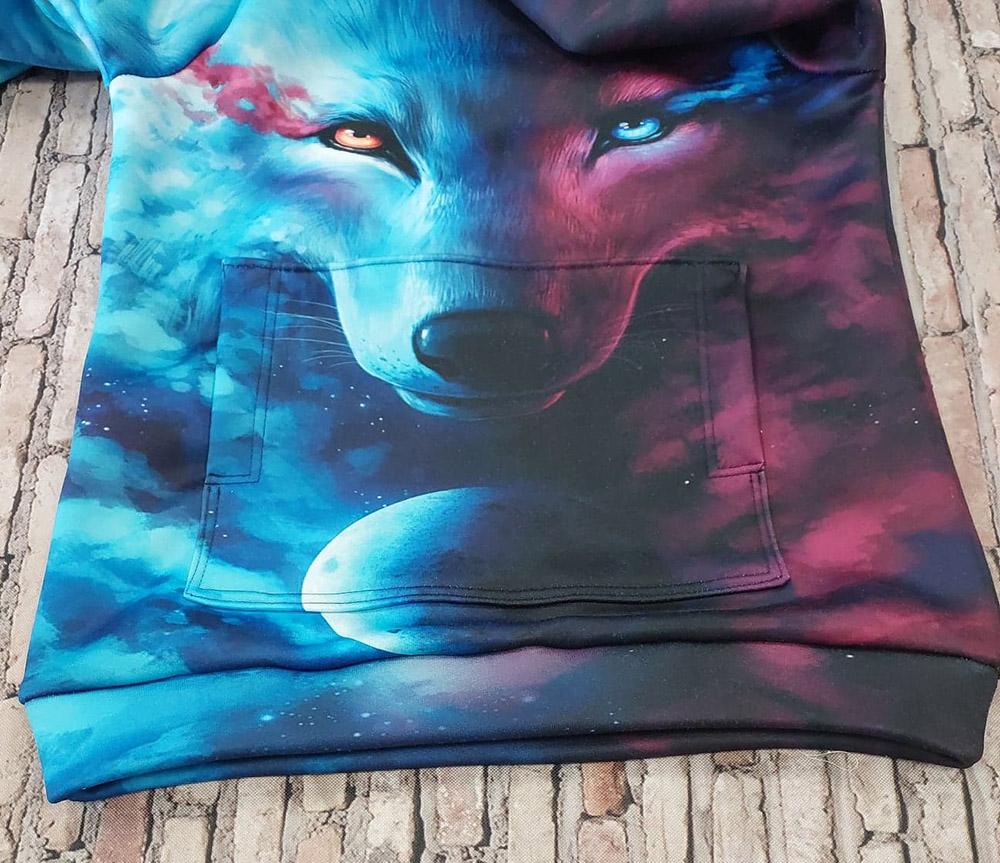
Start by sewing the pocket. Fold the pocket on the shorter sides 3 cm underneath and decoratively quilt the insertion points of the hands. Allocate about 13 cm for this purpose. Then sew the pocket to the front of the blouse so that the printed patterns match.
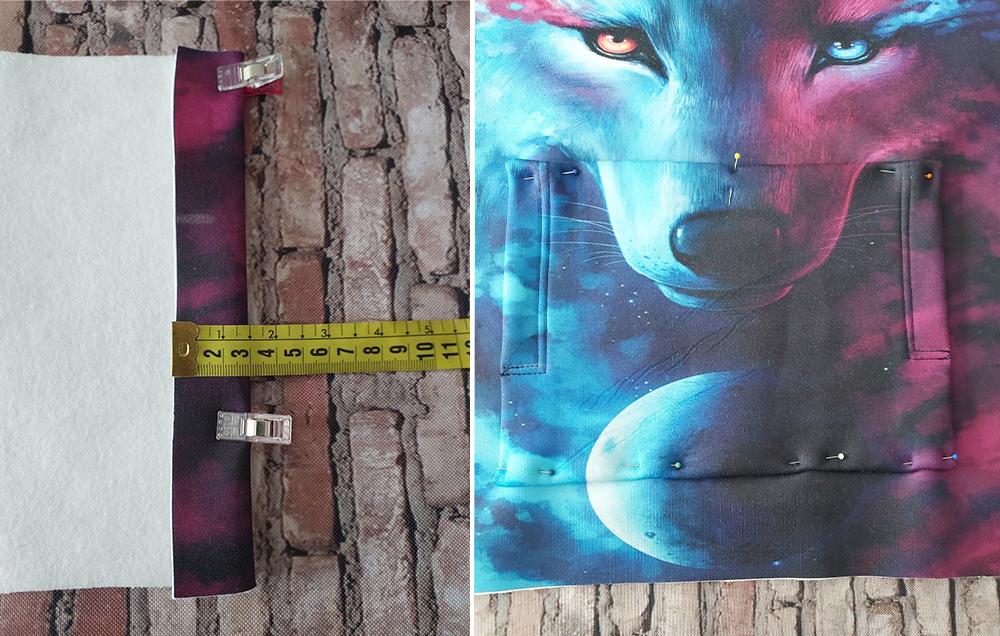
Pocket ready.

Pin the front and back of the blouse together at the shoulders. Sew.
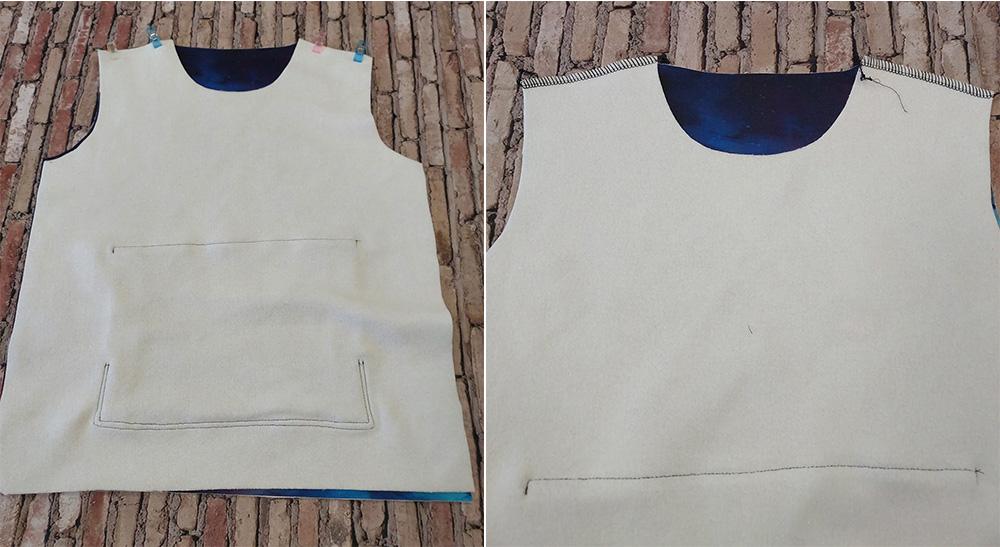
Mark the center of the sleeve (the sleeve is symmetrical) and start attaching it to the blouse from this point to one side and the other. Sew the whole thing slowly and carefully, remembering that you are sewing in curves.
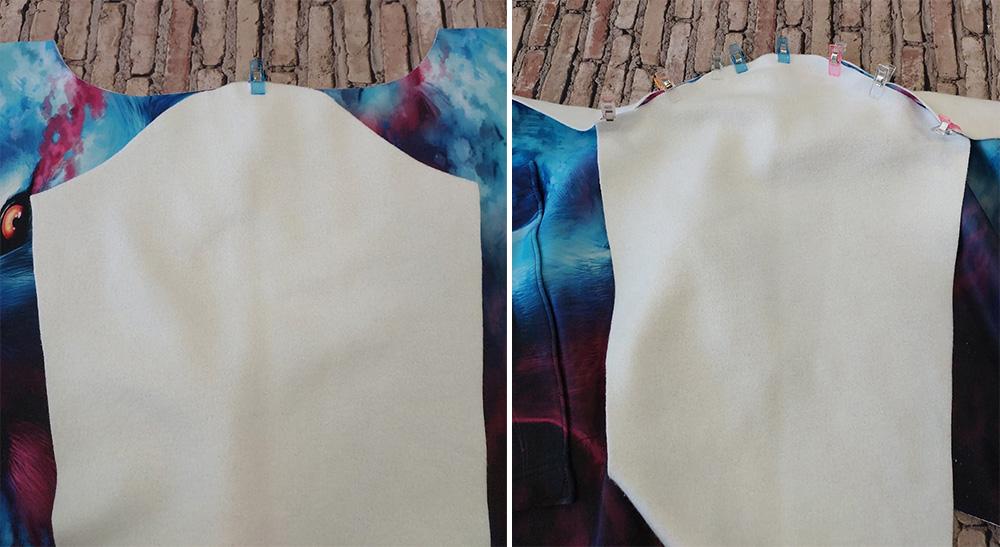
Fold the sweatshirt with the sewn sleeves right side to right side. Pin the front and back of the sweatshirt together. Start sewing from the beginning of the sleeve and finish at the bottom of the sweatshirt.
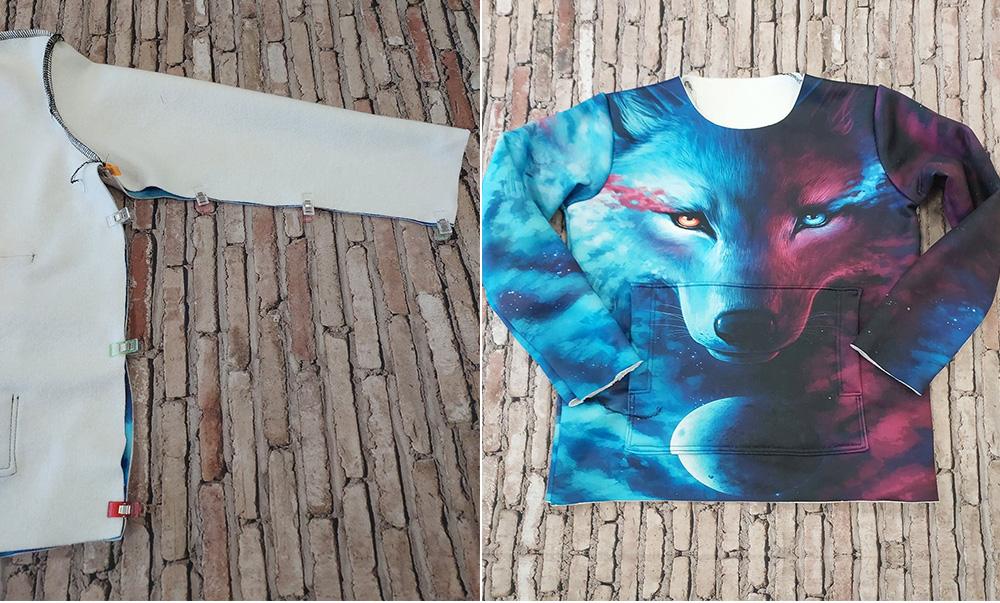
A "welt" made of the same material as the rest of the sweatshirt will serve as a finishing touch to the sleeves and bottom of the sweatshirt. I recommend sewing these elements together on a multifunctional machine.
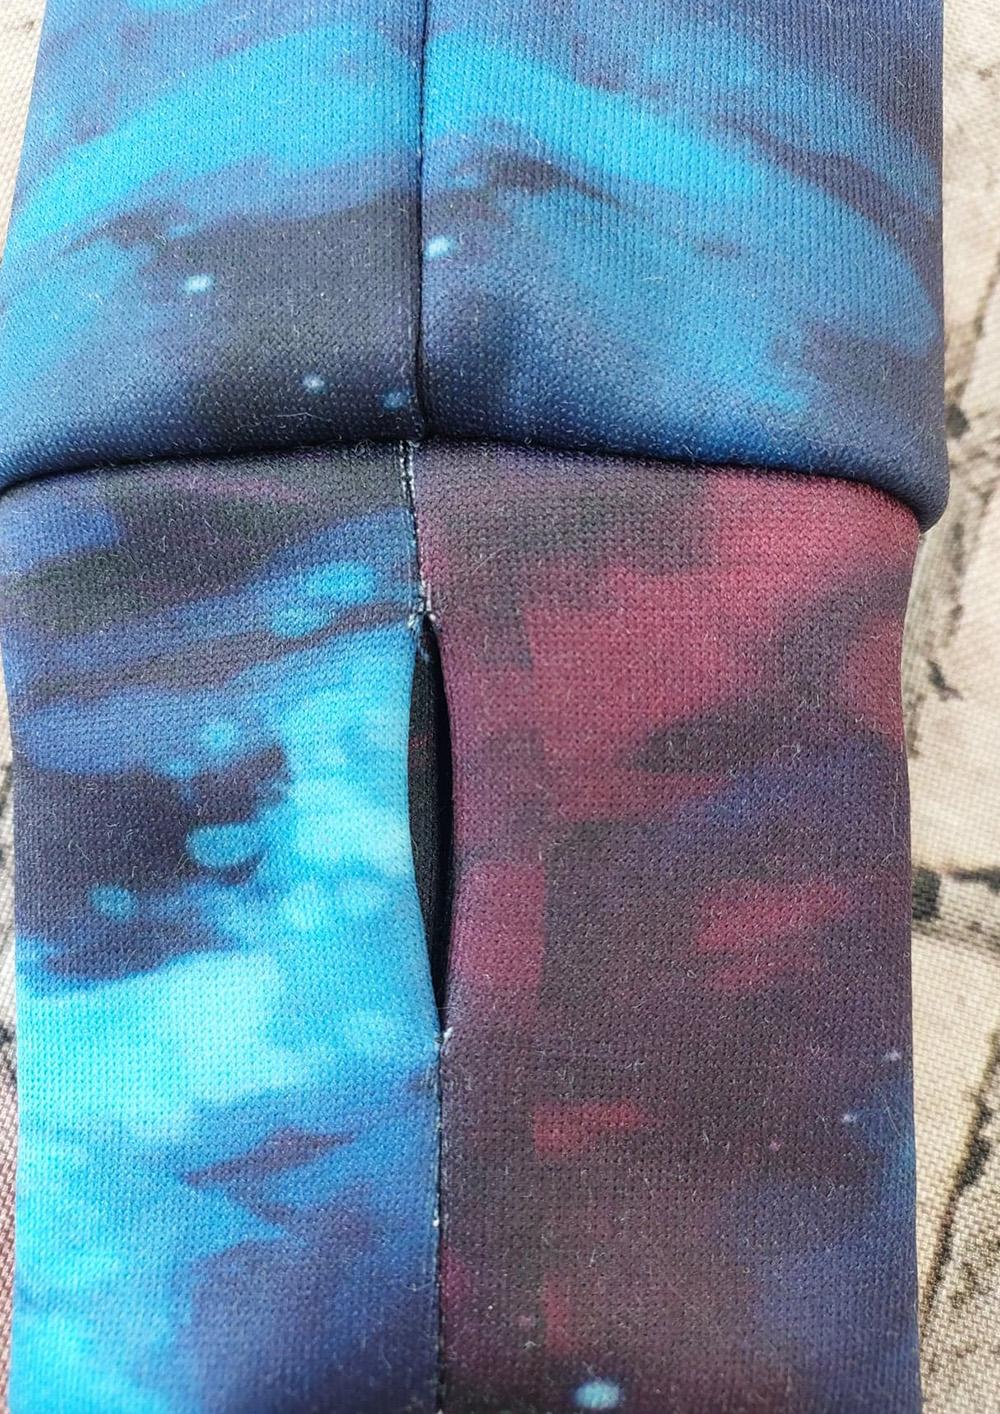
In this project you can make a welt with a finger hole.
Fold the rectangles along the long side and once again in half in order to evenly mark the opening (3 cm from the fold, the opening at 4 cm).
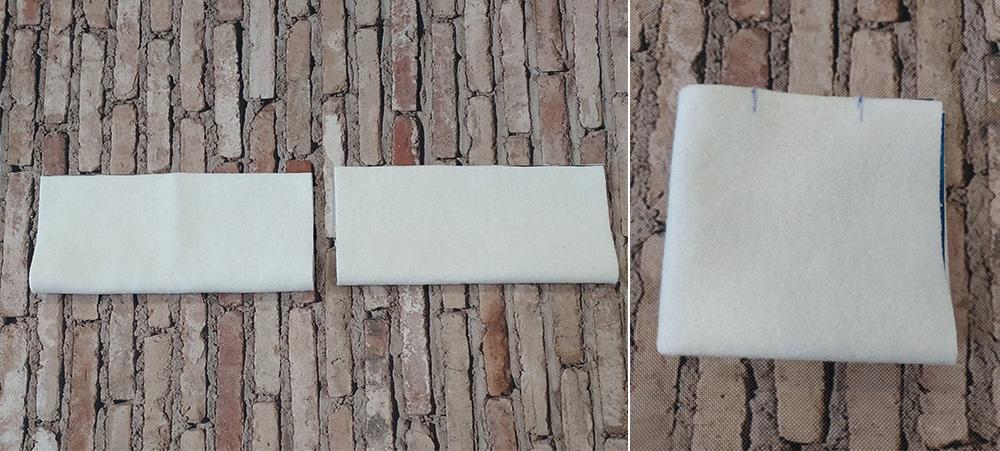
Make the cuts.
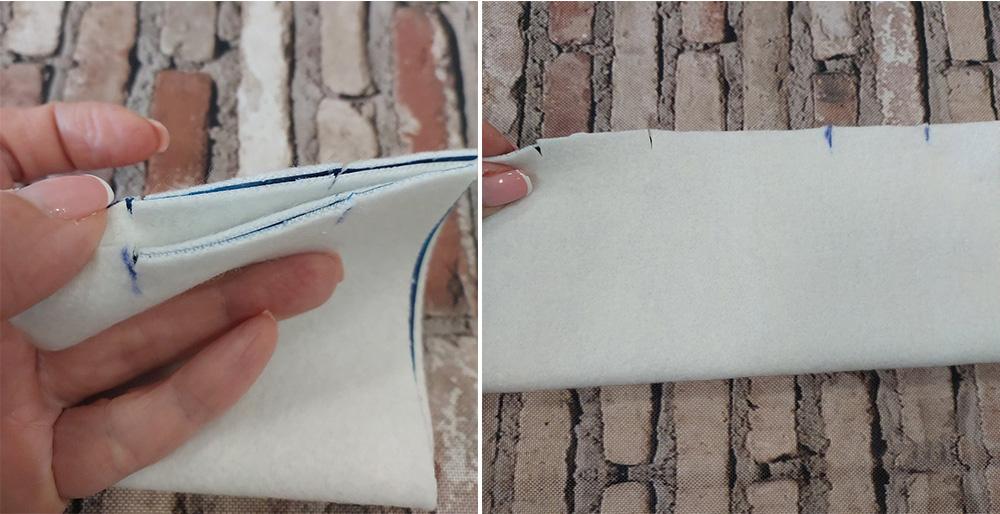
Sew, and leave the place for the hole unsewn.
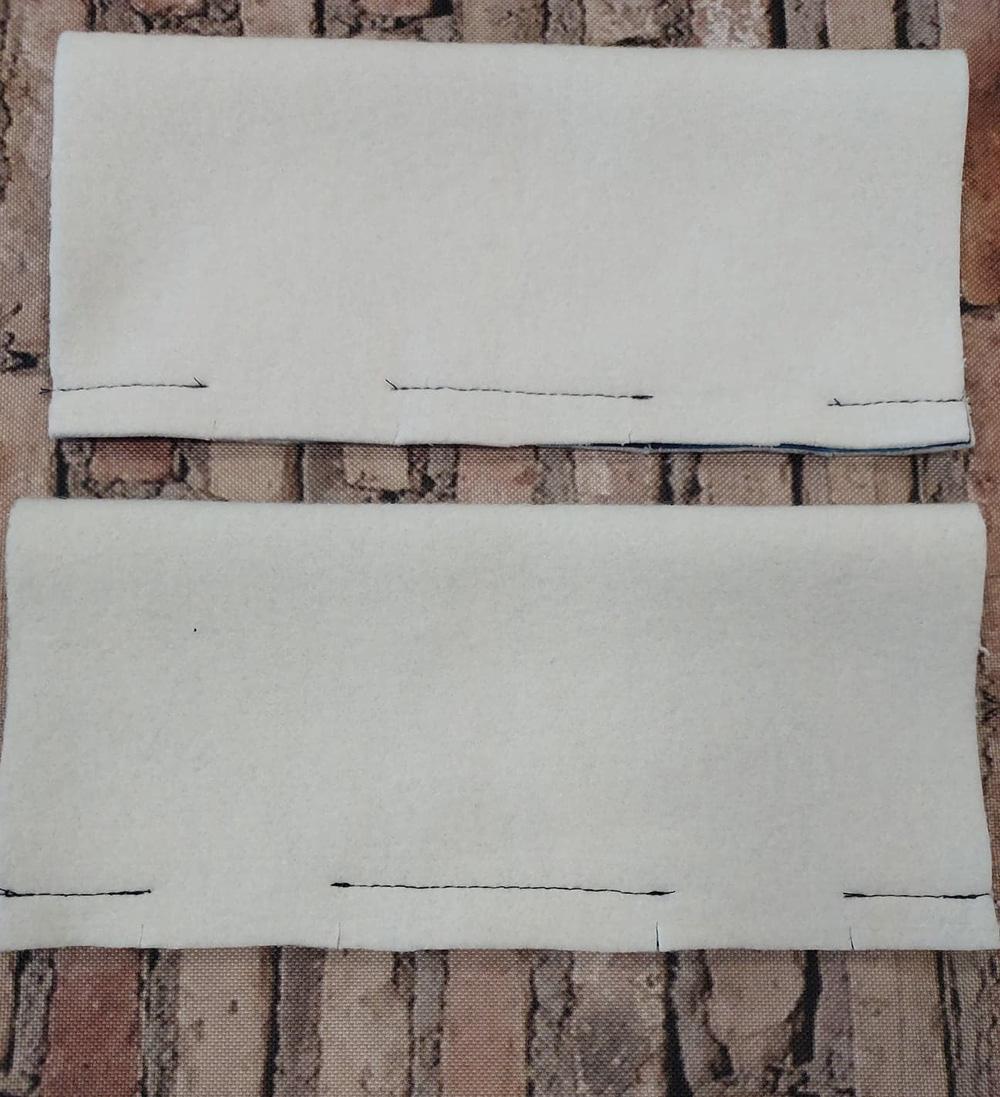
Fold in half again and sew the seam allowances in the area of the hole.
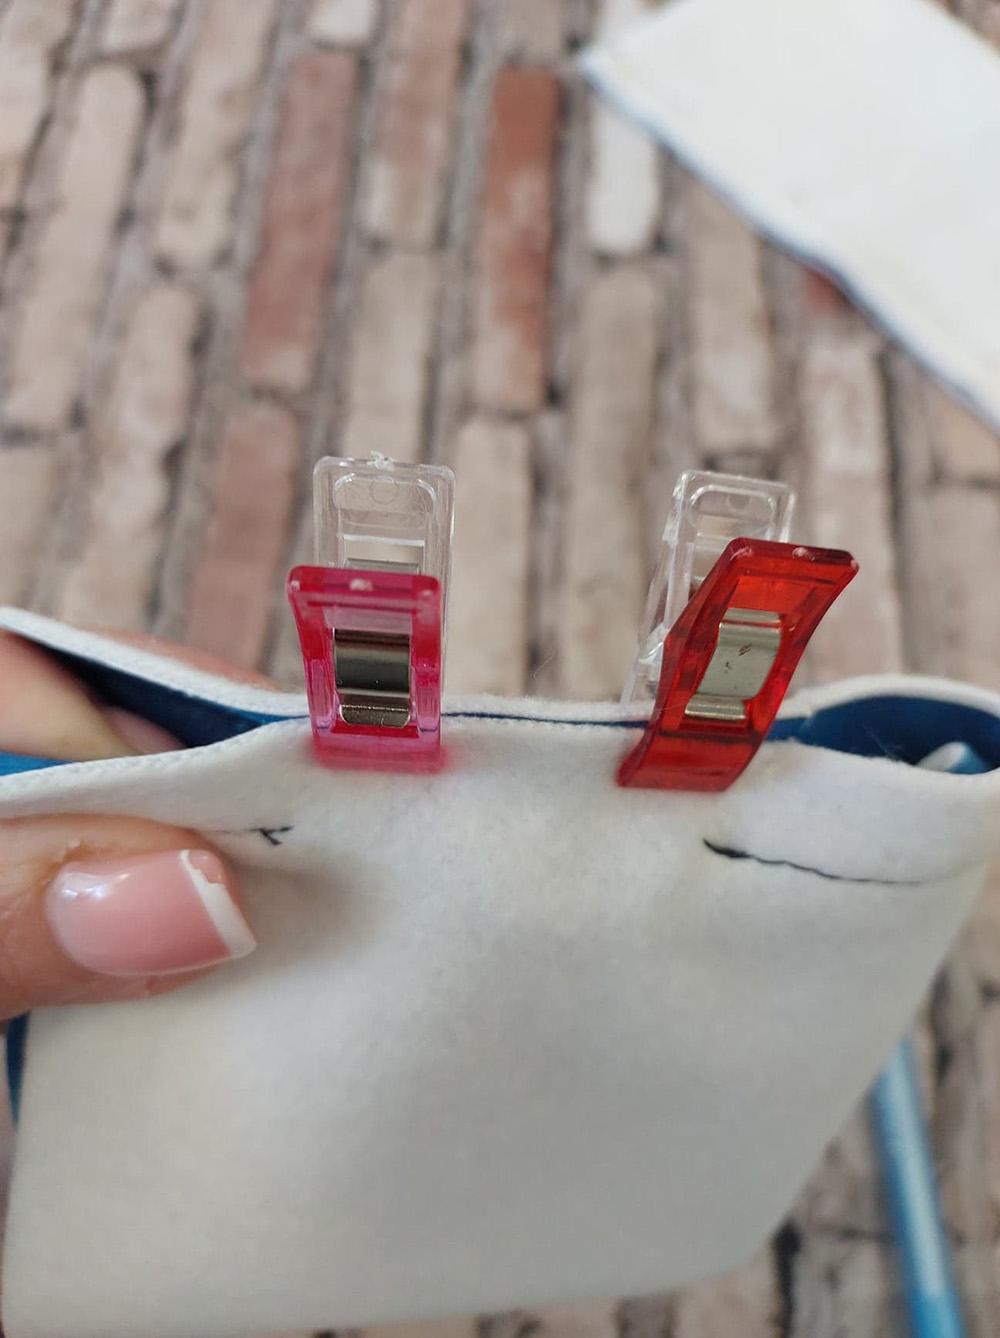
Fold right to right one seam allowance, sew.
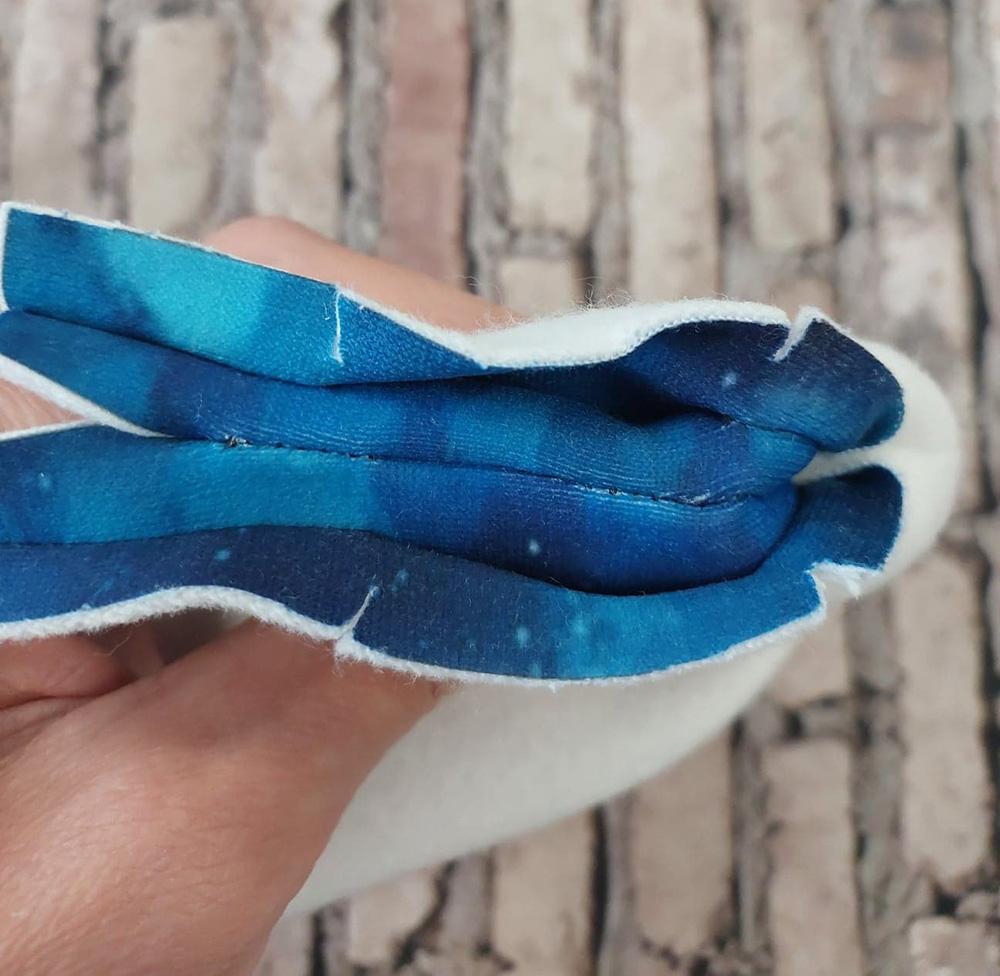
Flip to the other side and sew the other seam allowance.
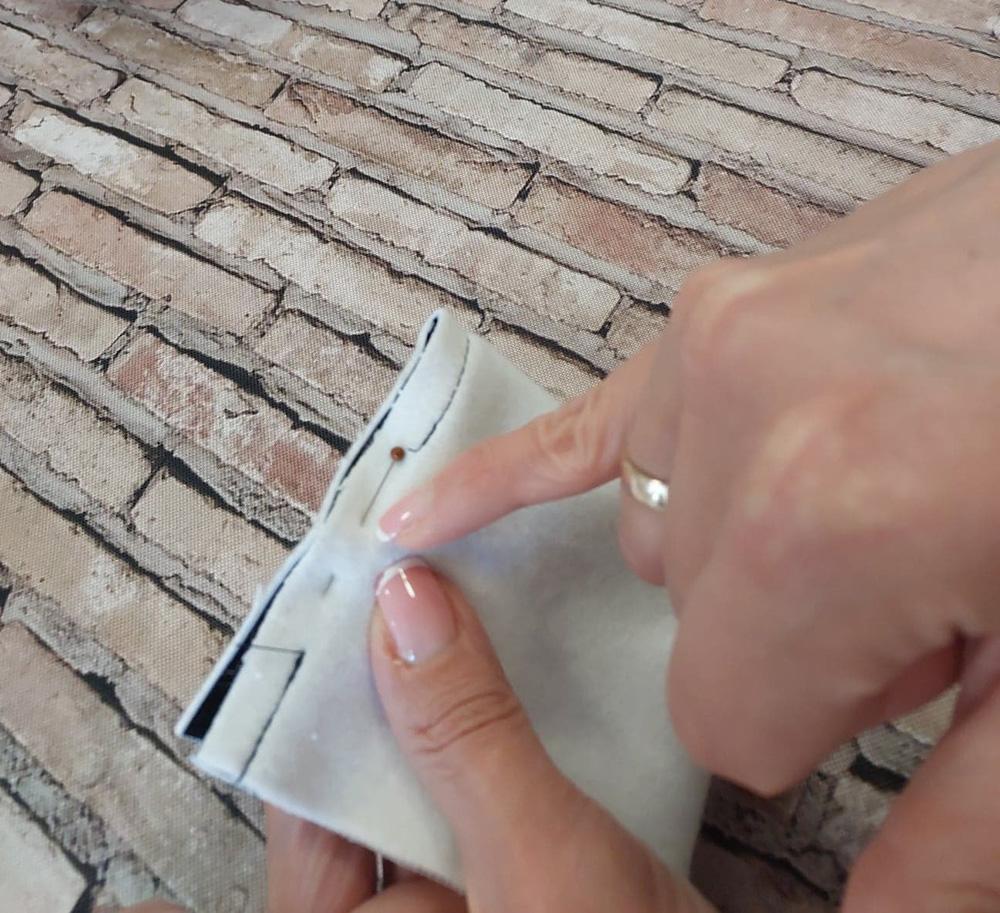
Turn out to the right side.
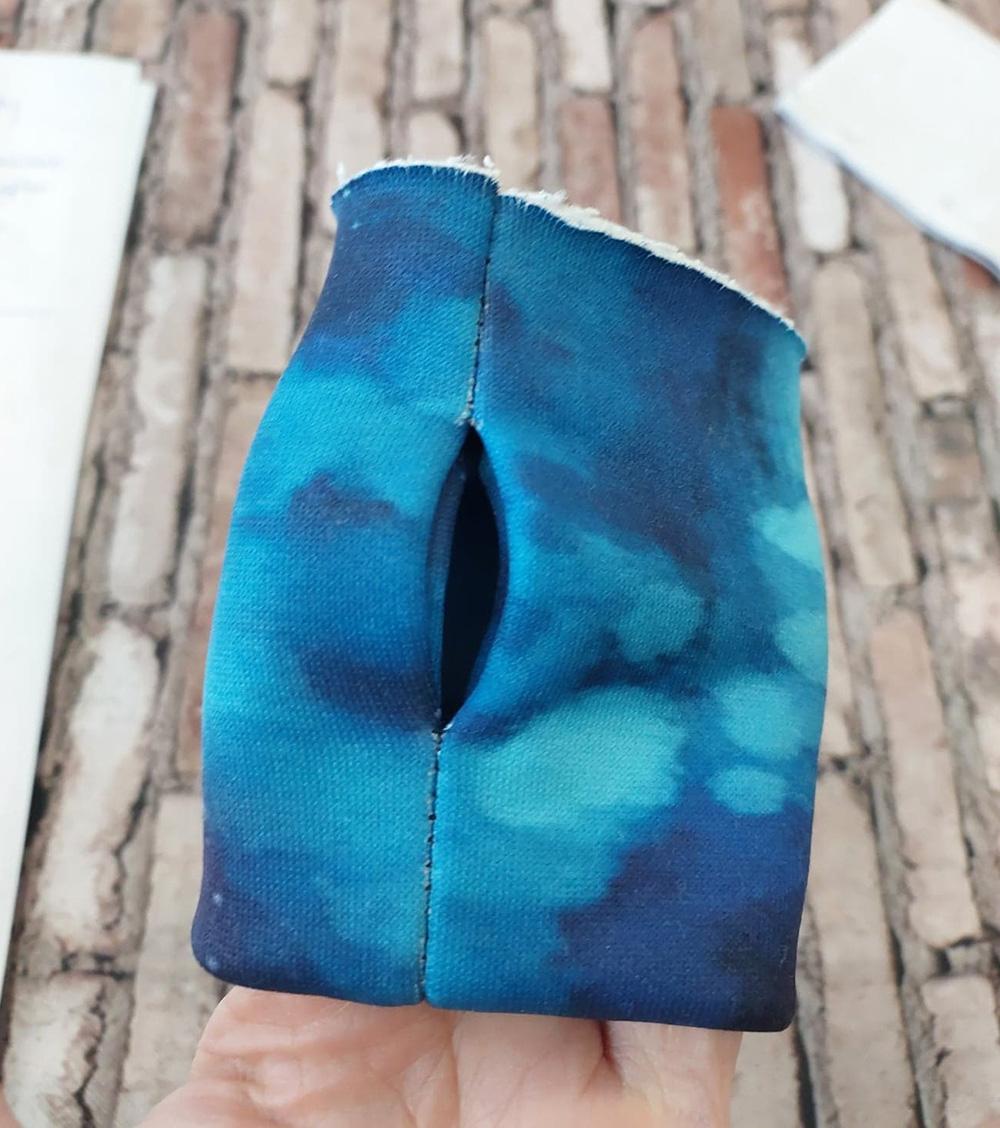
Place the made, folded piece on the sleeve (right side to right side), gently stretch it and fasten it with pins or buckles. Pin it up, so that the seam with the fingerhole is on the seam of the sleeve.
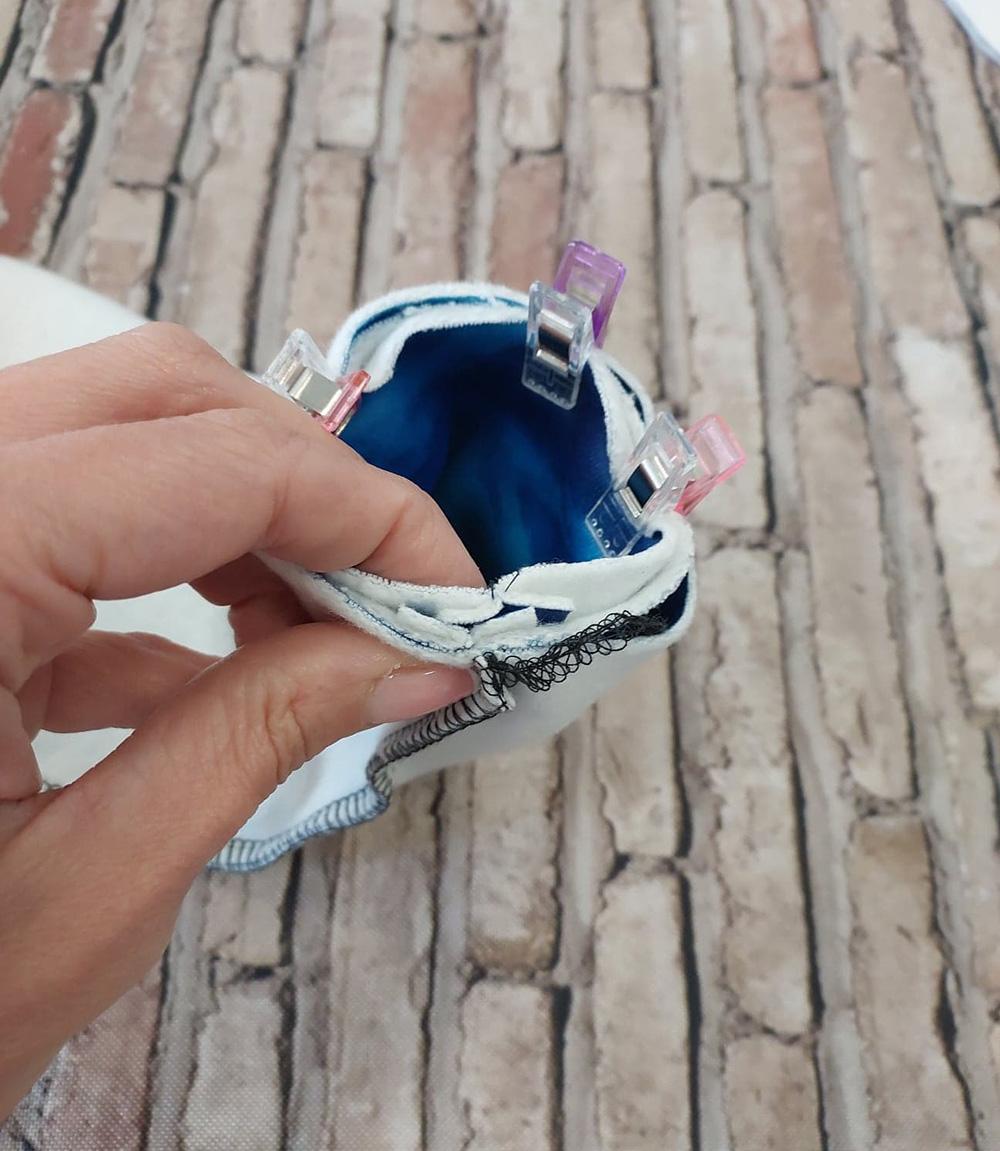
The sleeve is now finished.
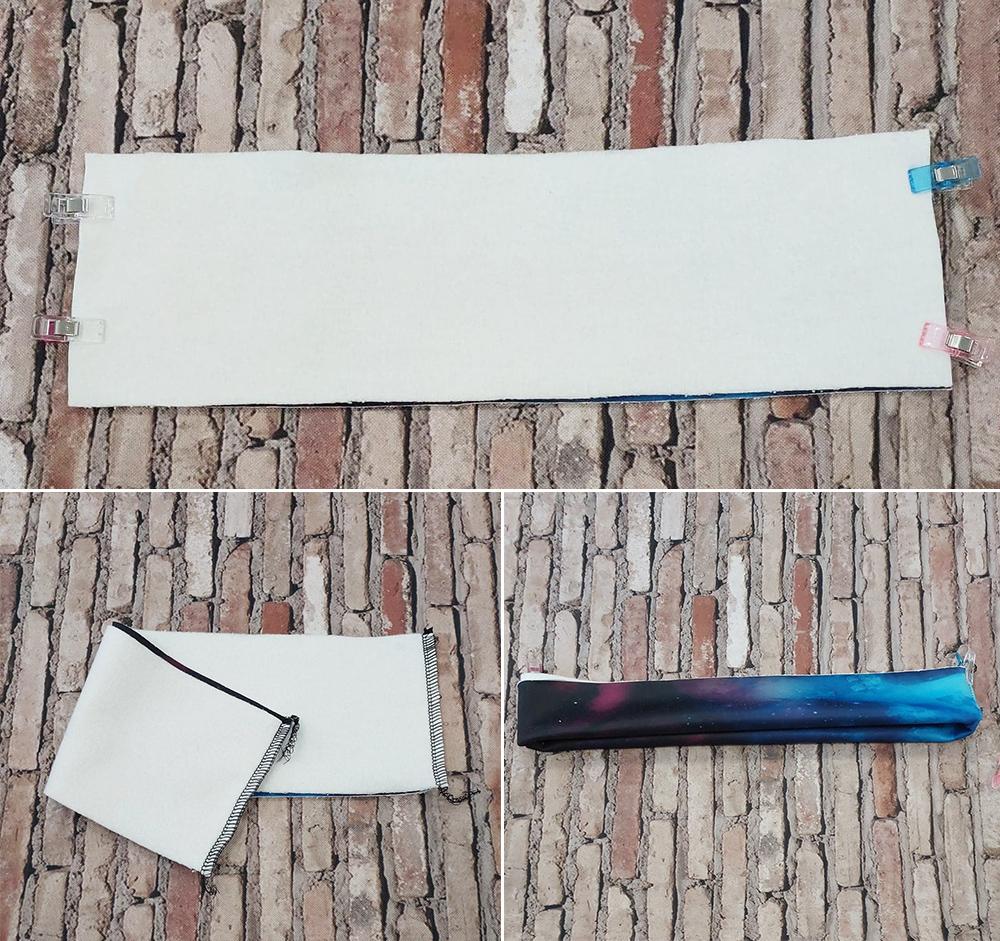
Finish the bottom of the sweatshirt. Fold the two pieces of the bottom "welt" (right side to right side). Pay attention to the direction of the pattern. Sew the shorter edges together. Fold the resulting piece left side to left.
Mark the center of the "welt" and the center of the front and back of the blouse. These will be the points of contact when joining these elements.
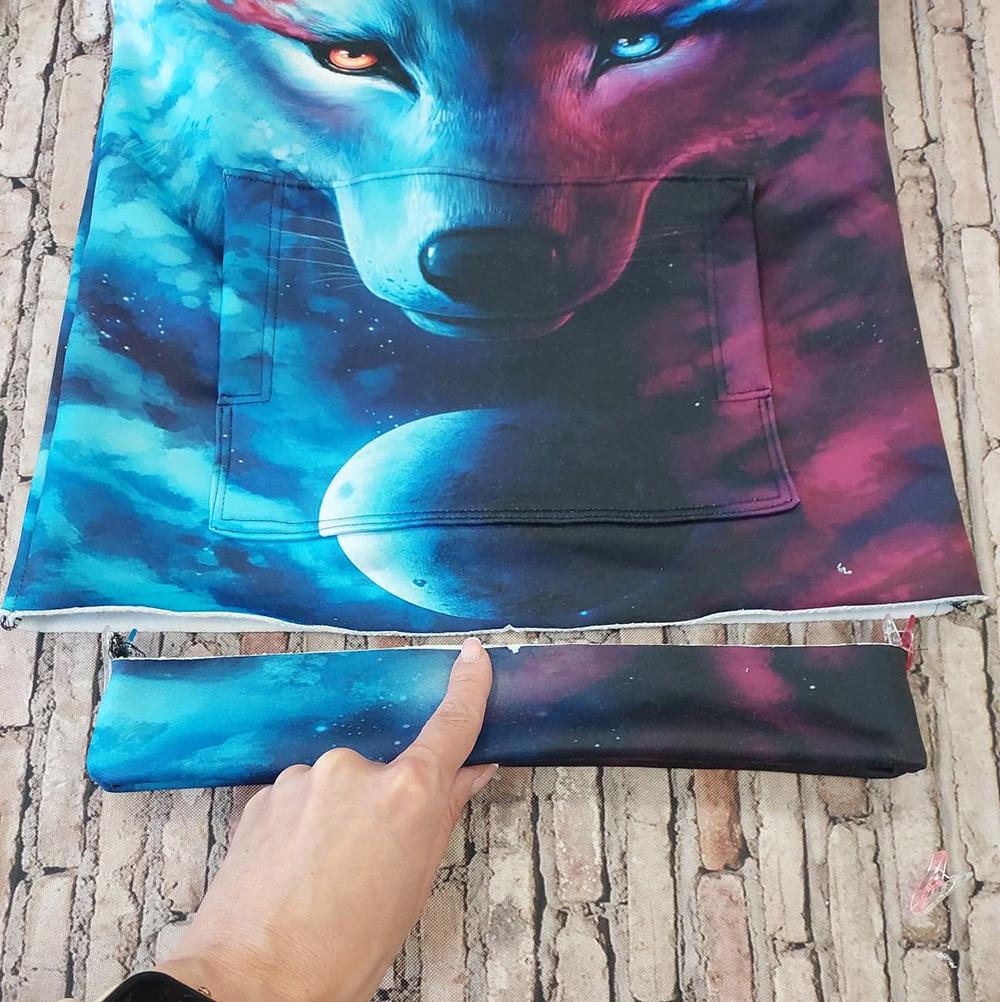
With the help of clothespins or pins, clip together the bottom of the sweatshirt and the "welt" - base it on the contact points. "Welt" is shorter, you need to pull it gently and evenly when connecting it to the sweatshirt.
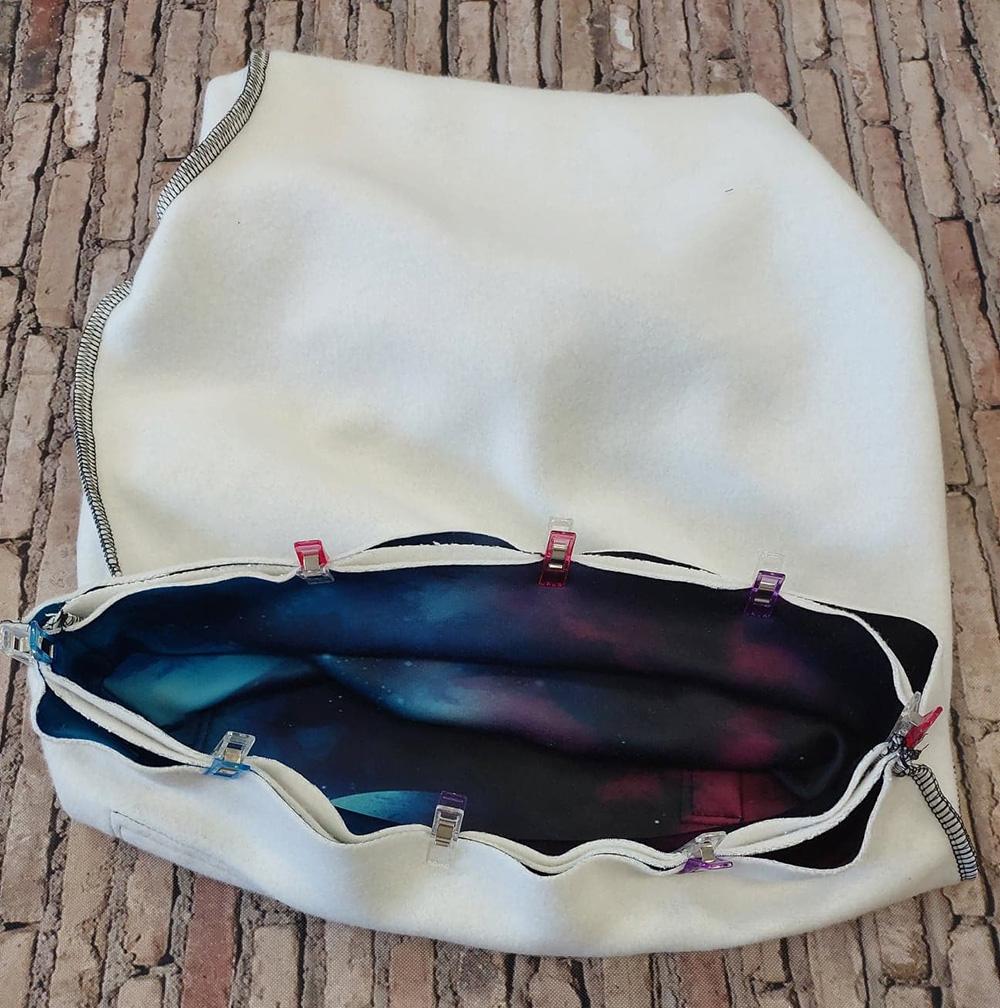
Sew the whole thing together slowly, gently stretching. Be careful that the layers of "welt" do not slip out from under the machine.
The outer and middle hood consists of three parts and a spacious neck-warmer. It has a strip passing through the center of each one.
Start by sewing the middle strip in the outer part of the hood. Sew it between the two parts, joining them. Sew the inner layer in the same way.
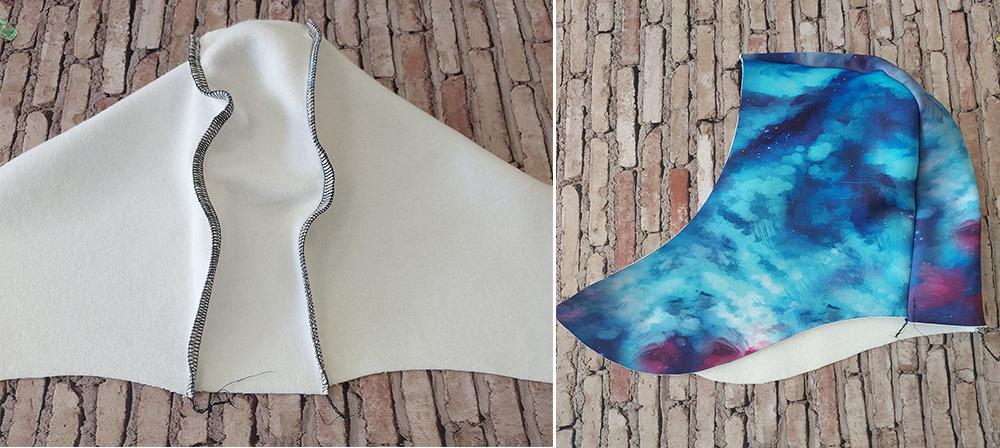
Turn the outer layer to the left side, leave the inner layer on the right side.
Insert the inner layer of the hood into the outer layer. Using clothespins or pins, join the outer and inner layers of the hood together.
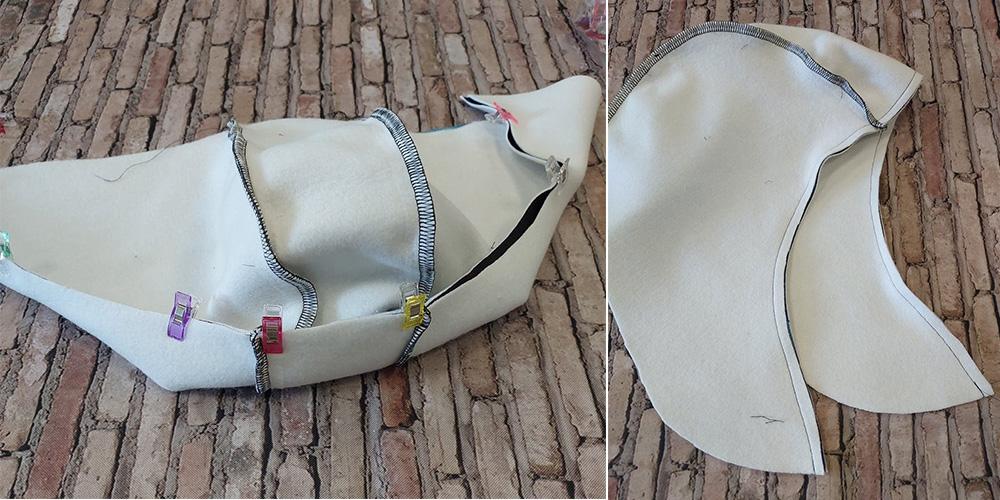
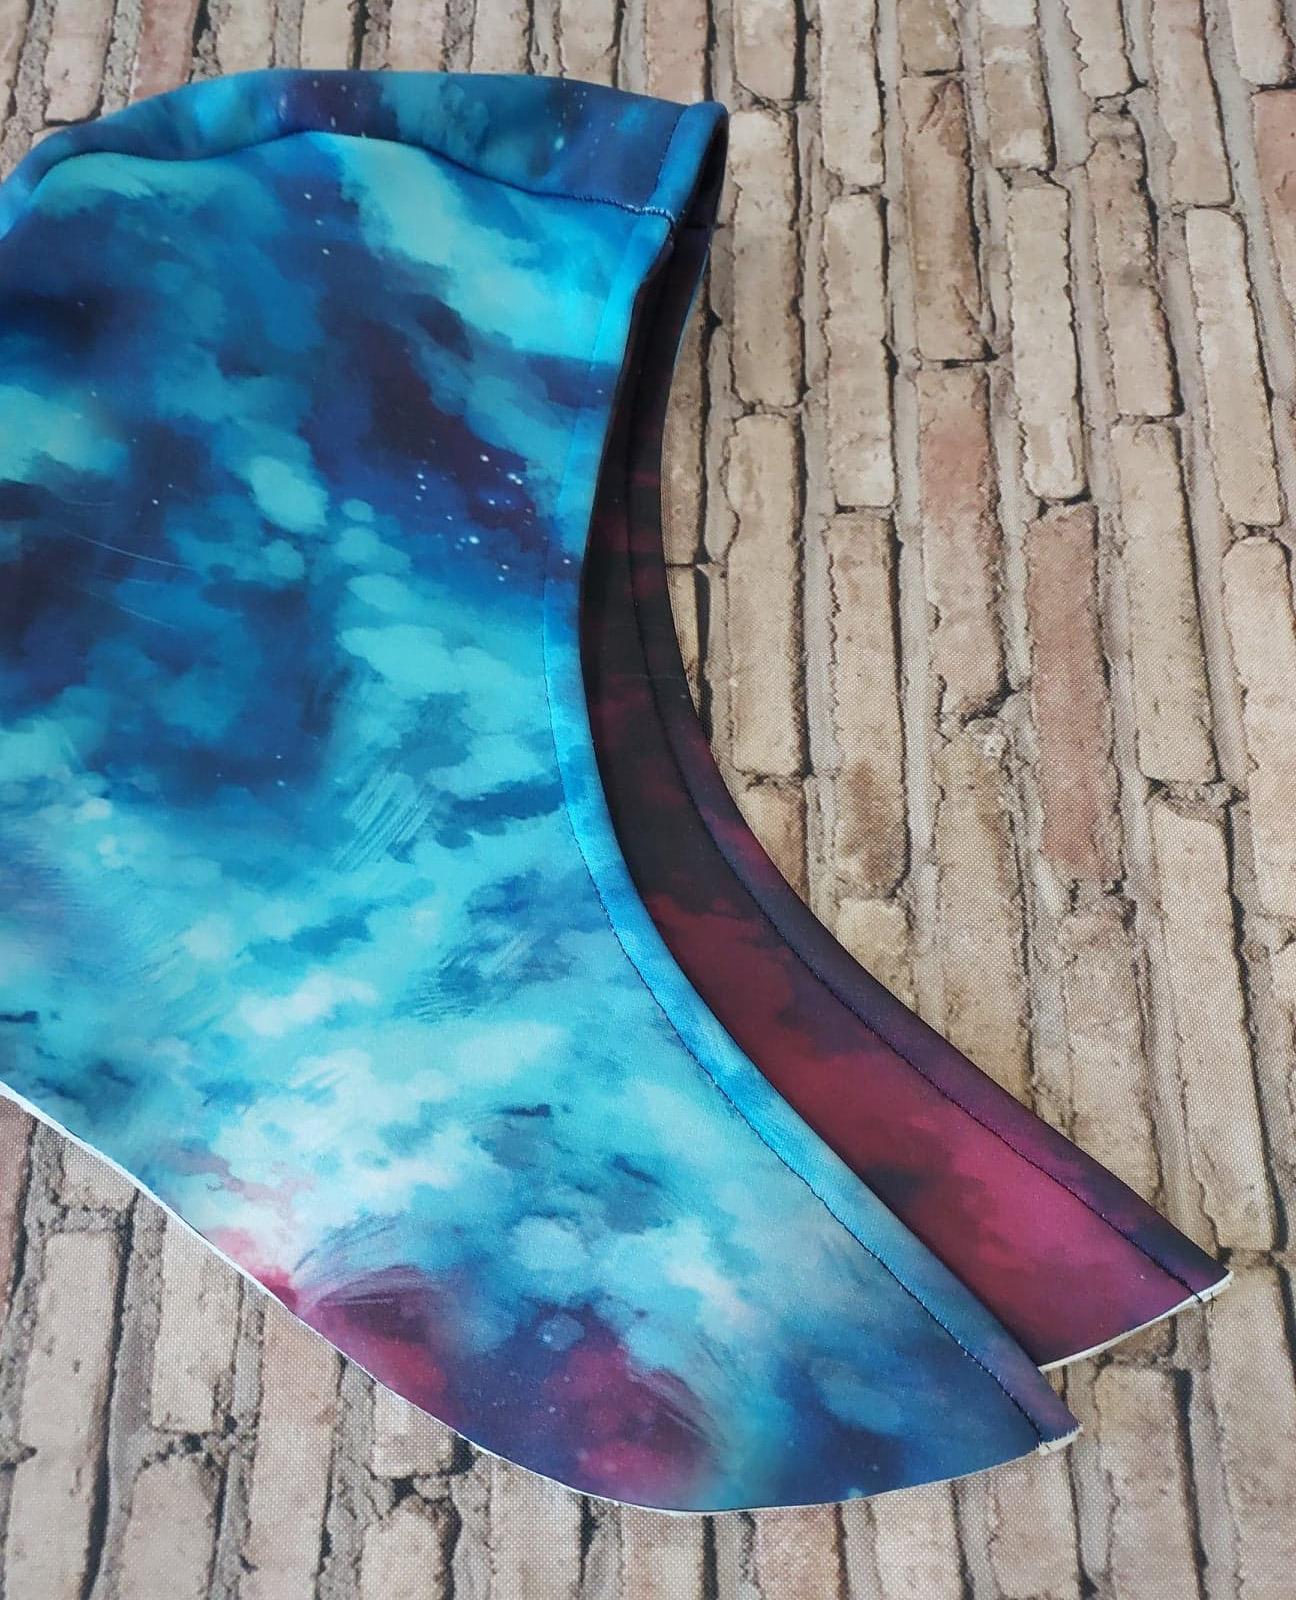
Turn the hood right side out, align the layers. At the edge, pin the top and bottom layers together. Quilt the hood all around, sewing about 1.5 - 2 cm from the edge.
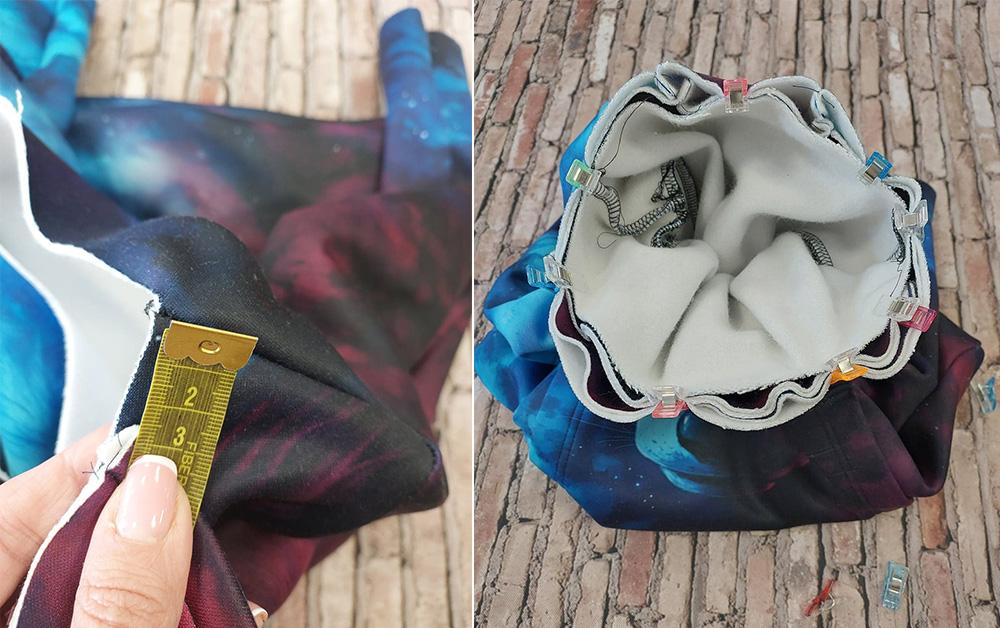
Join the hood to the neckline of the blouse. Start 2 cm from the shoulder line and pin with pins or clothespins all around..
An overlap has formed at the front. Check that the materials are well attached to each other. You can add additional pins where multiple layers of material are joined.
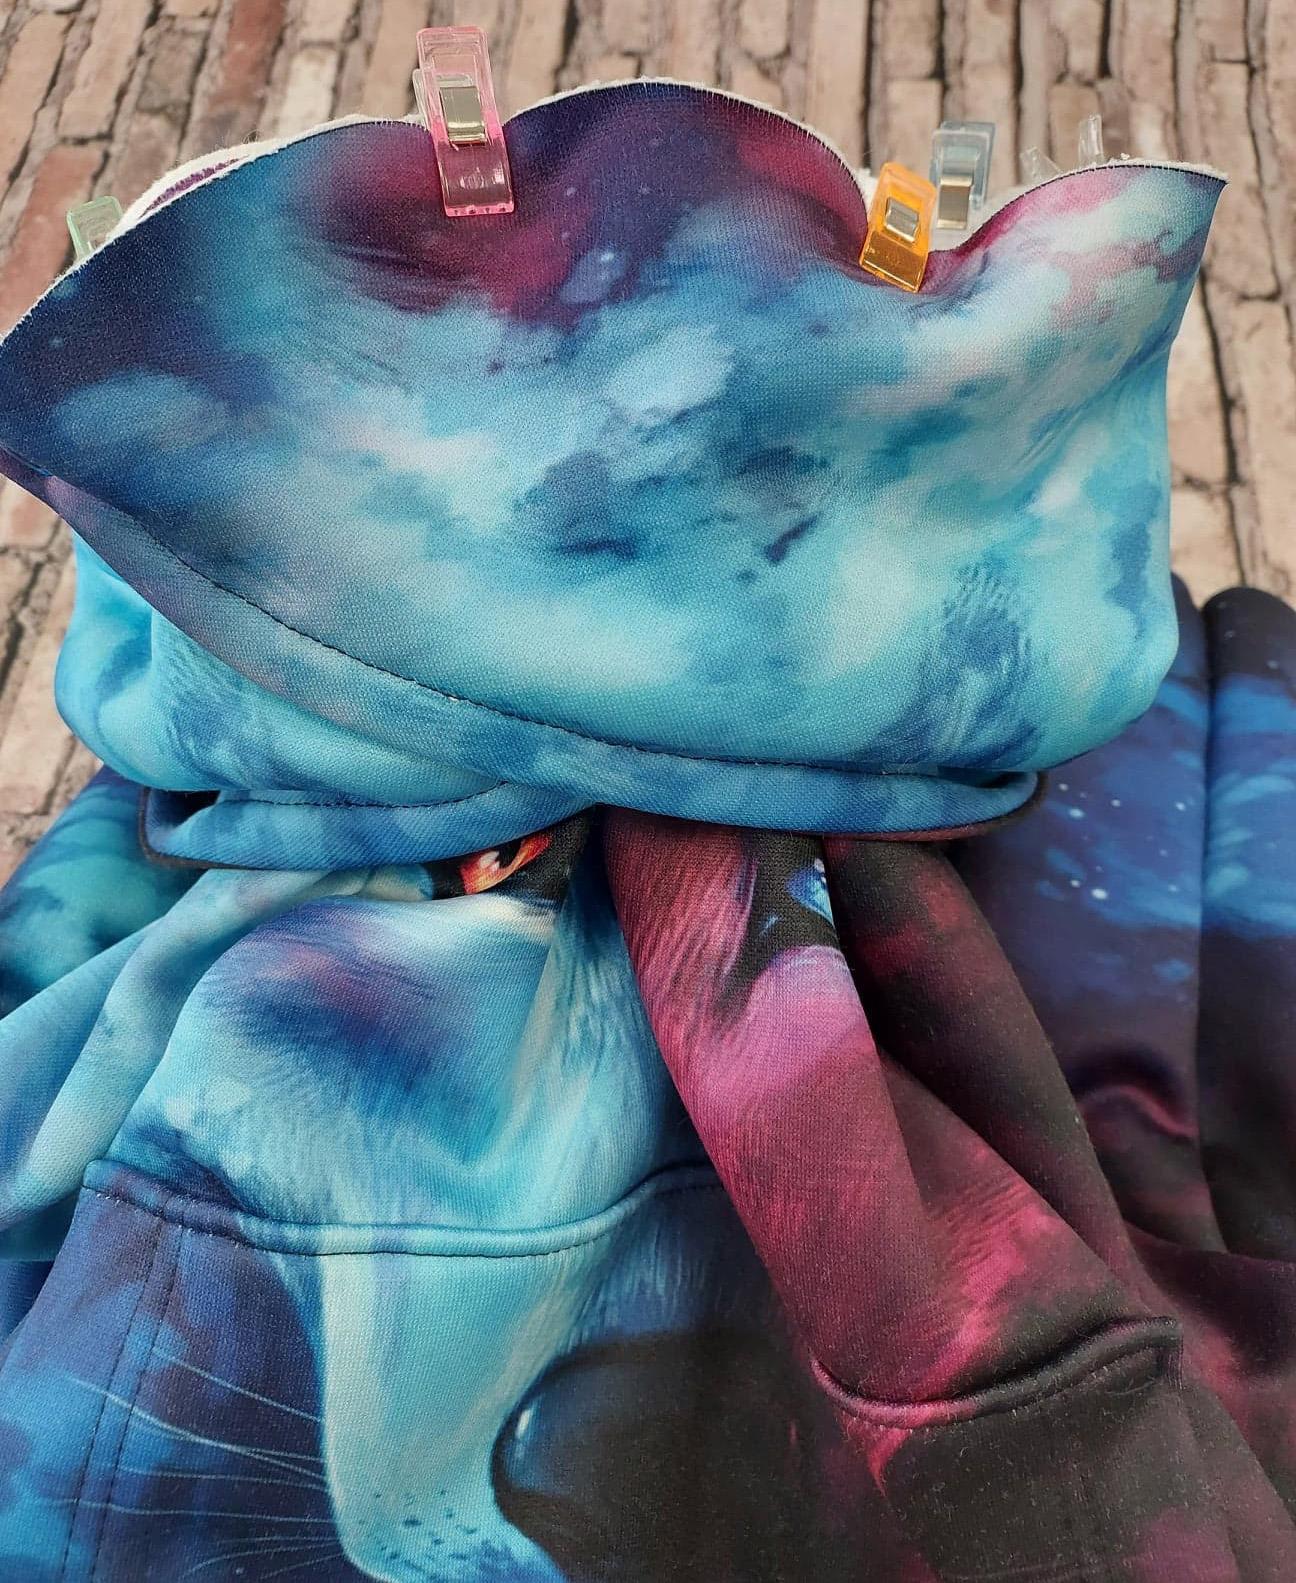
Sew the hood to the sweatshirt. Sew slowly, keeping in mind that you are sewing a lot of layers that like to shift ;)
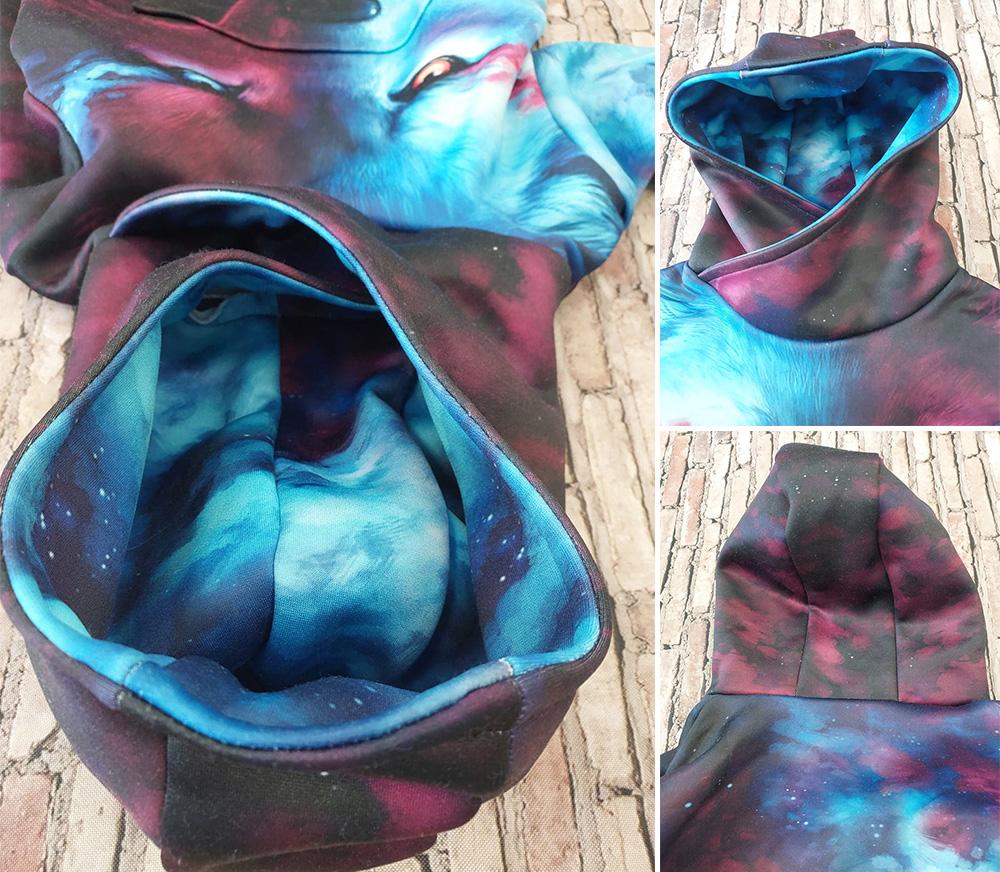
The sweatshirt is ready.
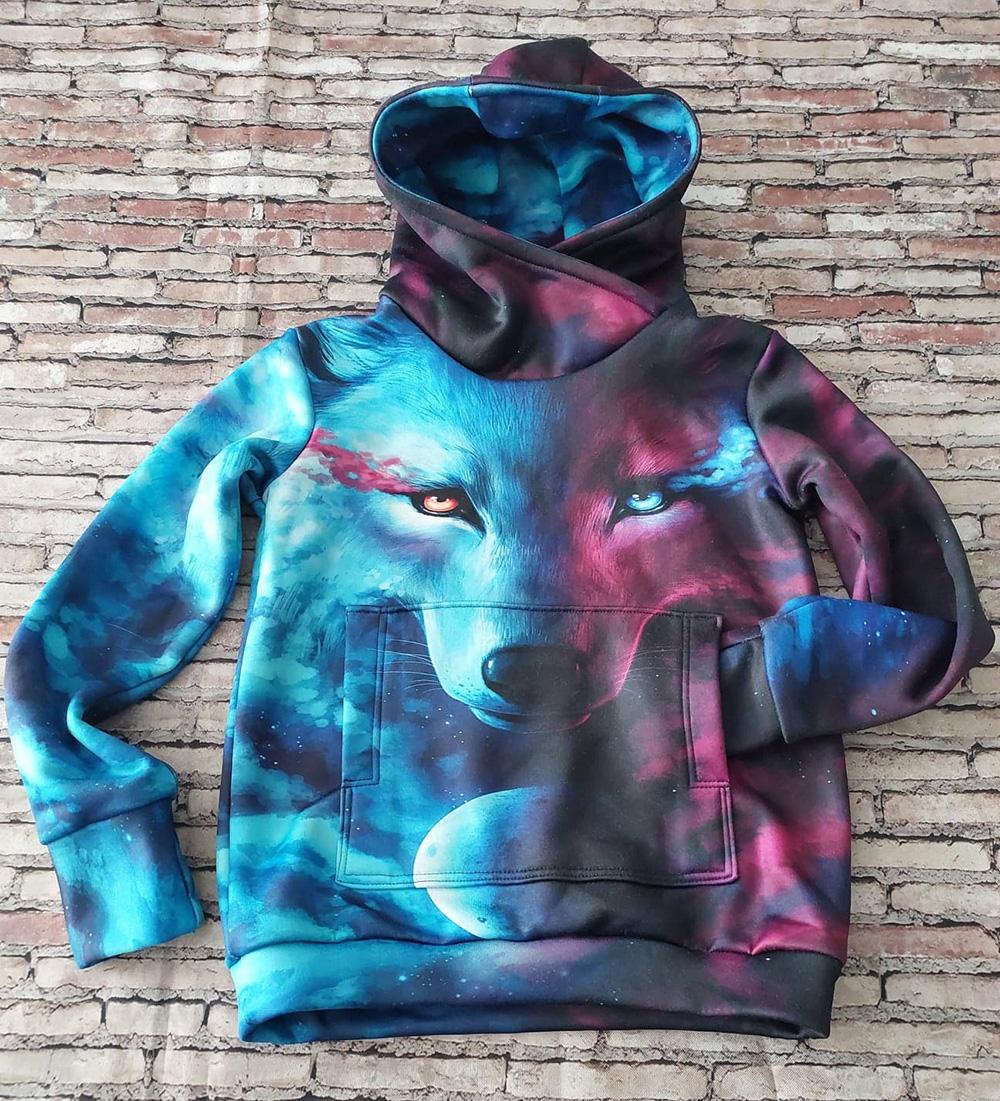
Have a successful sewing!
Iwona Bartczak
Post Comments (0)
To add a comment, you must be a registered customer.
click here to log in


