15/01/2020
T-shirt from DIY set
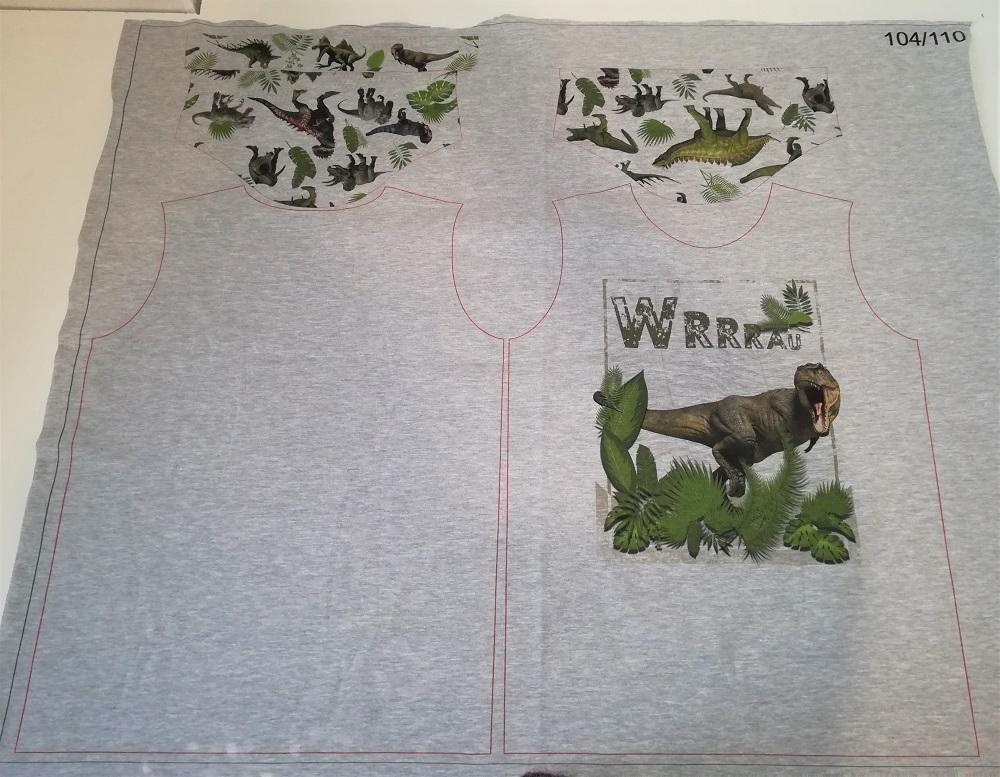
No math, counting, measuring, stacking or tracing. You just cut and stitch it, cool right? :) Below I will show you how to sew your new favorite t-shirt in just a few steps. You buy a ready-made fabric panel with a pattern printed in the selected size, with the pattern in the right direction.
Making a t-shirt has never been easier!
The only thing you need to sew a t-shirt is:
- the aforementioned set with a panel, available at Dresówka.pl
- serger and / or multi-functional machine with stretch stitch
- cloth scissors and pins
1. Printed pattern includes seam allowances, so cut all pieces along the printed lines.
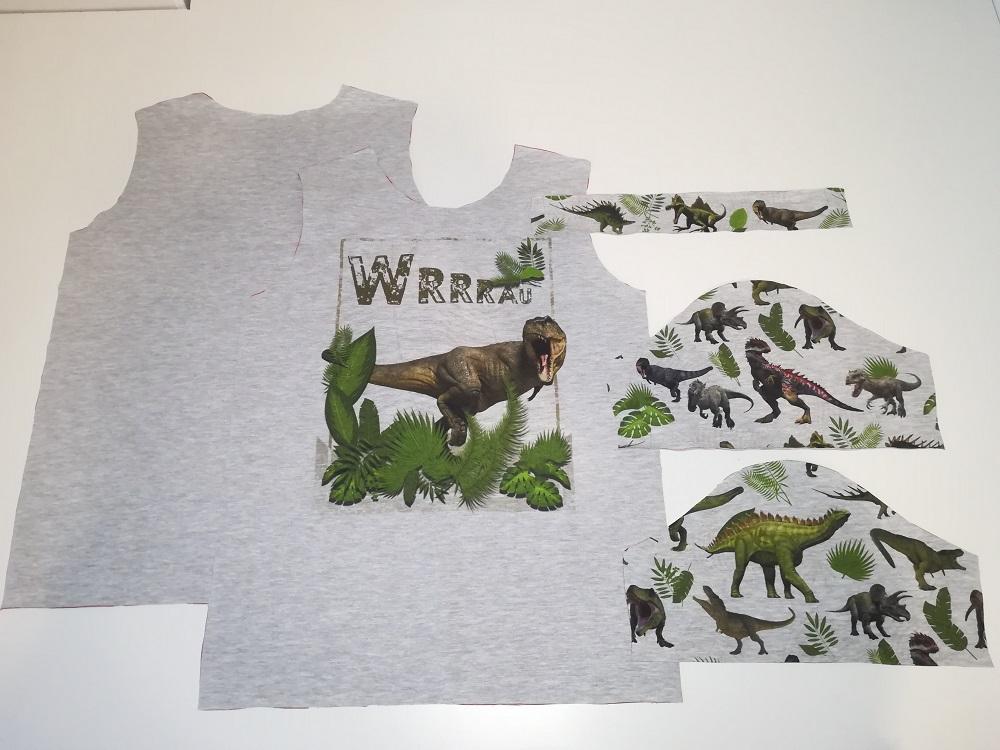
2. The cut elements are:
front, back, two sleeves and ribbed placket to the neckline.
3. First sew the right sides of the arms together.
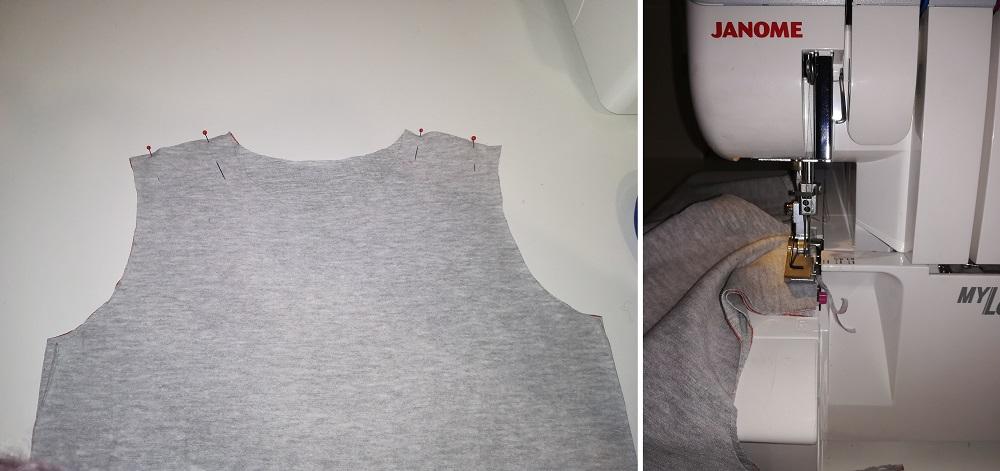
4. Fold the sleeve in half and mark the middle of the sleeve head.
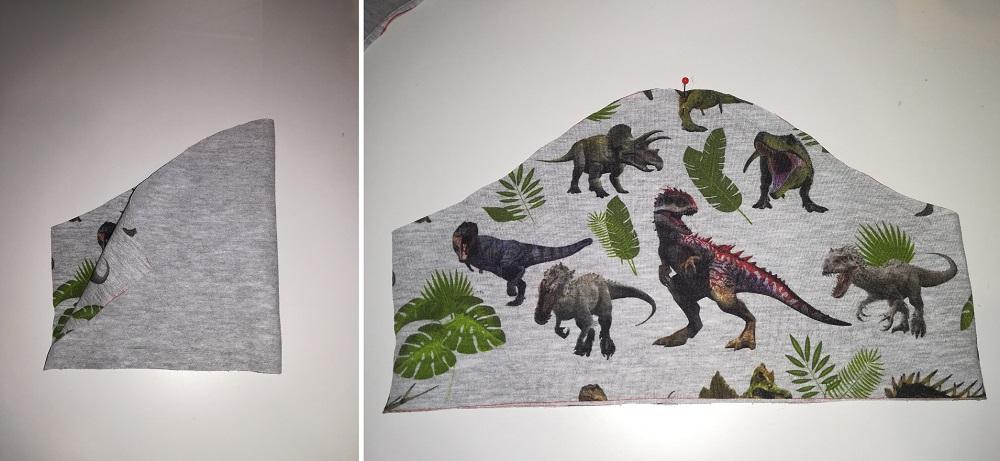
5. Fold the t-shirt flat with the right side up and pin the middle of the sleeve to the seam joining the shoulders.
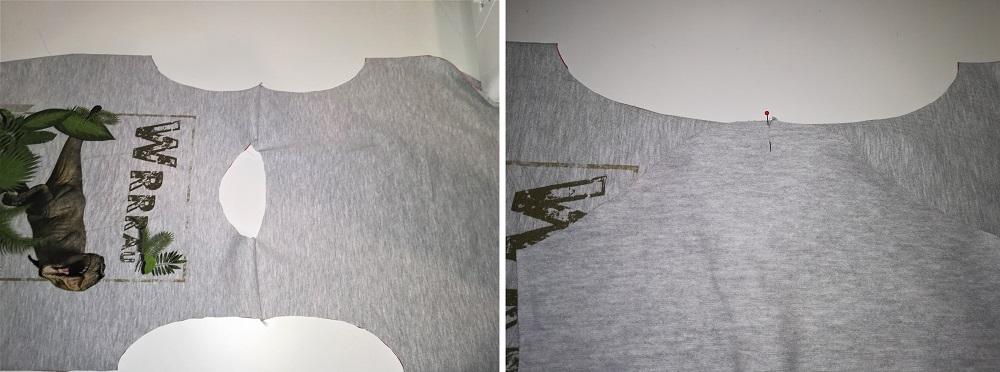
6. Pin the entire sleeve to the armhole cut and sew on both sleeves.
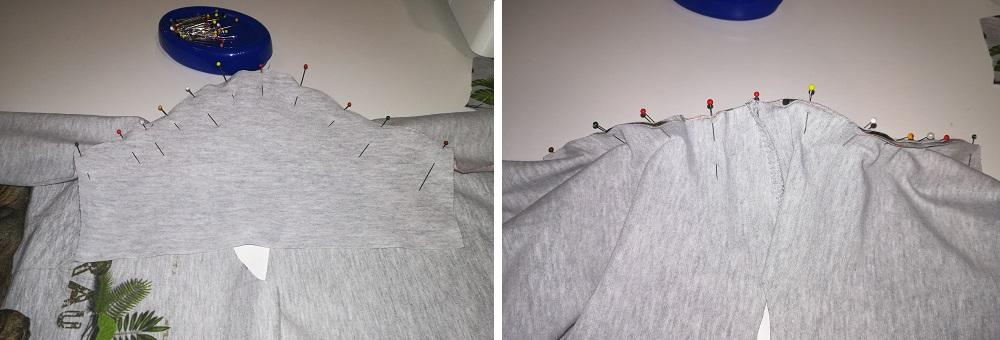
7. Place the t-shirt right sides together and pin the sides and sleeves together. The sleeve and side of the t-shirt are sewn together at once, starting from the sleeve, through the armpit to the bottom of the t-shirt.
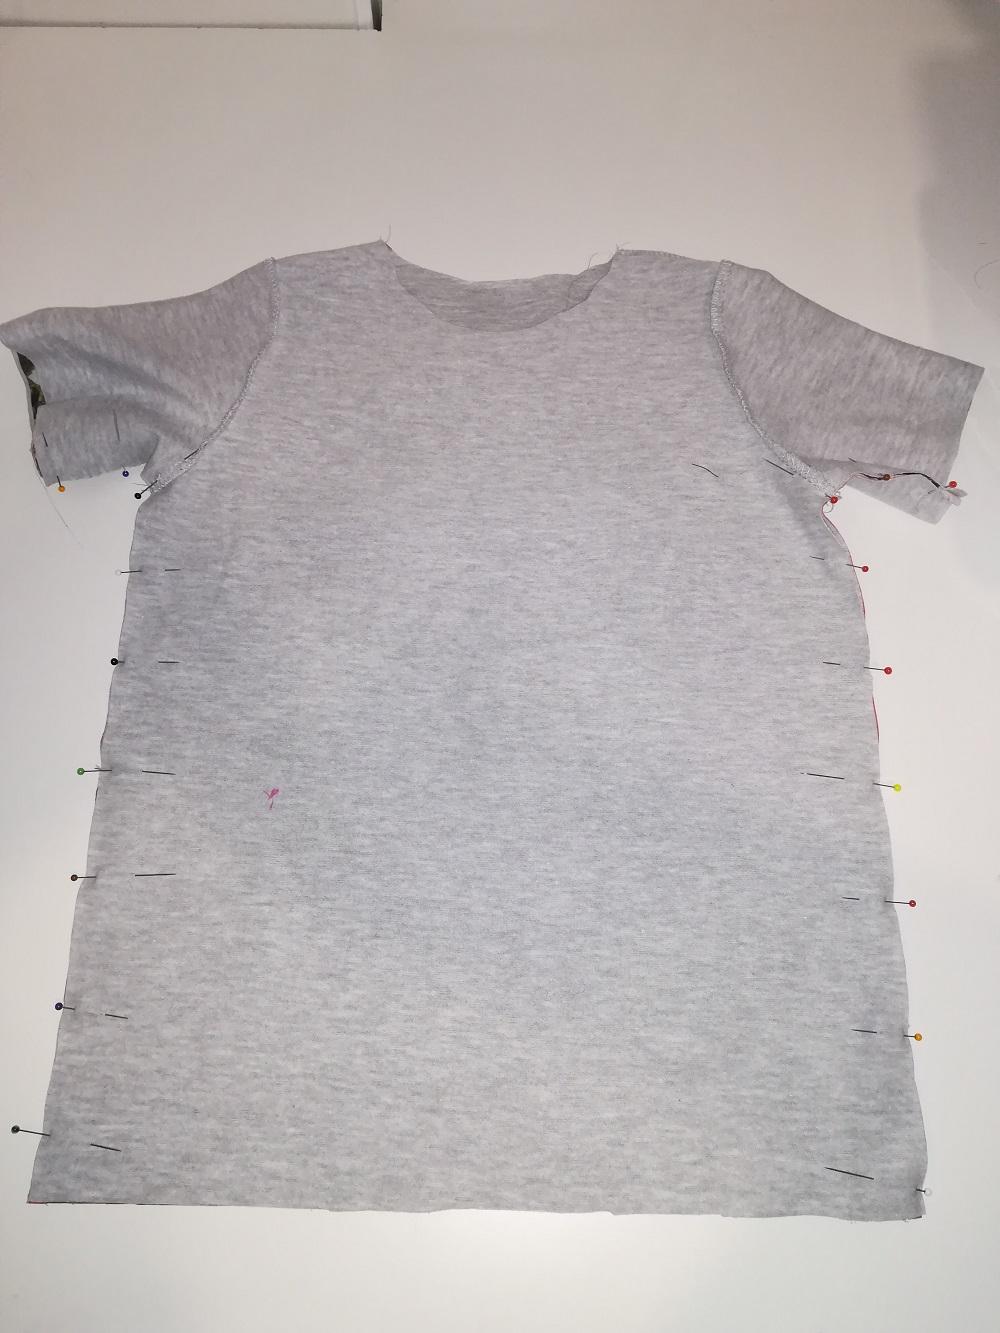
8. Sew the neckline pleat, the short sides right sides together. Then divide the pleat into 4 equal lengths. Also divide the T-shirt neckline into four equal sections. It's best to mark the center of the front and the center of the back, and then the middle of the sides. Remember that the shoulder seams are not in the middle of the sides because the front neckline is deeper so it has a longer line.
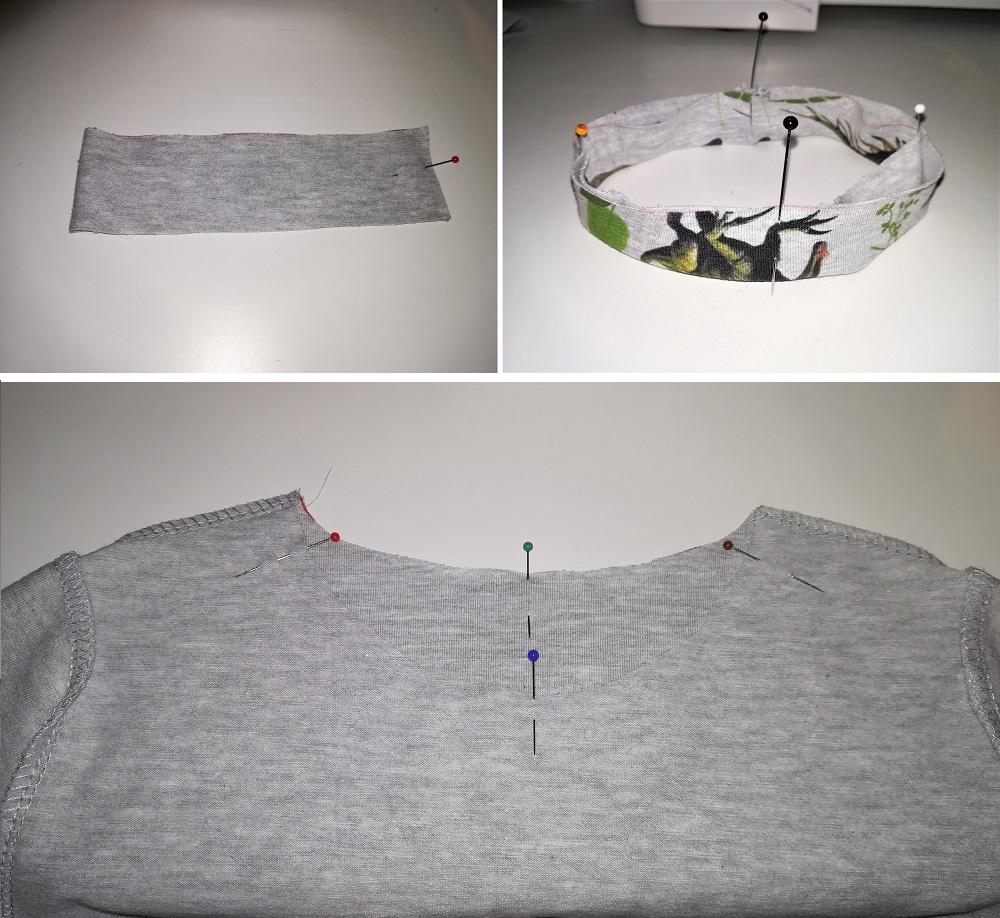
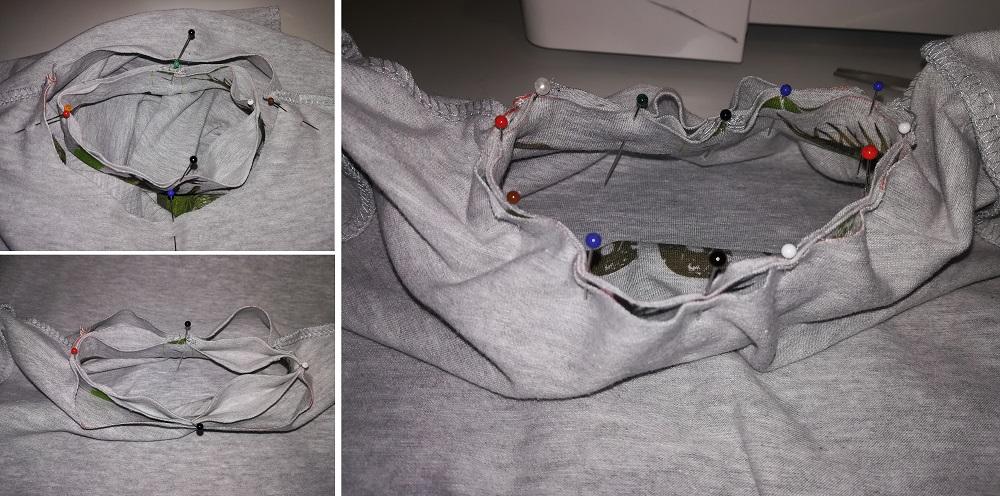
9. Connect the pleat with the neckline at the designated points. The seam connecting the pleat is best placed at the back of the neckline. While tightening the pleat, pin it to the neckline. All three layers of material must form one edge. No layer may stick out or be hidden.
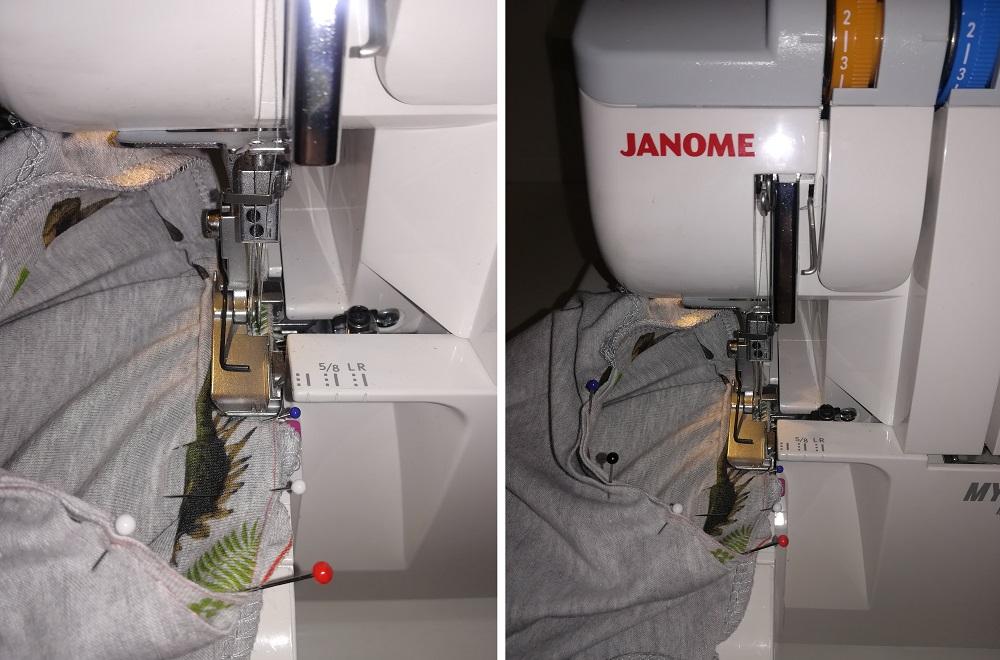
10. Sew in the pleat, slightly stretching it, but BEWARE! place the t-shirt under the machine so that the pleat is on top. Thanks to this, the teeth of the carrier will add an excess of the neckline and it will be nicer than if you sew in the other side.
11. Roll up the sleeves once for about 2 cm, and the bottom for about 2.5-3 cm and sew it. I used an coverstitch machine, but if you do not have such a machine, first serger the edges, and then fold it up and sew with elastic stitch or a double needle on a multi-purpose machine.
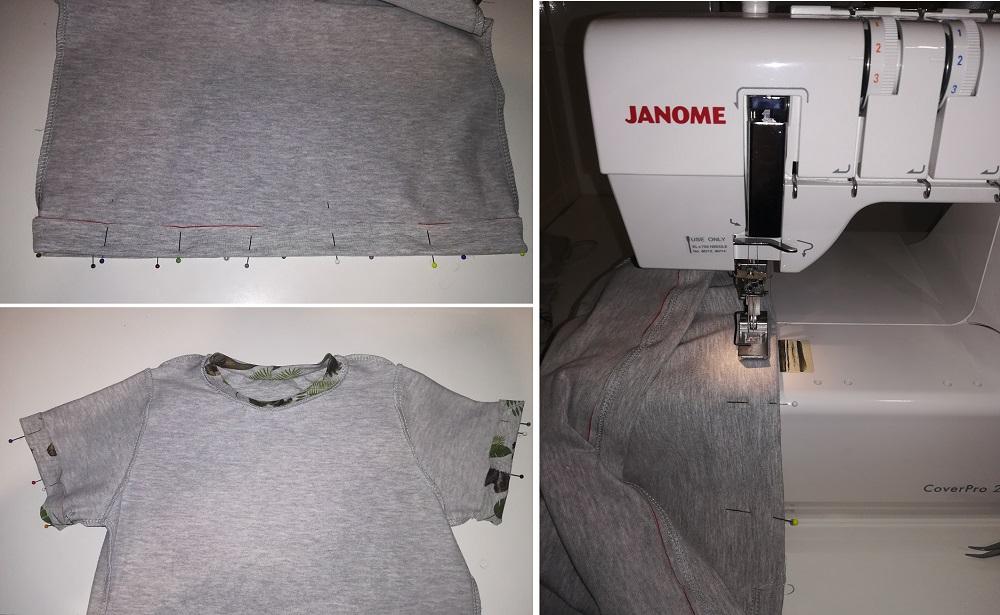
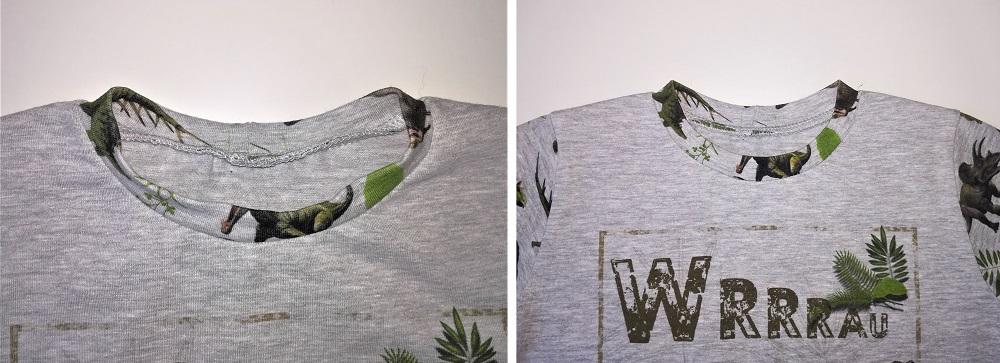
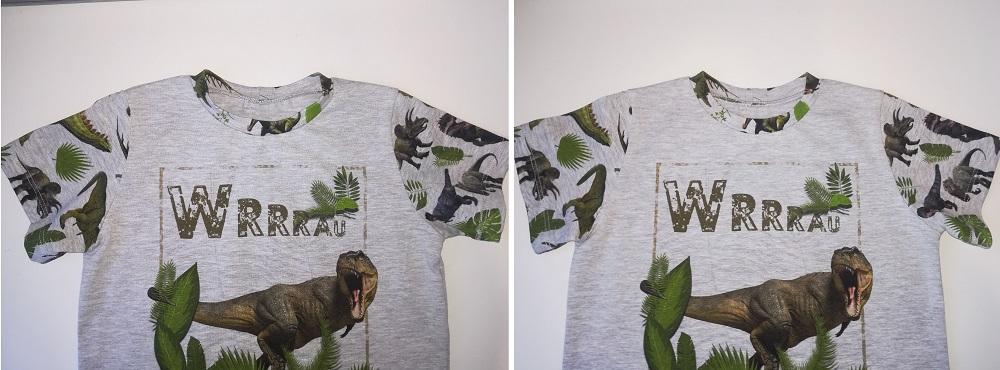
12. T-shirt ready, but the icing on the cake will be ironing it. See how much nicer the pressed pleat in the neckline looks. On the left, photos before ironing, and on the right after. Isn't there a difference? The iron is a true friend of the seamstress ;)
We have also prepared a short video for you, in which we show that sewing this t-shirt really takes 15 minutes. <clic>
Post Comments (0)
To add a comment, you must be a registered customer.
click here to log in


