25/10/2021
| in category:Zipped sweatshirt with stand-up collar
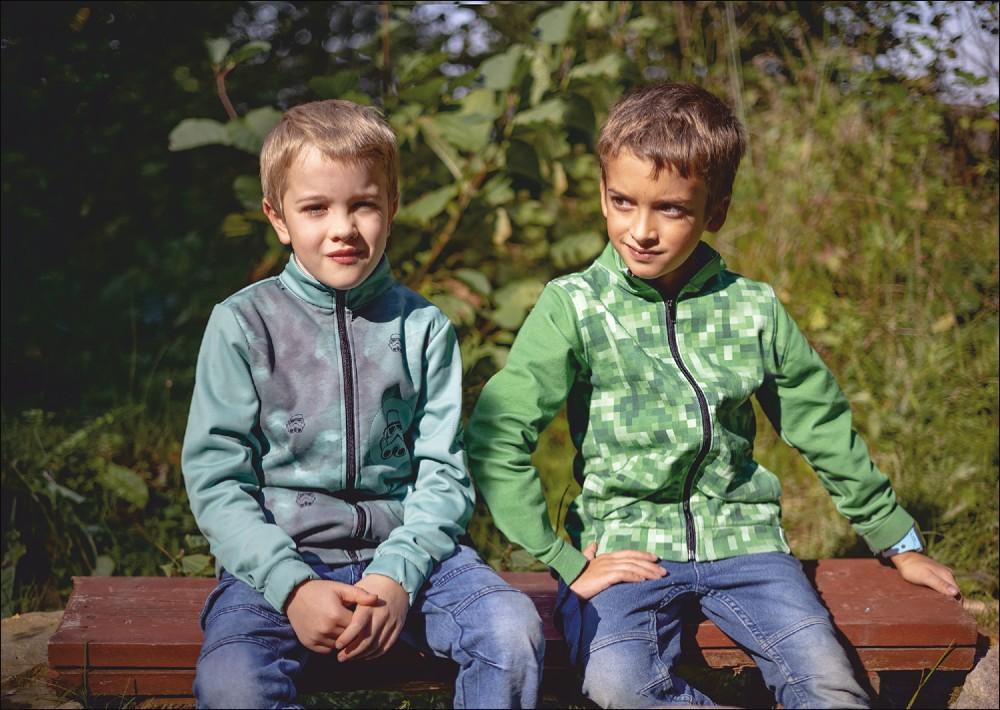
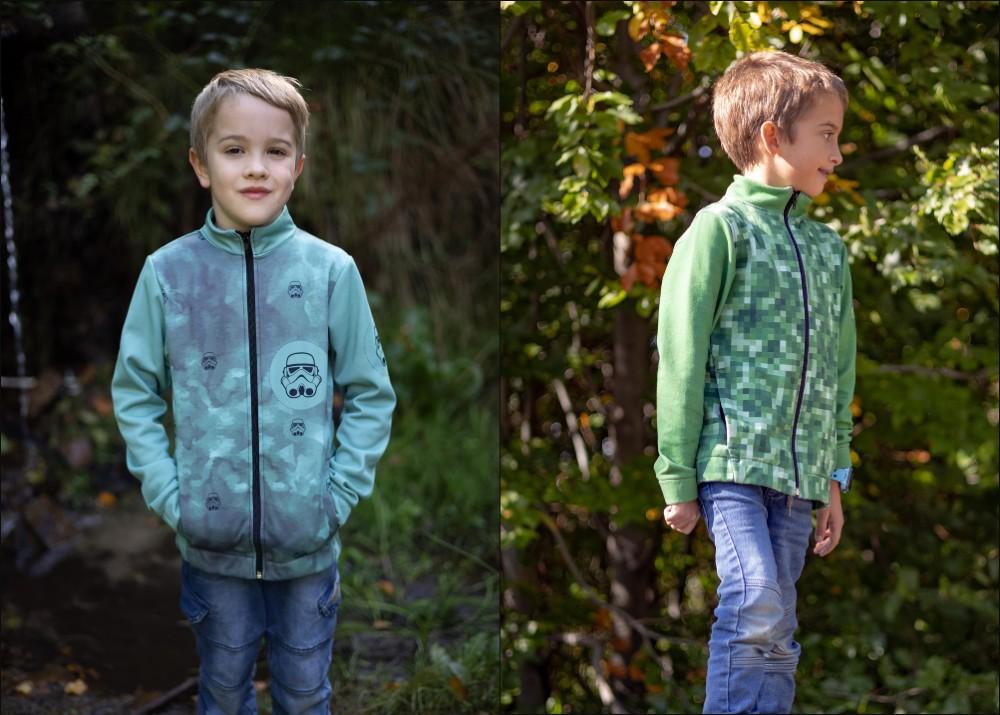
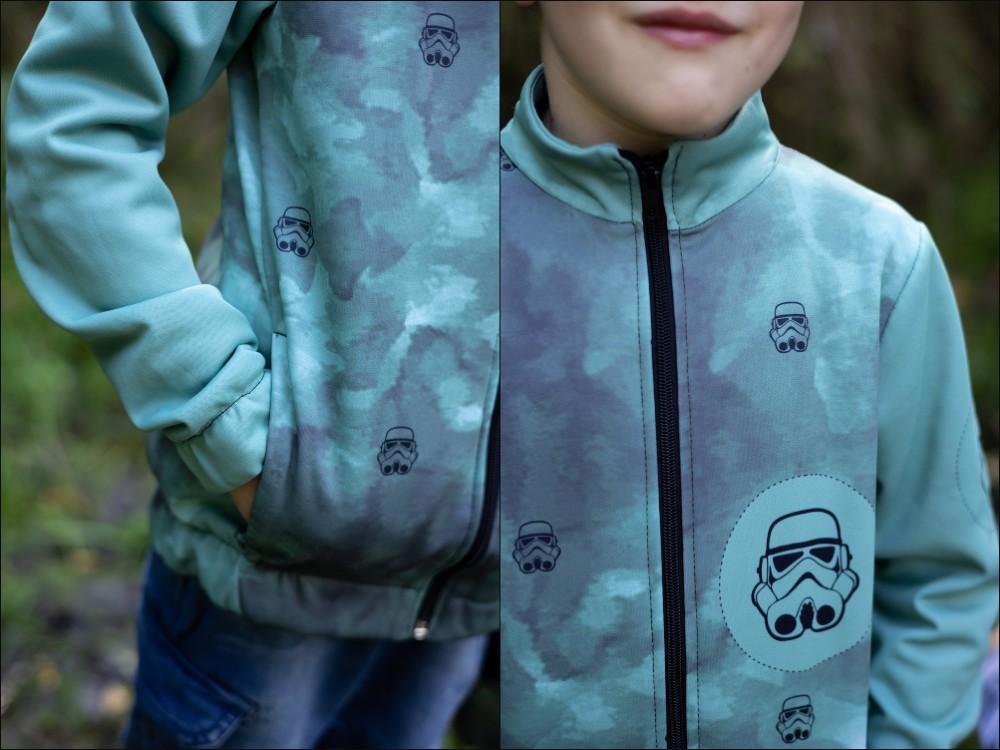
"MAX" is a design dedicated to the youngest, which is useful in several circumstances: at training, at school or on a long active walk. A wide size range, a stand-up collar to protect your child's neck from the wind, a full-length zip to make changing very easy and two side pockets make this design very practical. The functional material, which is lightweight, breathable, slippery on the outside with a fleece on the inside, perfect for dressing in layers will ensure comfort in conquering the world!
You need:
- a DIY set from our shop. It contains a panel of soft, functional brushed knit fabric with printed sweatshirt elements, a zipper and a rubber band.
- A multifunctional machine and a serger. If you don't have a serger use an overlock stitch or zigzag stitch from your machine.
- Sewing accessories (soap, pins, scissors, unstitcher, centimeter, hand sewing needle), zipper sewing foot.
- THE MACHINE NEEDLE IS VERY IMPORTANT HERE - USE A STRETCH TYPE NEEDLE. We recommend this one: https://dresowka.pl/en/schmetz-stretch-needles-5-pcs-set-mix.html?___from_store=de_en
Before you start work, remember - DO NOT wash the panel before sewing and this is crucial. Washing such a set before sewing can result in the individual pieces not fitting together after cutting, they will be skewed. Therefore, wash only after sewing the set.
1. Cut out all the elements of the sweatshirt from the panel

POCKET BAGS
2. Place the pocket bags, right side to the right side of the front of the sweatshirt, 10 cm from the bottom. Sew to the width of the sewing foot. Start and finish 2.5 cm from the top and bottom of the pocket bag.

3. At the point where the seam ends, make incisions towards the seam (the front of the sweatshirt NOT THE POCKET BAG)

4. Turn the pocket bag inside out (you will do it easily thanks to the incisions). Align, quilt across the top. I did it at a distance of 1cm, you can move this stitching away according to your preference.


5. Attach the other part of the pocket bag (right side to right side) and interlock perpendicularly (as in the second photo)


6. Use the serger to sew the pocket bag elements together, joining them.

SLEEVES
7. Sew the arms of the sweatshirt on the serger.

8. Pin the sleeve to the armpit cut, sew.

SIDES OF SWEATSHIRT
9. Join the sleeves and sides of the blouse, pin together. Sew it - pay special attention around the pockets to sew in all the pocket bag seam allowance. NOTE: Leave an unstitched 2 cm in reserve for rolling up the sleeves.


10. Quilt the seam allowances on a serger. Also overlock the edges of the front of the sweatshirt, to which you will sew the zipper, the bottom of the sleeves and the whole sweatshirt.
STAND-UP COLLAR
11. Sew the first element of the stand-up collar to the neckline. Join the second piece of the collar with the one already sewn to the sweatshirt.

12. Sew the seam in the stand-up collar, that is, sew the seam allowance to the back of the stand-up collar, quilting at 1mm.

ZIPPER
13. Remove the metal ends of the zipper. This will prevent possible needle breakage during the final stitching.
14. Pin the zipper to the sweatshirt. Start from the fold point you have marked at the bottom of the front of the blouse. Wrap the end of the zipper inside.
After sewing the zipper, fold up the bottom of the sweatshirt and sew through this spot again on the left side. Do the same with the stand-up collar, however, leave there UNSEWN 1cm from the bottom of the stand. This will allow you to fold it up nicely.

15. Turn the lock to the right side. As you can see its beginning and end have been hidden.


ROLLING UP THE STAND-UP COLLAR
16. Turn up the lower edge of the stand-up collar and baste it to a sweatshirt. You can use AQUA ARENA thread for this purpose, which will disappear when in contact with water or steam.
EASIER VERSION - hem the bottom of the stand-up collar on a serger and sew it to the sweatshirt, leaving such a finish.

17. Sew the bottom of the stand-up collar to the sweatshirt.
IMMOBILIZATION OF POCKET BAGS
18. Put the pocket bags under the zipper, fasten them with pins. This will make them immobilized when stitching the zipper.

19. Adjust the length of the elastic to your preference.
Turn the bottom of the sweatshirt to the left side. Sew the elastic to the seam allowances.


20. Rollover to the right, pin up the fold and quilt. Lockstitch the zipper as well.

SLEEVE BOTTOM
21. Roll up the sleeves to the same distance as the bottom of the sweatshirt, pin up, quilt. Pull the elastic, in the hole left before, align, sew. Sew the hole by hand with a coverstitch.

Done!


Iwona Bartczak
Post Comments (0)
To add a comment, you must be a registered customer.
click here to log in


