


28/08/2020
| in category:How to make an open-front sweatshirt from a hoodie kit


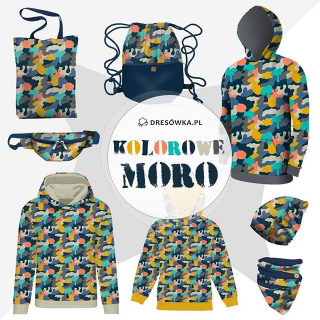
The kits available at dresówka.pl are a great option for beginners and anyone who values their time and simple solutions. They are also a fantastic starting point for more advanced projects. In the following post, I will show you how to remake a children's hoodie "ALEX" into an unzipped sweatshirt.
You need:
- a kit for a hoodie
- a zipper (for the sweatshirt 122-128 I used a 50cm, black, split, cube zipper)
If you would like to add some cord in the hood, and hide the seam under the camouflage pleat you also need:
- 2x 12mm grommets
- 1 m of the cord
- a piece of interlining (necessarily)
- a piece of piping
- I added a size tag as well.

A few technical notes at the start:
- The tutorial does not show the use of interlining, I hoped that it would be possible to acquire the eyelets without it. Practice has shown that this was a mistake, so don't duplicate it after me ;)
- To hide the seam I used cotton piping. You can easily use a knitted one or make it yourself from fabric scraps, which surely can be found on the bottom of your stash.

2. Front part of the welt you need also fold in half and cut. Sew the bottom welt pieces together.

3. Sew the elements of the blouse together. You can find detailed instructions here.

4. The blouse at this stage should look like this:

Now you need to adjust the hood.
5. Sew the inner parts of the hood and the outer parts of the hood.

6. Take one part and clip it to the sweatshirt starting from the center of the back of the sweatshirt.

7. In the original design, the hood comes down the front overlap. Thus, it is a bit too long for an open-front sweatshirt. We can fix it in a moment. First, make a mark on the hood where the front of the sweatshirt reaches. Add about 2 cm (toward the front of the hood) and draw a line upward.

8. Cut off excess material.

9. Sew the inner and outer parts of the hood together.

10. If you decide to use cord in the hood you need to prepare a place for eyelets. The simplest and cheapest version are crimping eyelets. Mark where you want the eyelet (about 1cm from the edge of the hood, 2cm from the bottom), GLUE SOME FLEECE IN THIS PLACE. Trace the inner circumference of the eyelet, cut it out, score the eyelet.

11. Tighten the "whiskers-clamp" of the eyelet, for example, with the handles of scissors. Fold the hood (left side of the top layer to the left side of the top layer) and mark where the eyelet should be on the other side and score it. Fold the hood (left side of the top layer to the left side of the bottom layer) and sew around to form a tunnel for the cord.

Time for the zipper
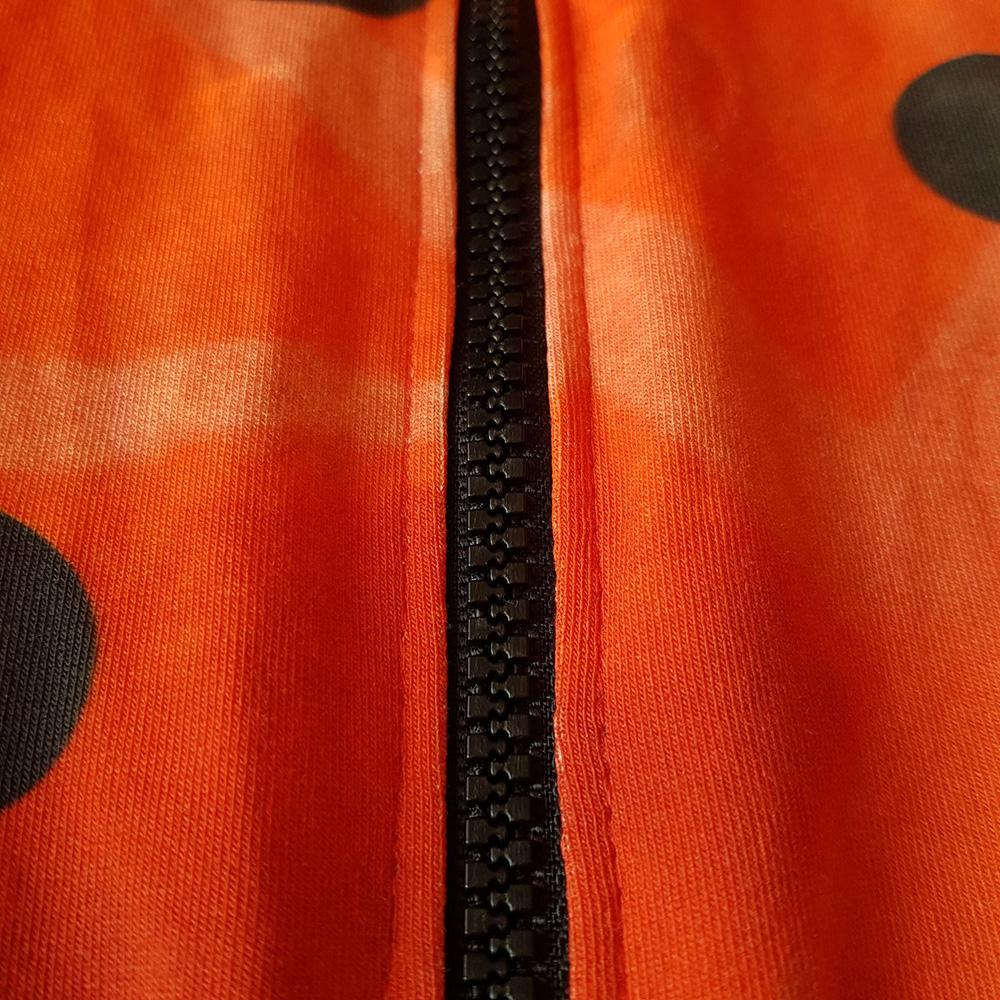
12. Pin one side of the zipper to the blouse (right side to right side). Then do the same on the other side. Make sure that the fabric has not stretched during this step. Just to be sure, BASTE the zipper to the sweatshirt. This will take a little more time, but it will give you the assurance that you won't stretch the fabric while sewing and sew the zipper perfectly.

13. Bend the excess zipper at a 90-degree angle.

14. Sew the zipper using the zipper foot.

15. "Fold" the zipper inward and stitch across the top.
16. Pin the finished hood to the sweatshirt starting from the center of the back.

17. Sew on the hood. Do it slowly near the zipper. Cut off the excess zipper tape. If it doesn't look aesthetically pleasing now, don't worry, you'll soon hide it under the piping.

Masking pleat
18. Unfold the ironed out piping, then bend its edge inward and attach it to the edge of the seam which you will be hiding under it. Sew the piping by sewing where it bends and exactly along the seam connecting the sweatshirt and hood. At the end of the seam also fold the edge of the piping inward.

19. Sew the label in the middle of the piping. Fold the piping. Cut off the seam allowance that you are hiding. Sew the piping across the top and mask the unsightly seam.


20. Thread the cord to the hood (for example, using a safety pin or hair pin), dress your model and run to take pictures! We look forward to seeing the results in our contact group

Małgorzata Michalewska
Post Comments (0)
To add a comment, you must be a registered customer.
click here to log in