
Baby nest
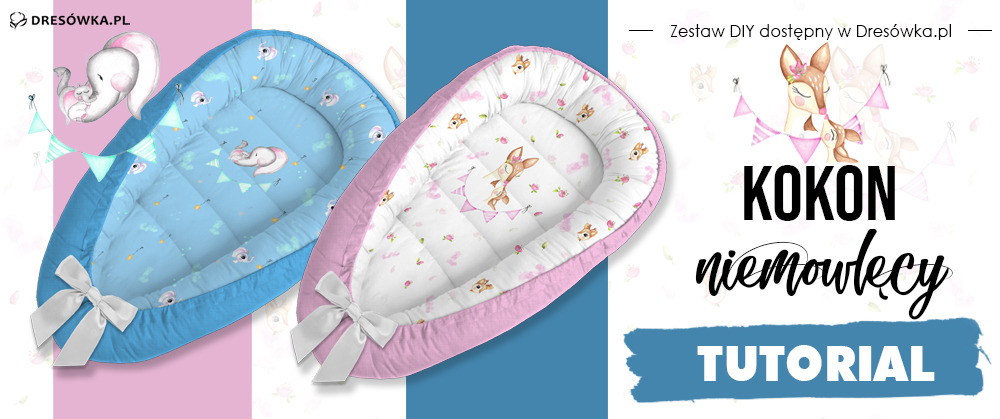
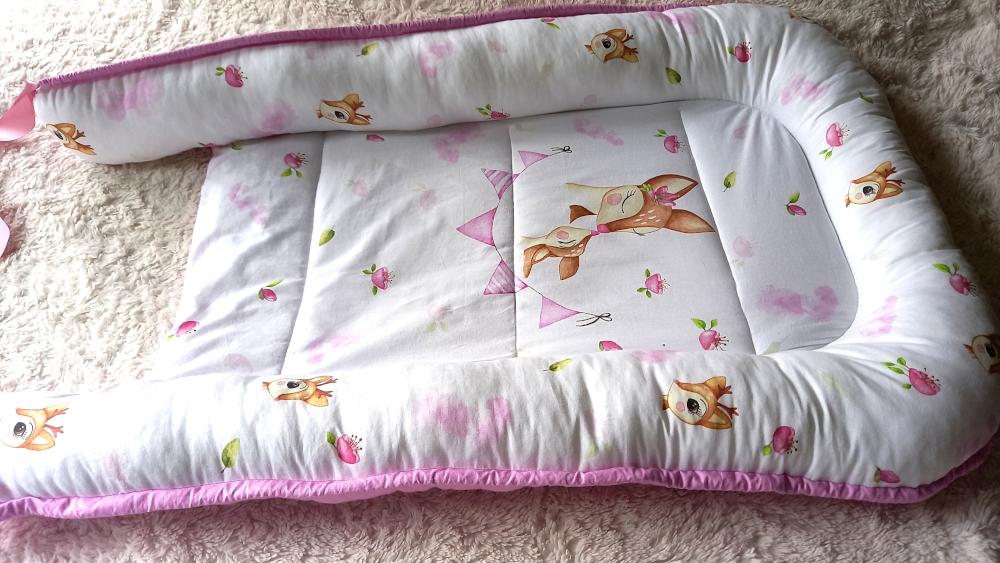
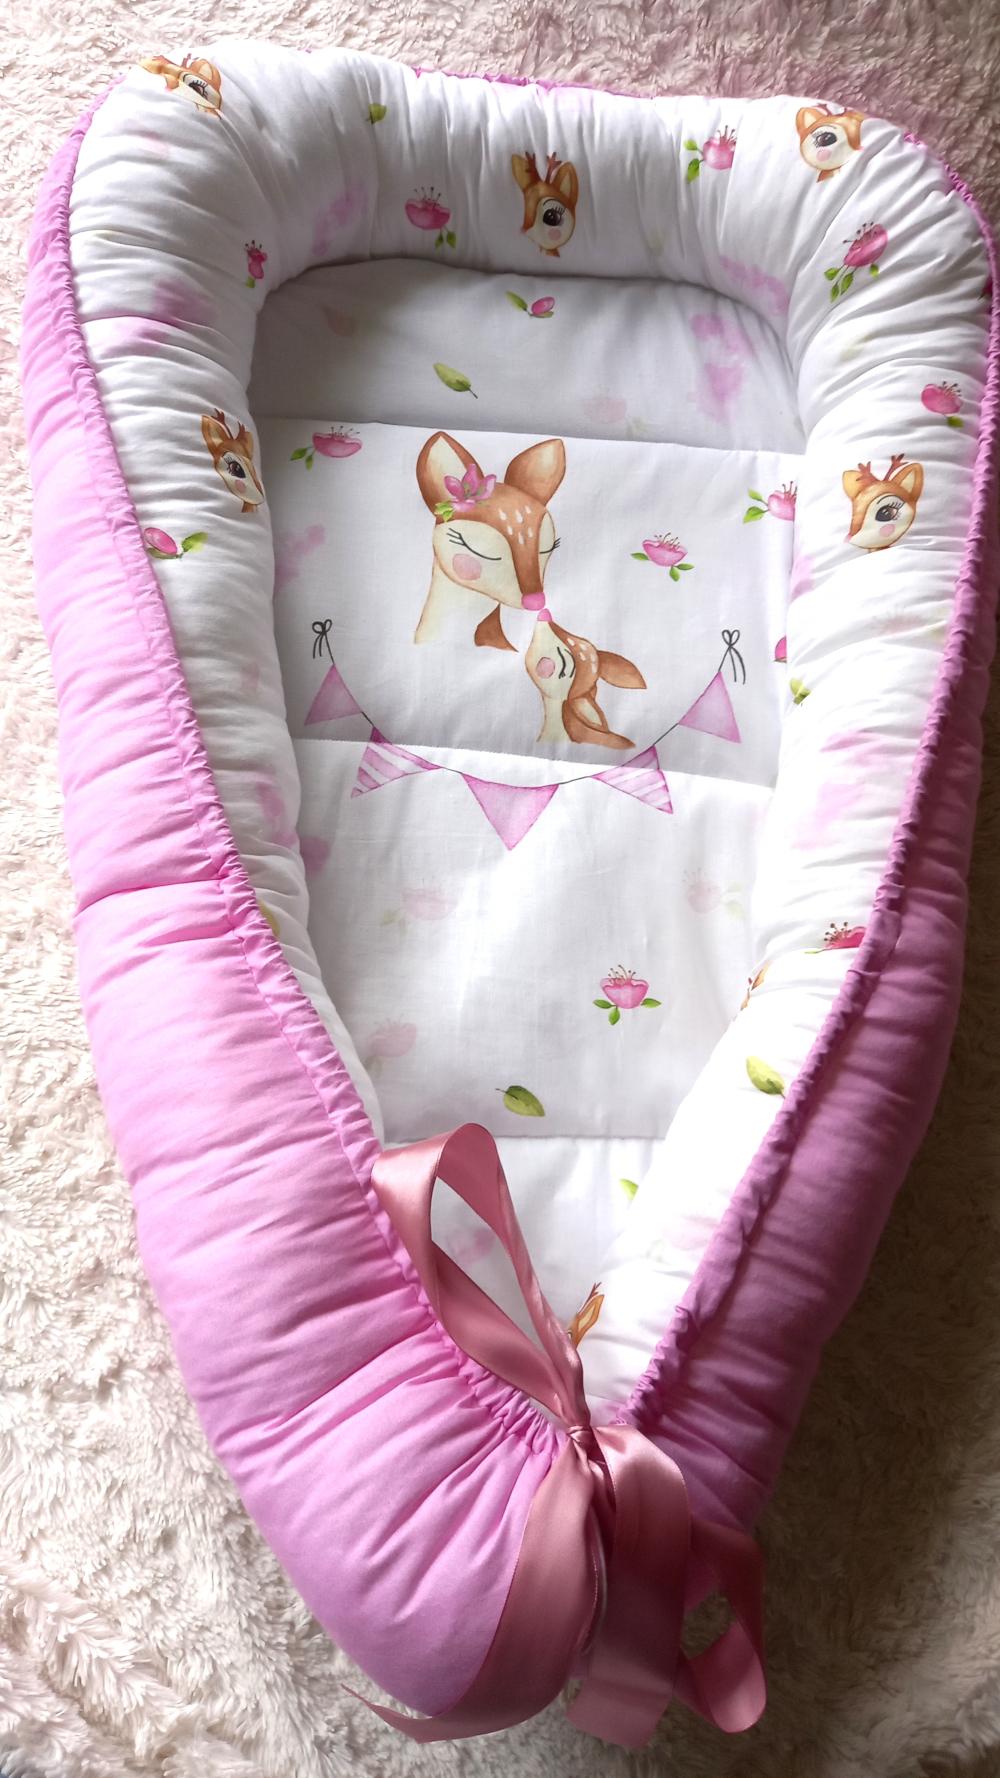
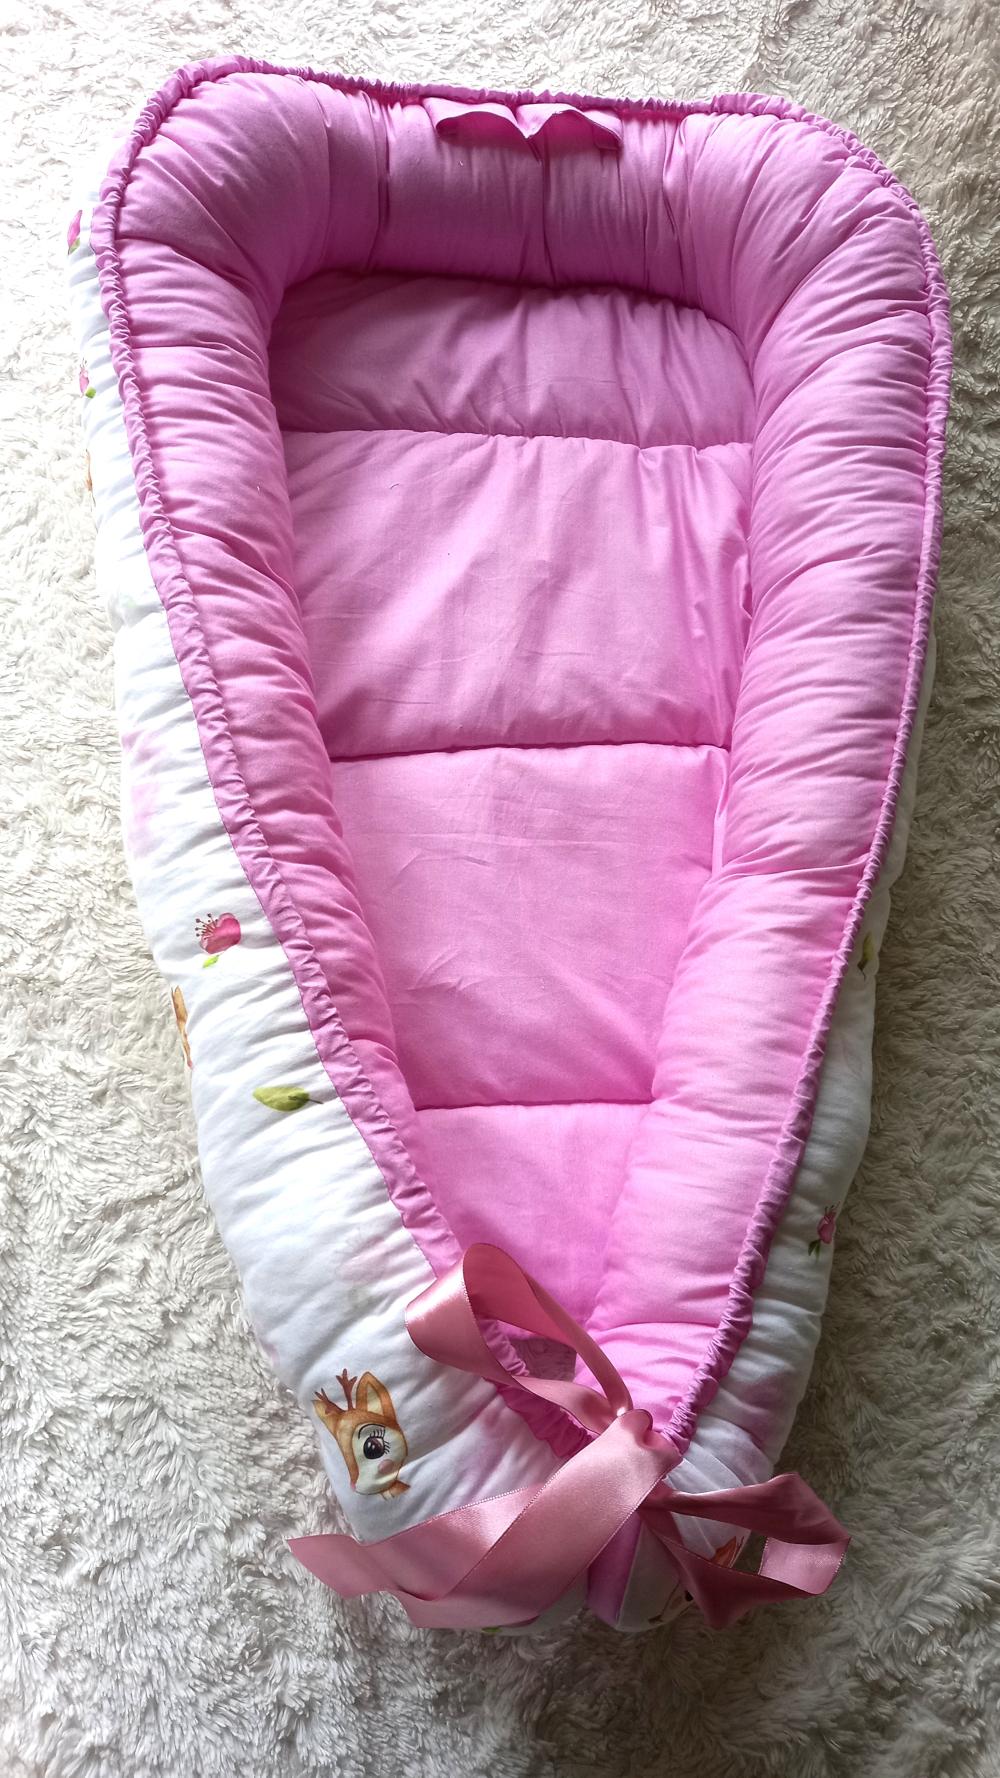
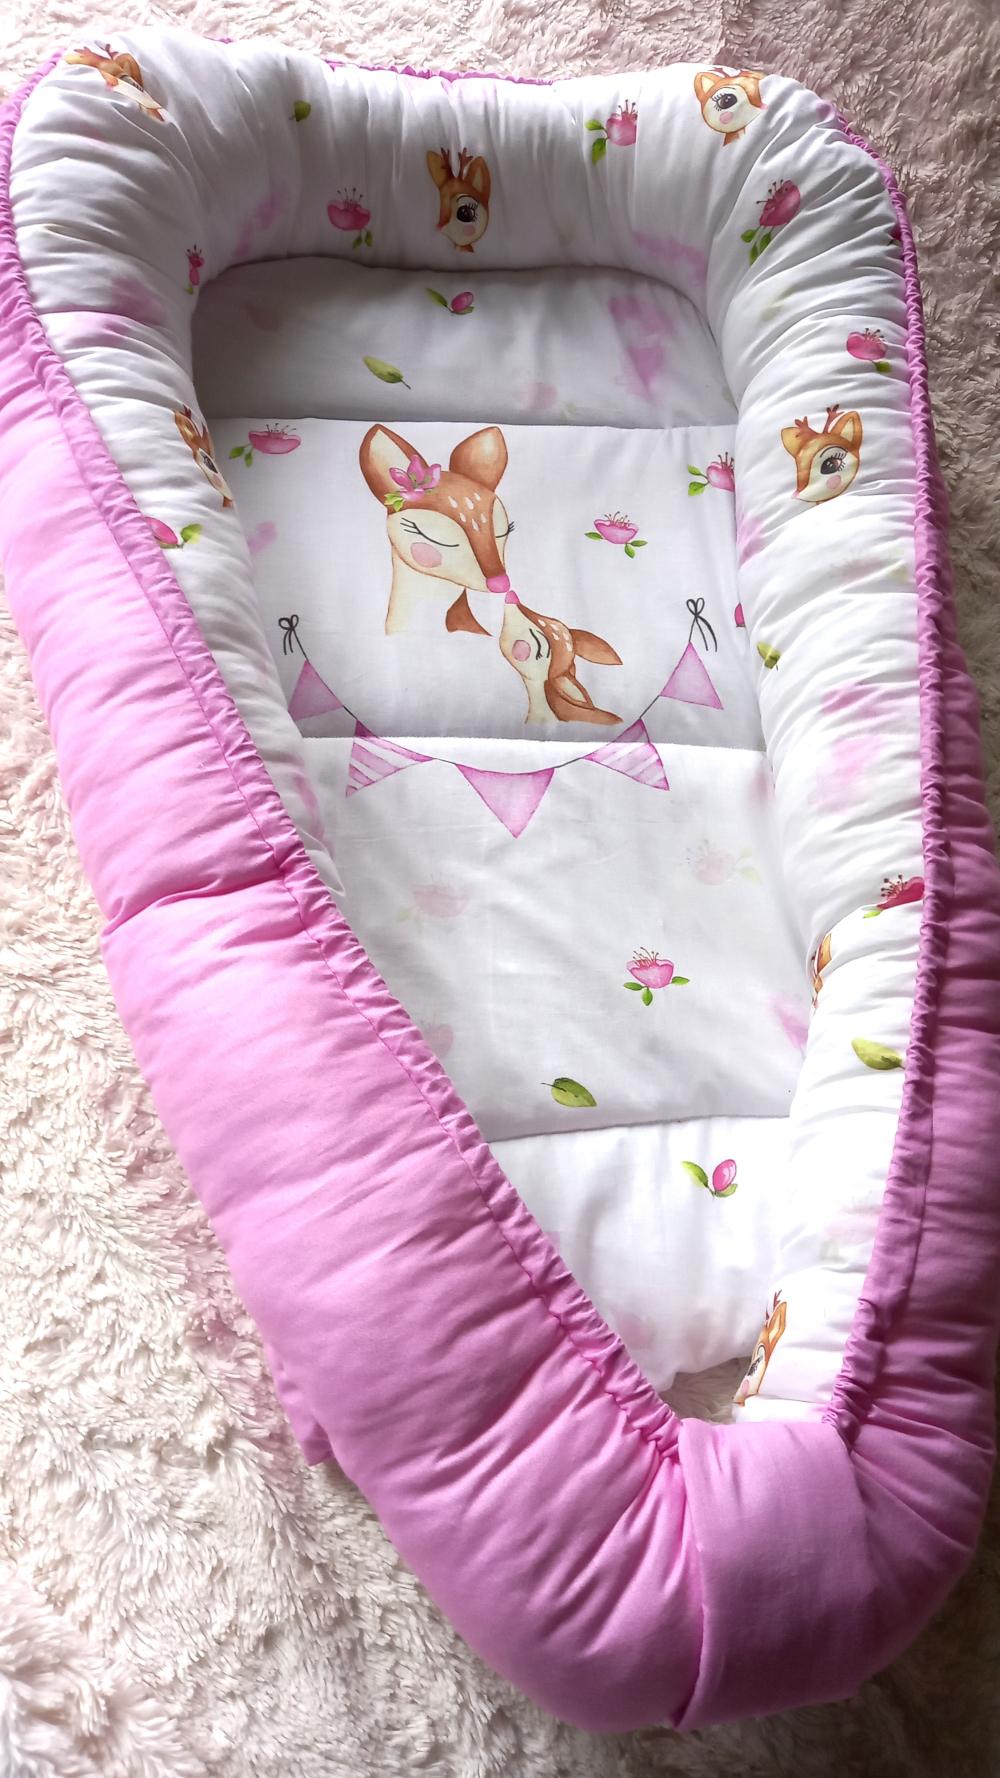
The baby cocoon, nest or babynest has many names but one main purpose, which is to create a cozy yet safe place for our little one to sleep. When we were completing a layette for our oldest daughter, it wasn't on the list, and I'll be honest, it was a huge mistake. Our almost 4-month-old toddler loved the cocoon from the first sleep. She can sleep in it continuously for several hours, so we highly recommend it to other future parents. The cocoon is double-sided, it can also function as a blanket for our toddler.
You need:
- a set from dresówka.pl
- sewing machine
- scissors
- pins
The set includes:
- silicone ball
- silicone wool lining
- ribbon
- velcro
Preparation:
From the silicone wool lining you received in the set, cut out pieces measuring:
42cm x 65cm and 64cm x 9cm
1. Cut out all the pieces along the black dots (don't leave the black dots unless you are sewing with a serger).
1x front of the cocoon
1x the back of the cocoon
2x rectangle
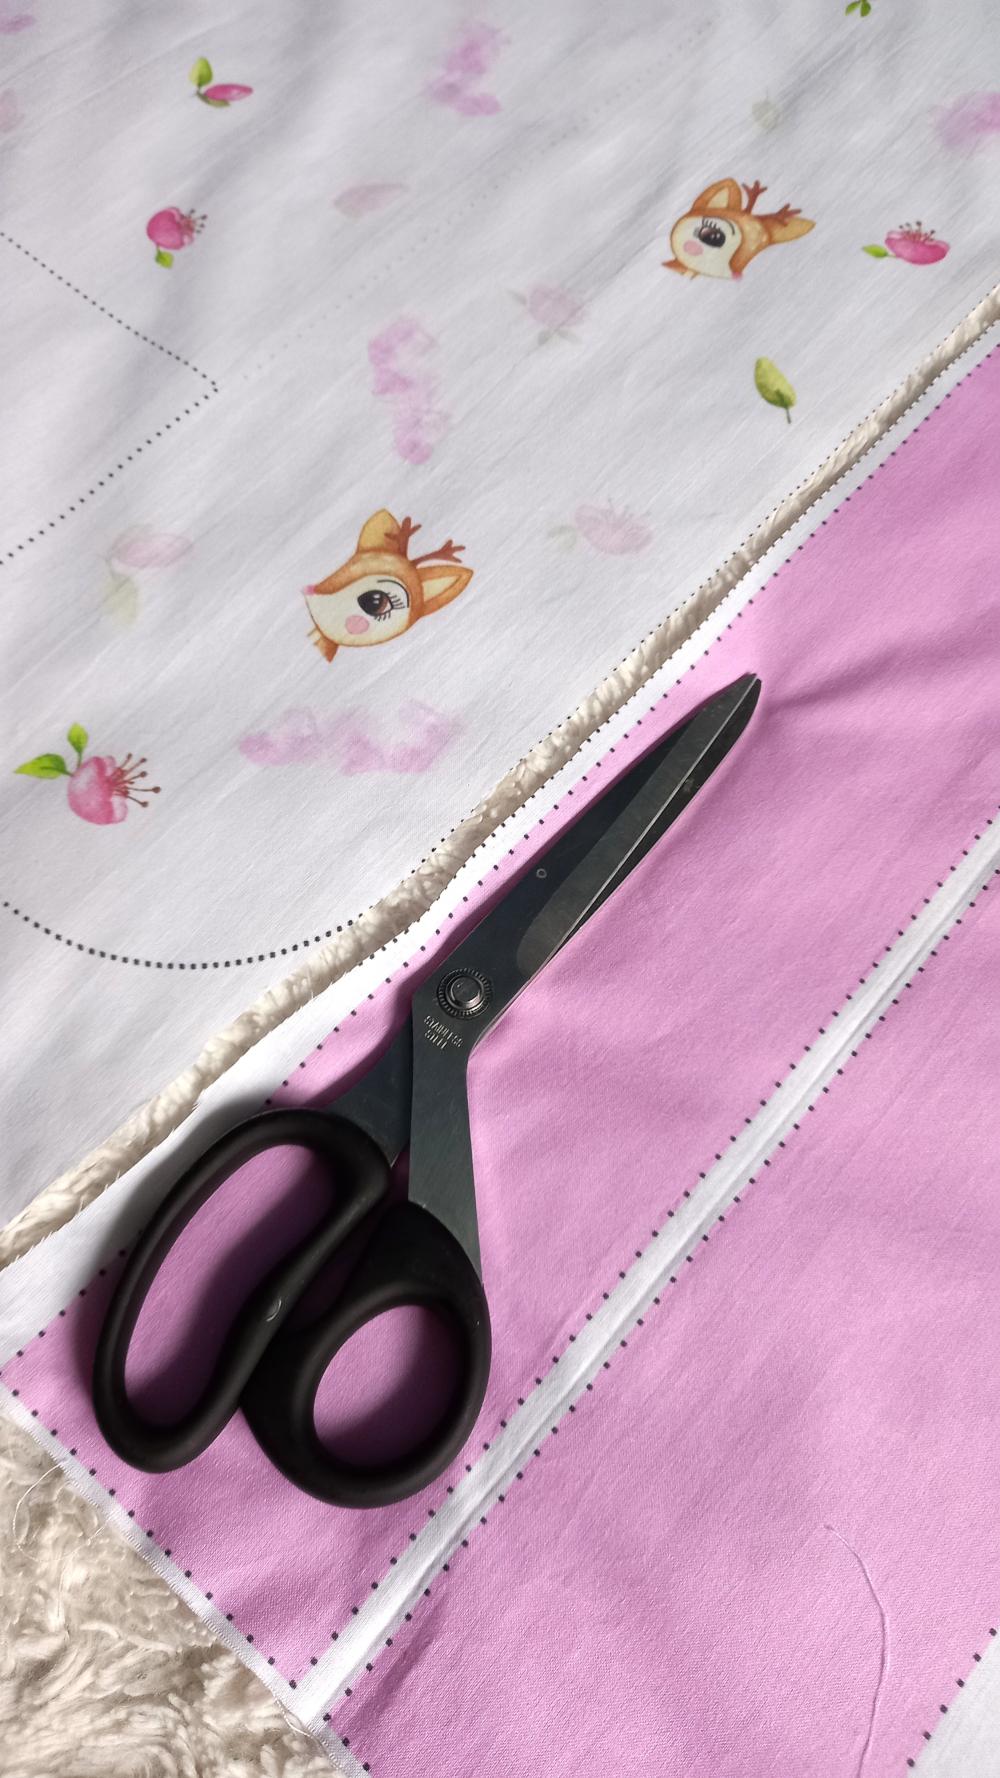
2. Cut the first rectangle into two pieces of 22 cm and 80 cm, the second into 34 and 68 cm.
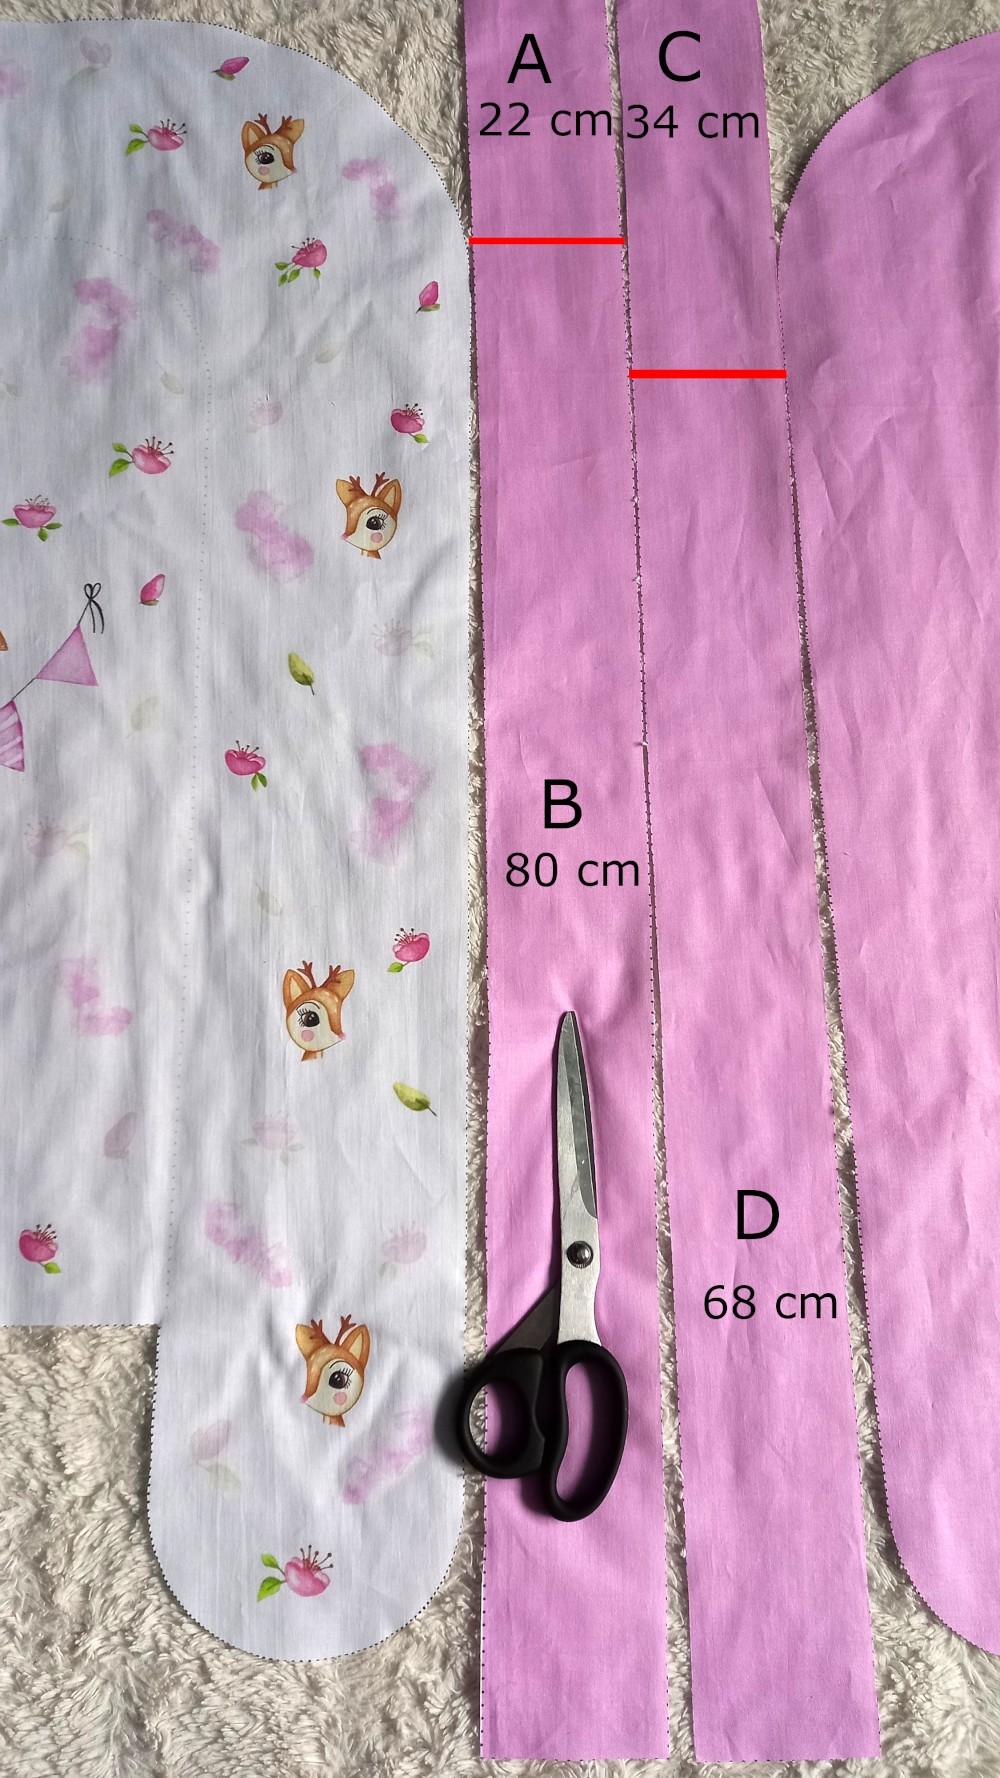
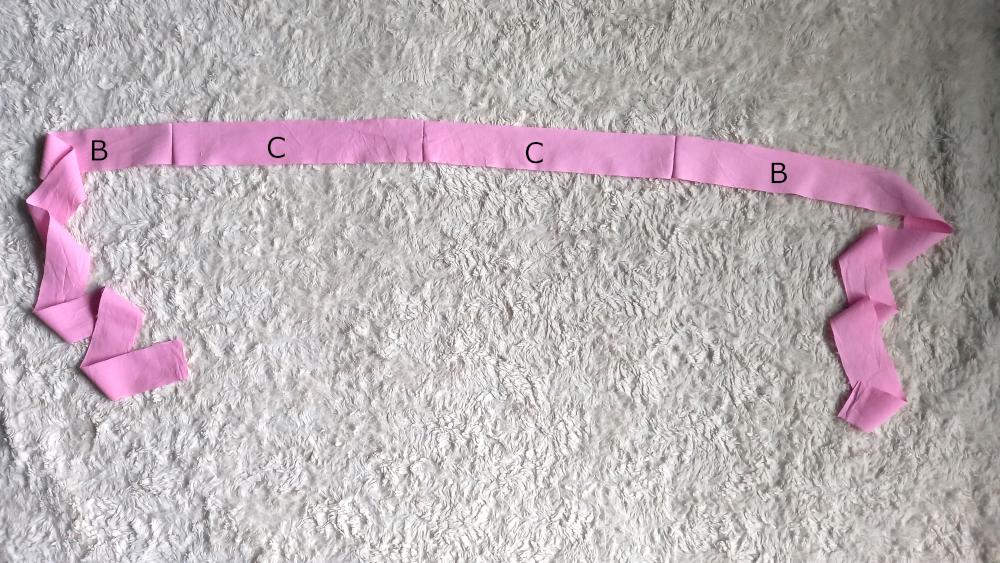
3. Cut rectangles of length 34 (C) and 80 (B) lengthwise.
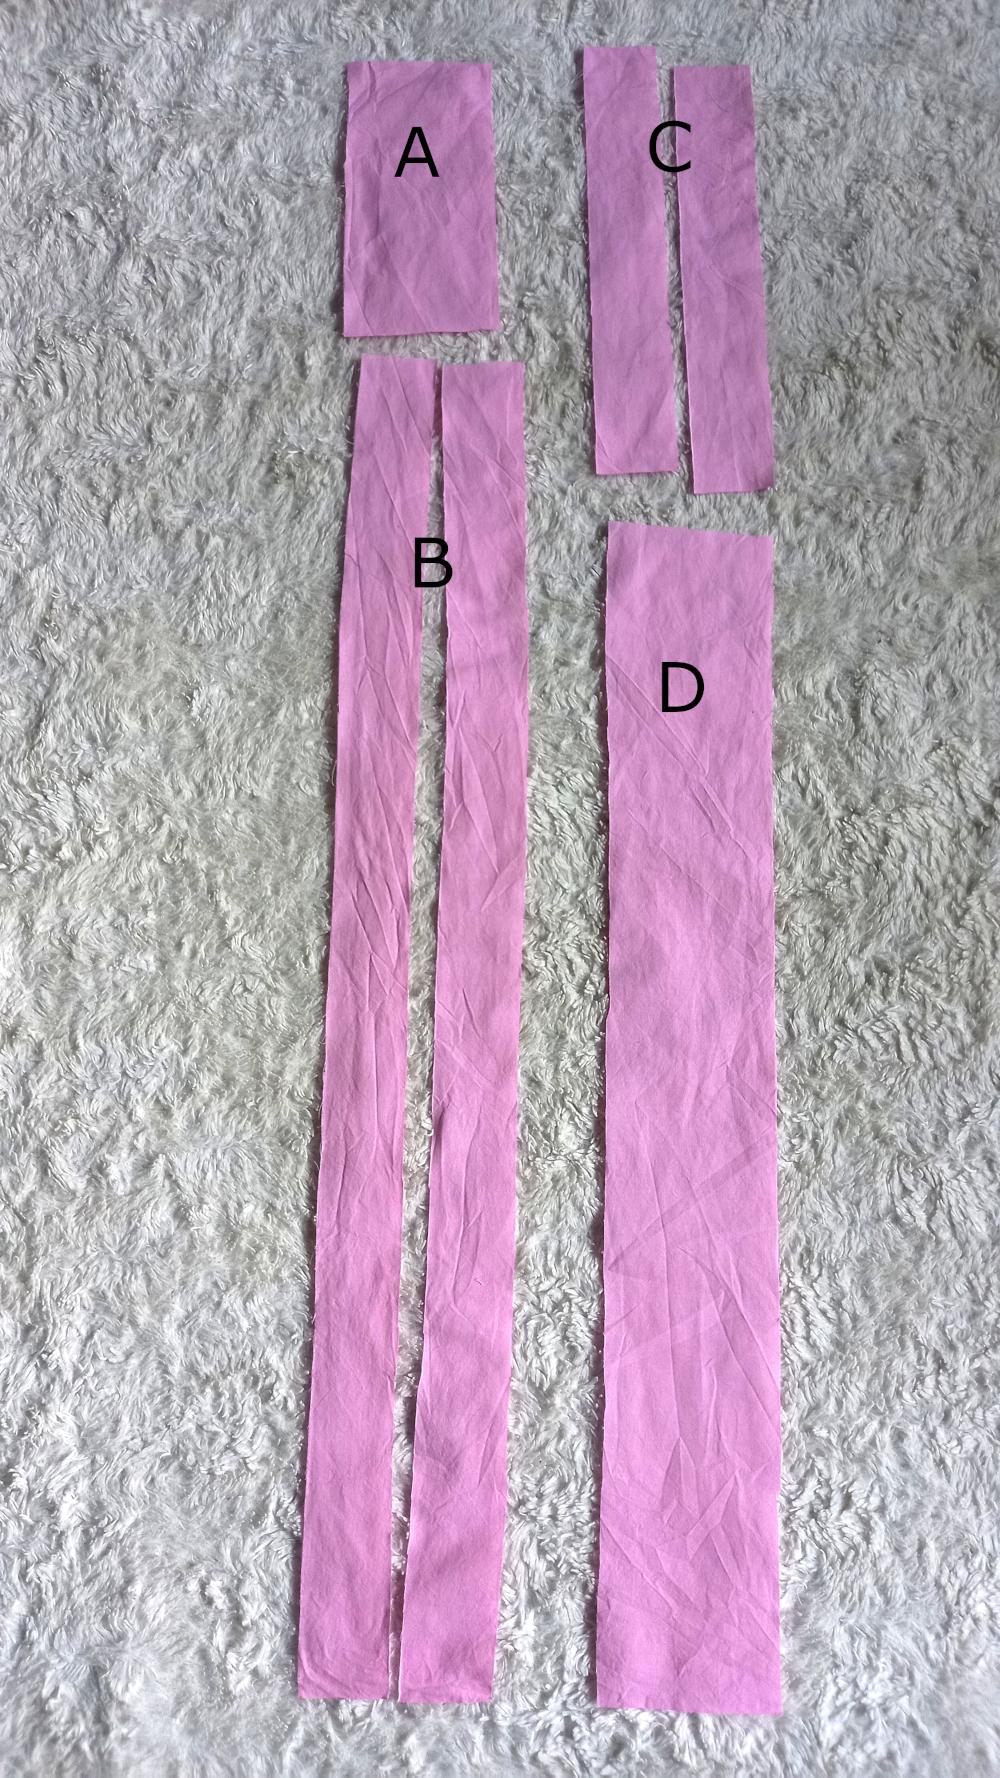
4. Sew rectangles C and B together (B, C, C, B) to make one long strip. Fold the strip in half lengthwise (left to left). This will create a long tunnel.
5. Arrange the front and back of the cocoon with the right sides facing each other, between them (at the outer long edge) lay the previously prepared tunnel. Its length should reach up to the corner.
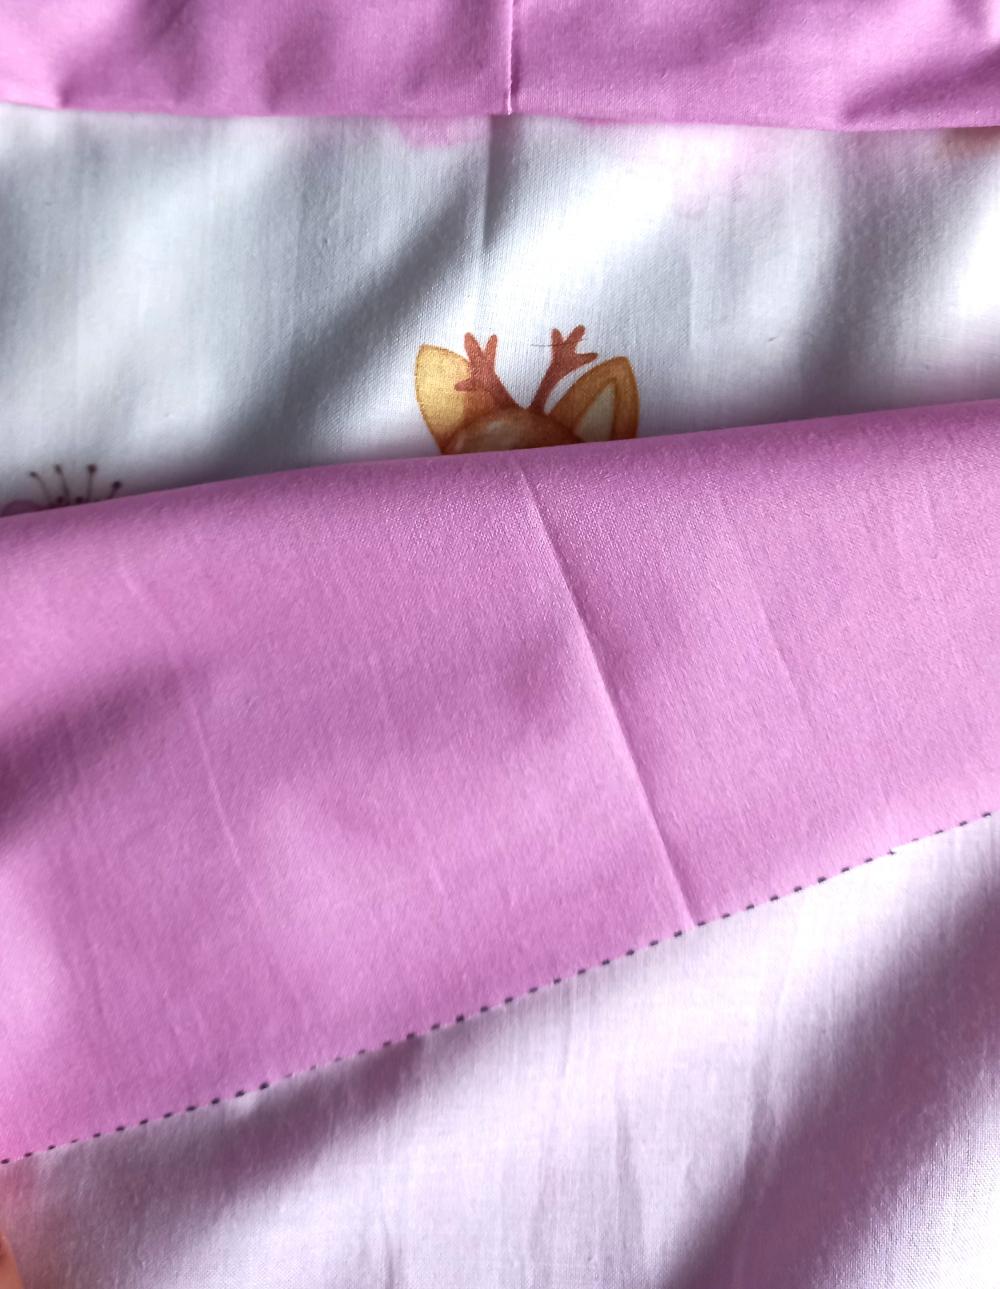
6. Cut the excess of the tunnel, fold its ends and secure.
7. Sew as shown in the picture (yellow line).
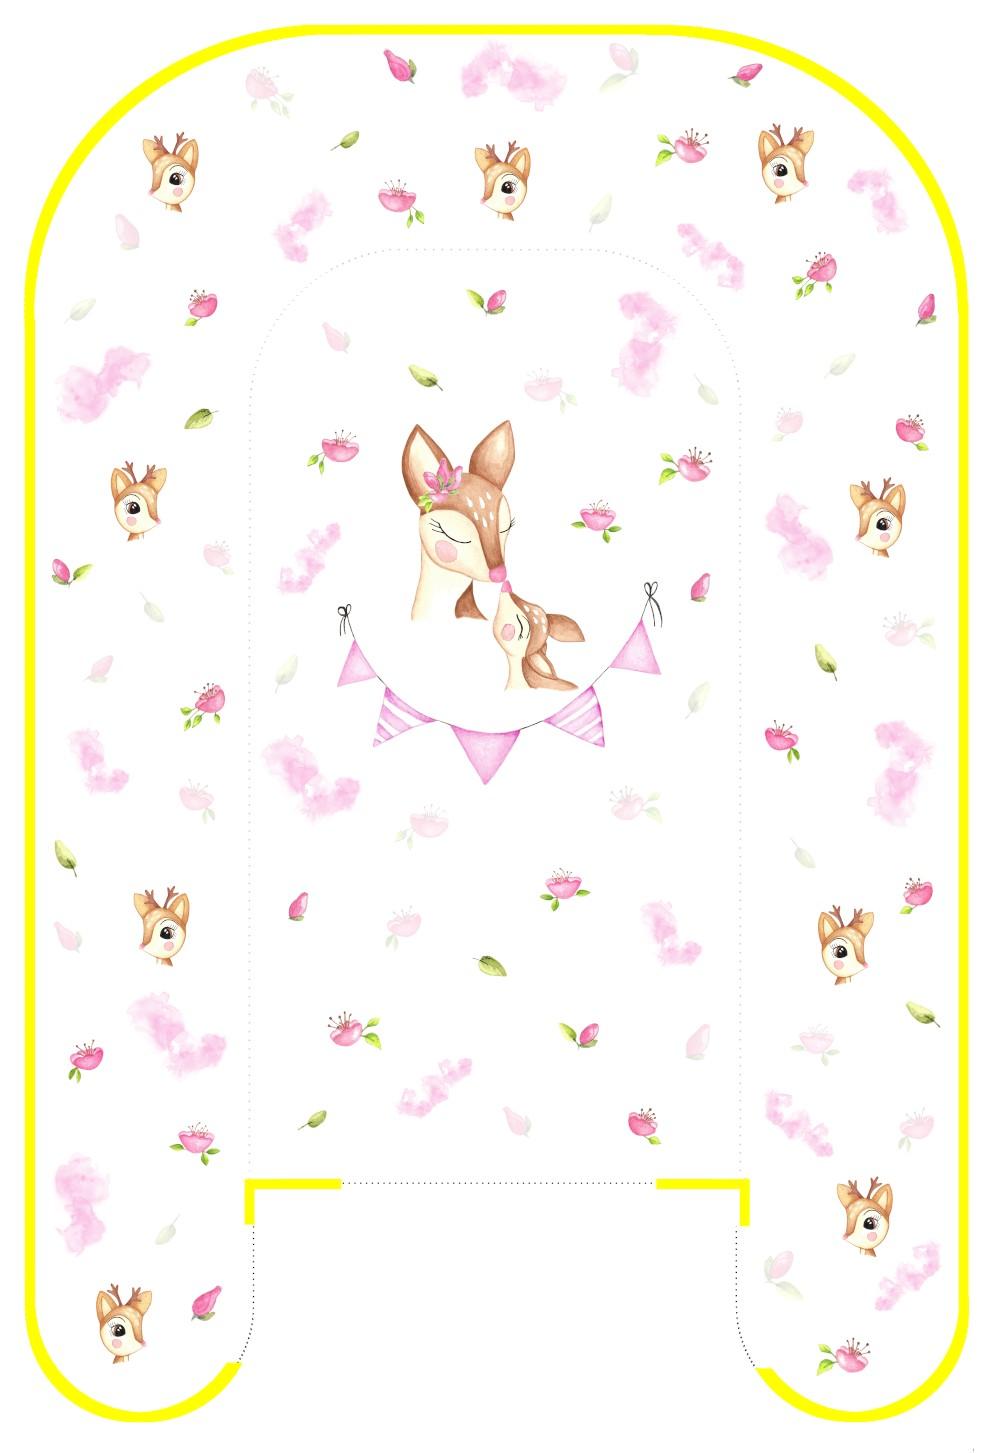
8. Turn out the cocoon to the right side.
9. Put a rectangle of silicone wool lining in the center, pin with pins and stitch over the gray dots.
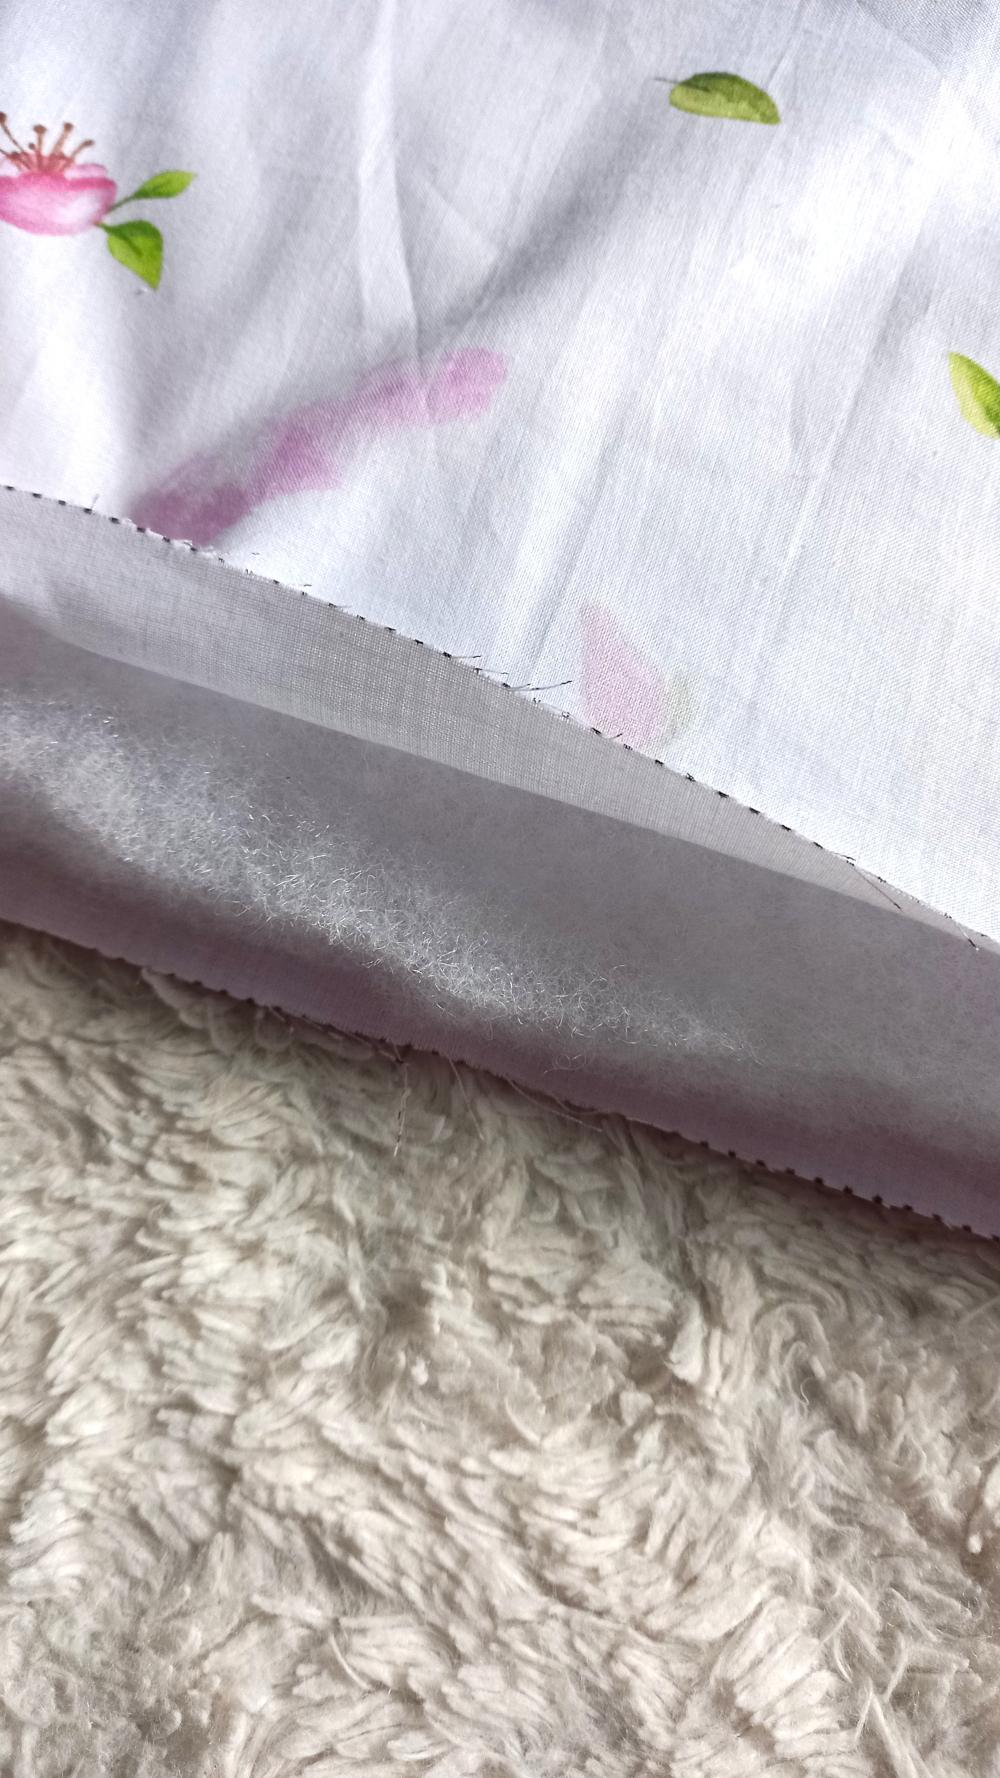
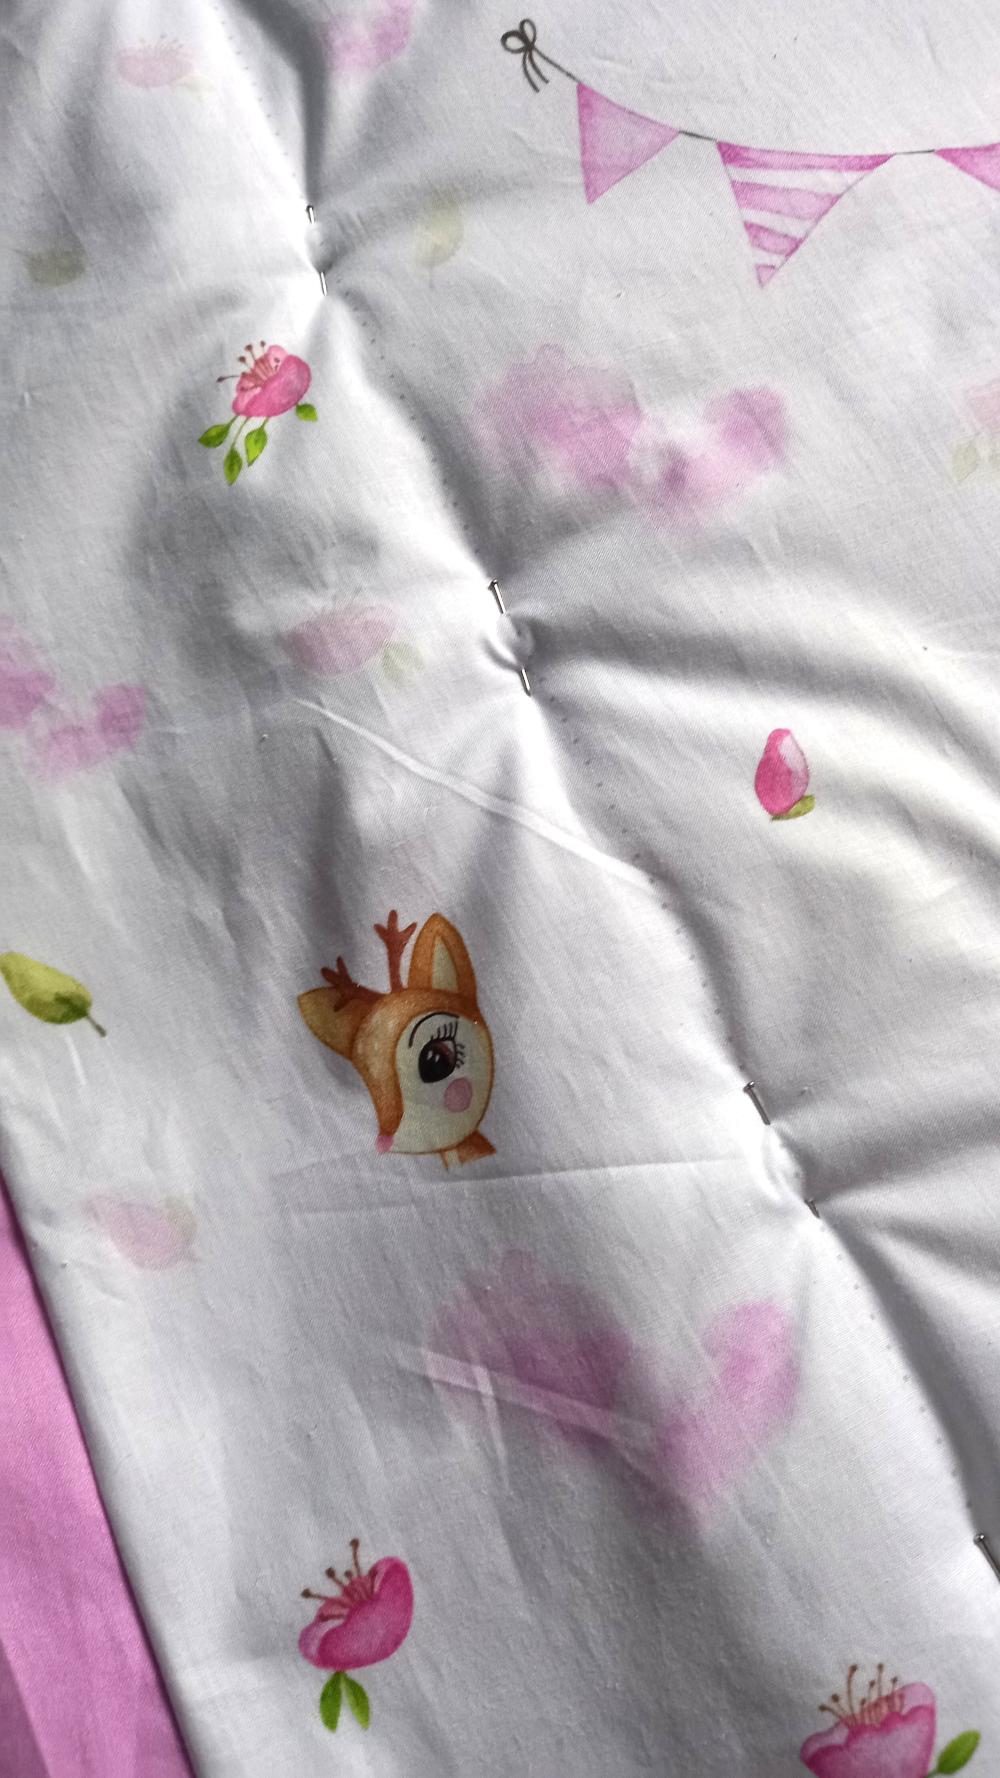
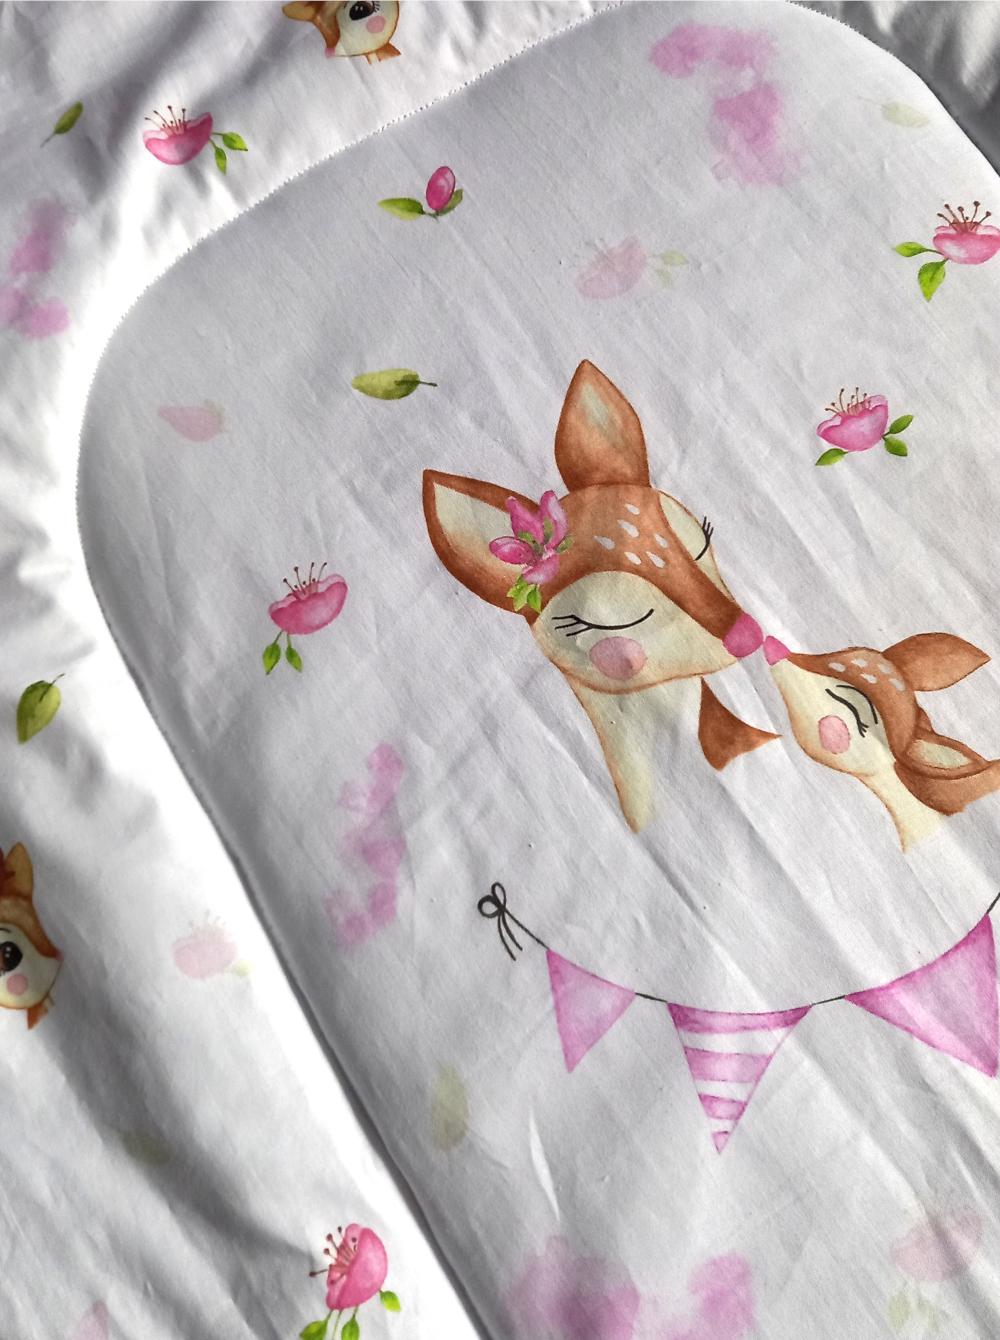
At this point you can also quilt across the "floor" of the cocoon to fully stabilize it. However, this is not essential.
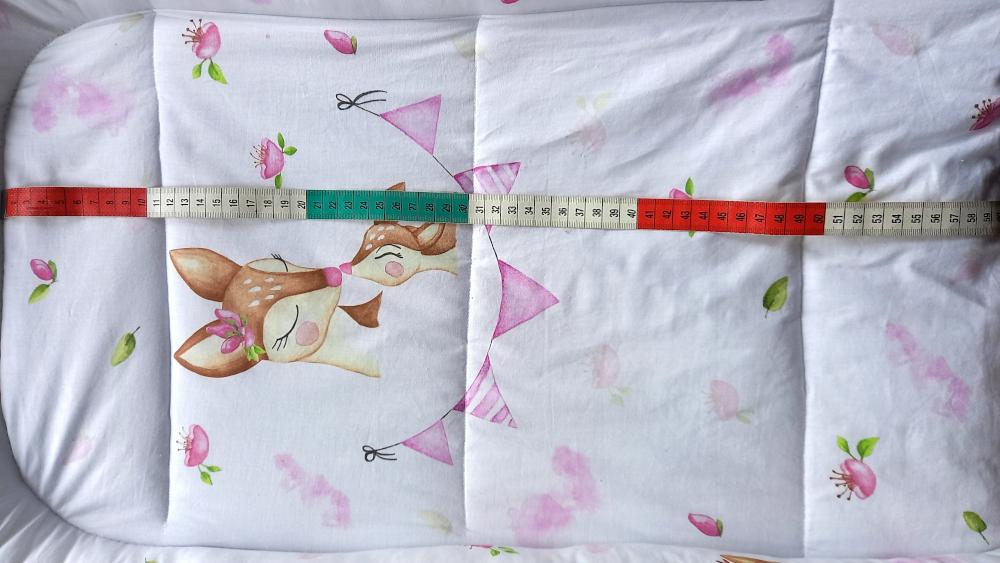
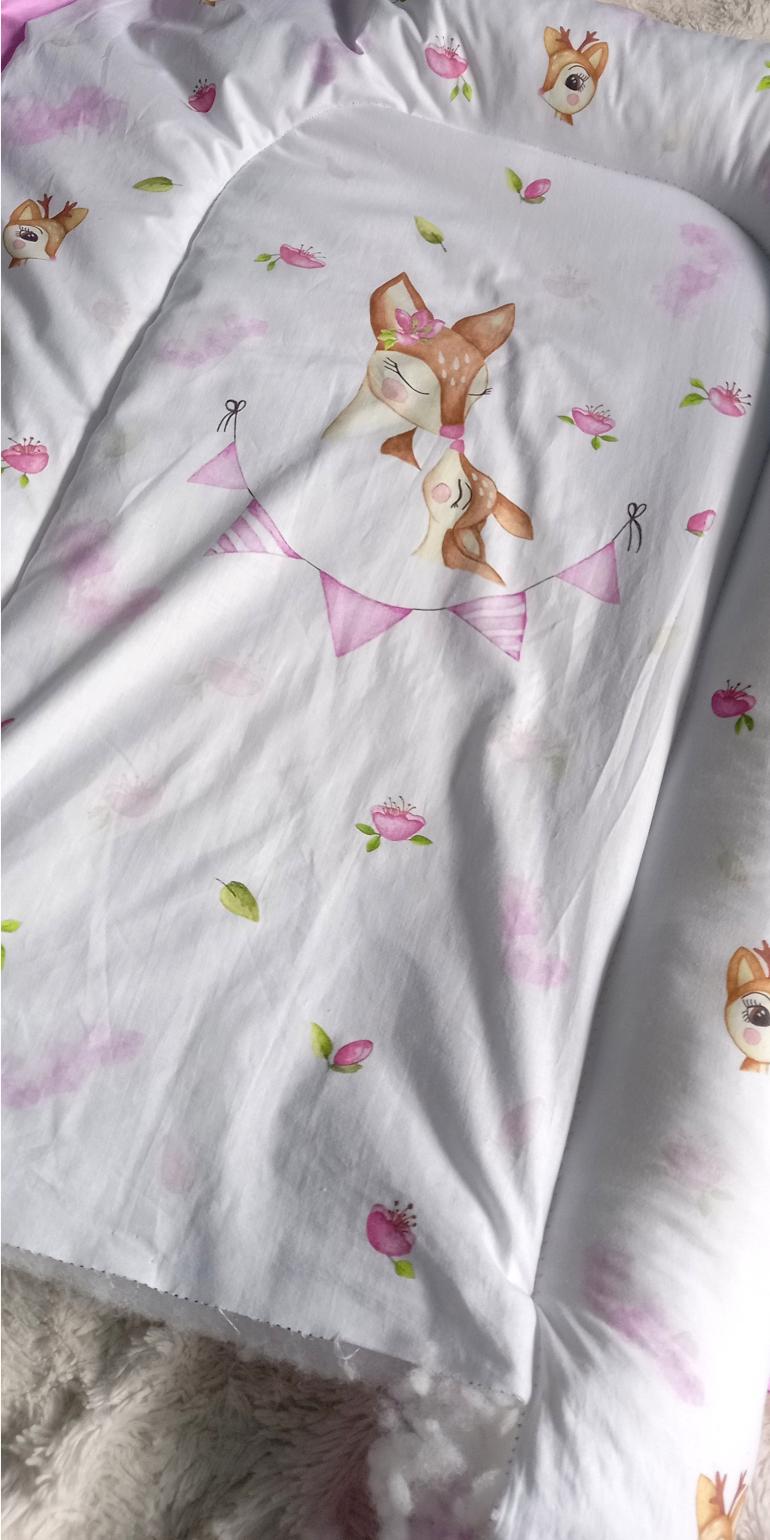
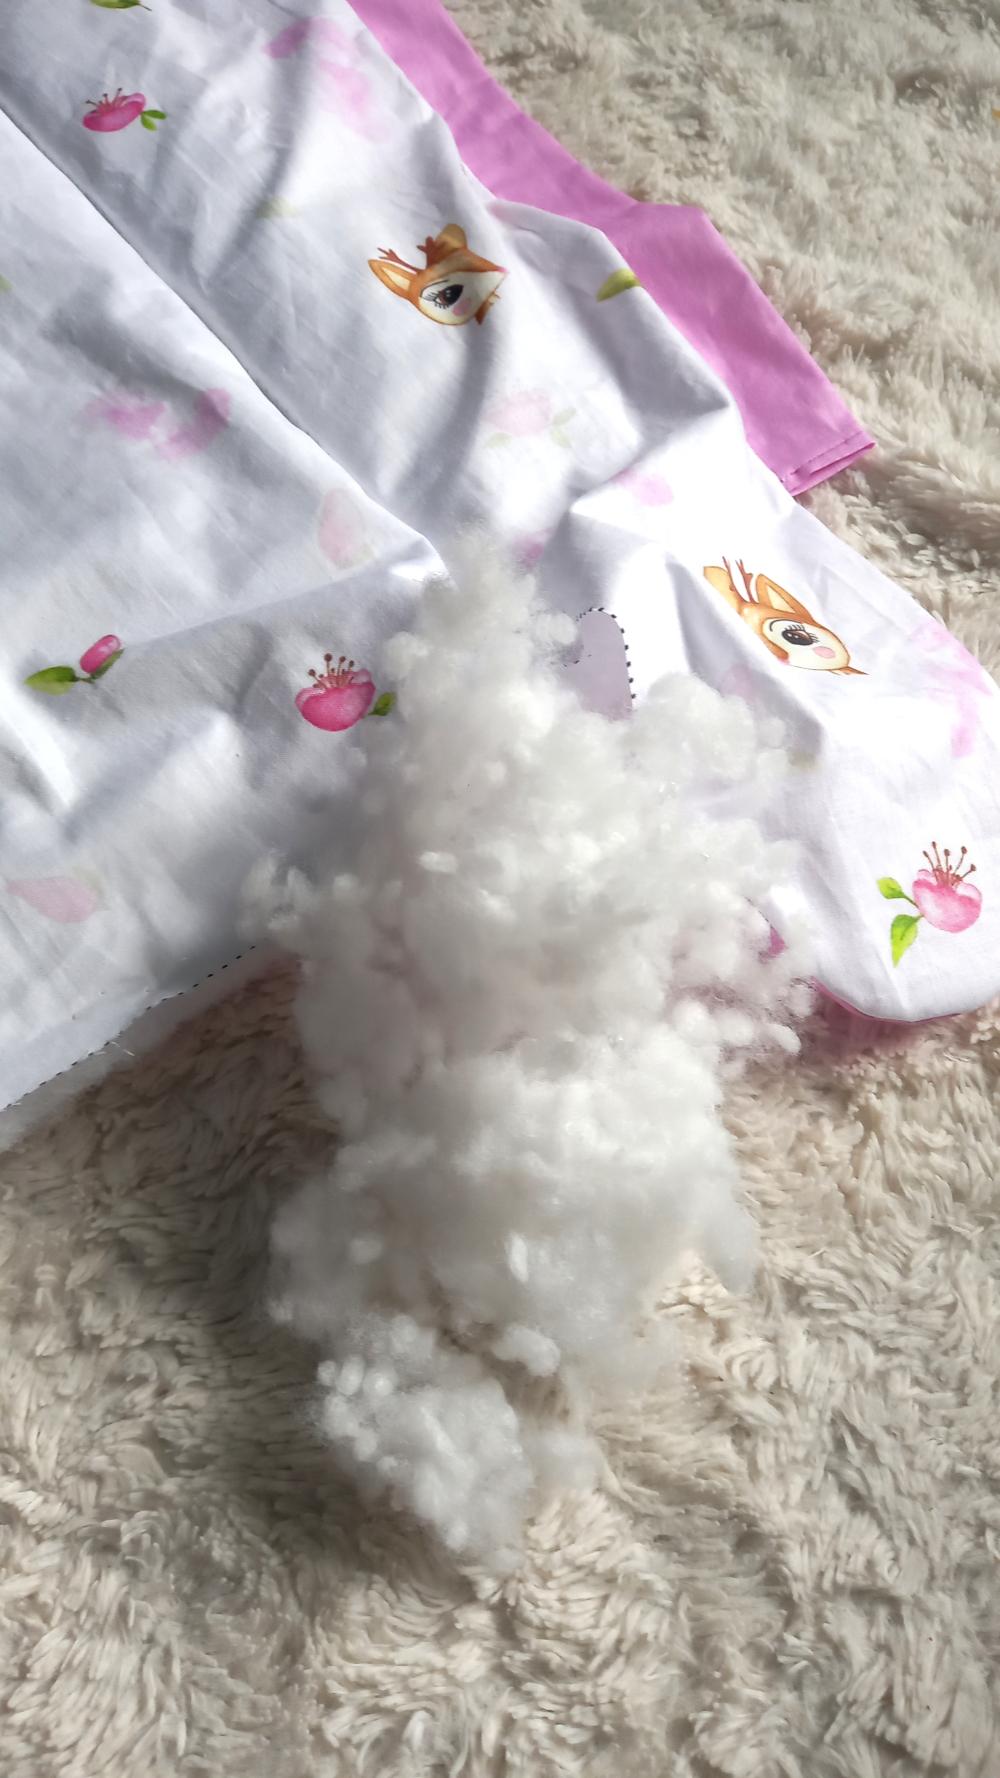
12. Sew the holes in the sides of the cocoon with a covered stitch.
13. Pull the decorative ribbon into the tunnel.
14. Rectangle A 22 cm fold right sides together and sew, leaving a hole for turning out.
15. Sew the hole with a covered stitch.
16. Fold the resulting handle as shown in the photo and sew it to the top of the cocoon.
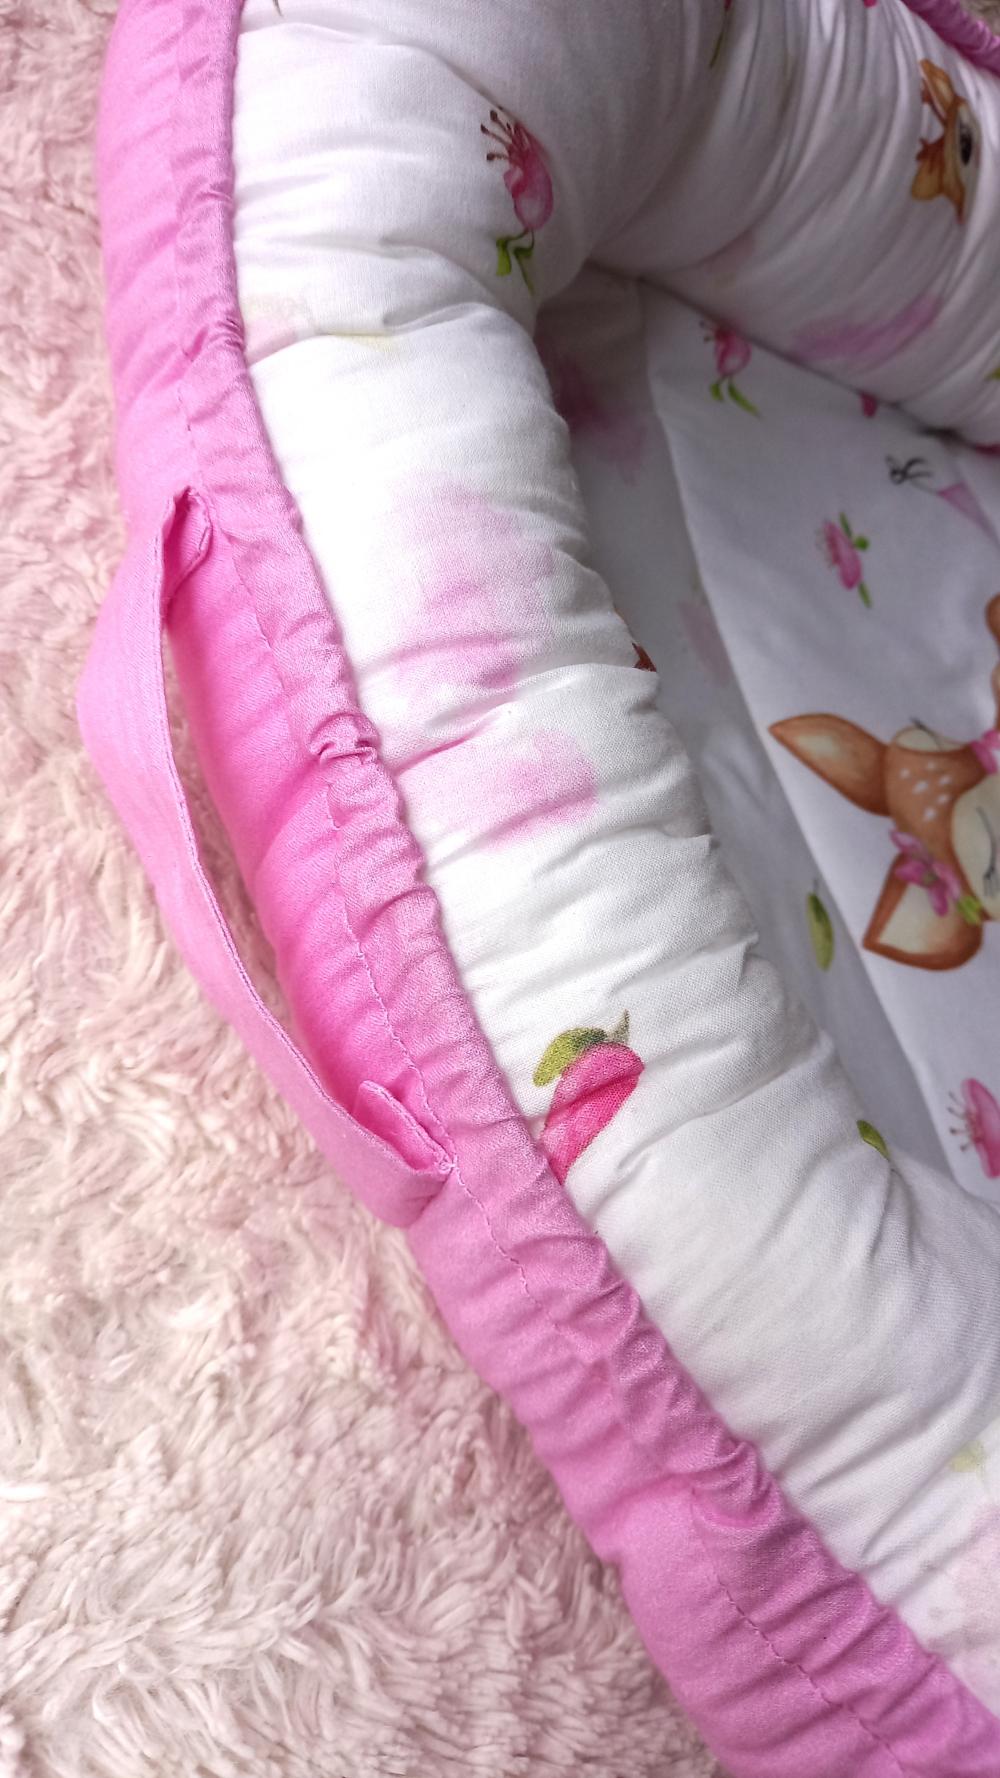
17. Rectangle D 64 cm fold right sides together (so that its length after folding is 32cm). Pin the last piece of silicone wool lining to the left side of the resulting rectangle and stitch the rectangle around, leaving an opening for the turnout.
18. Turn the piece to the right side and sew the opening by hand with a covered stitch.
19. Sew the velcro straps.
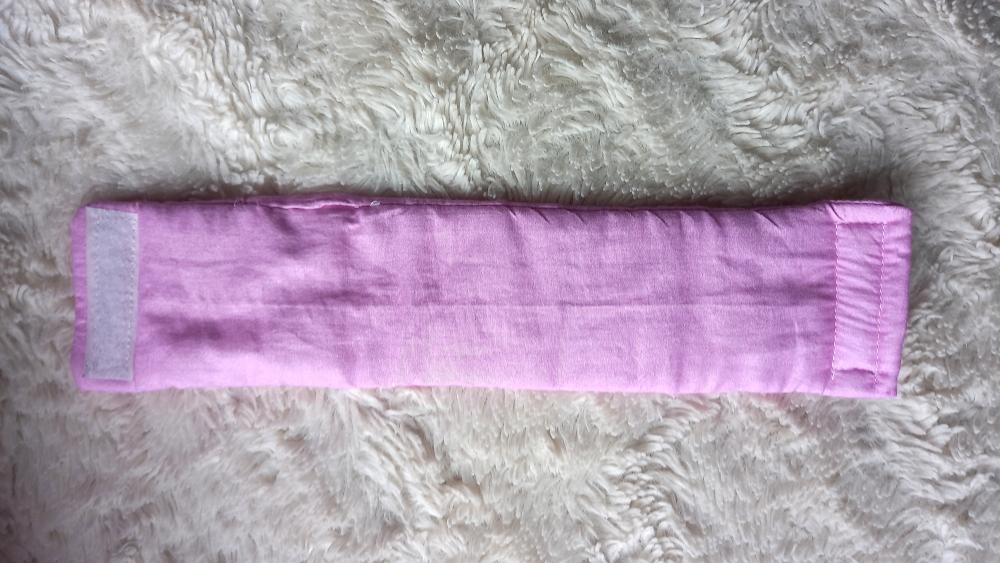
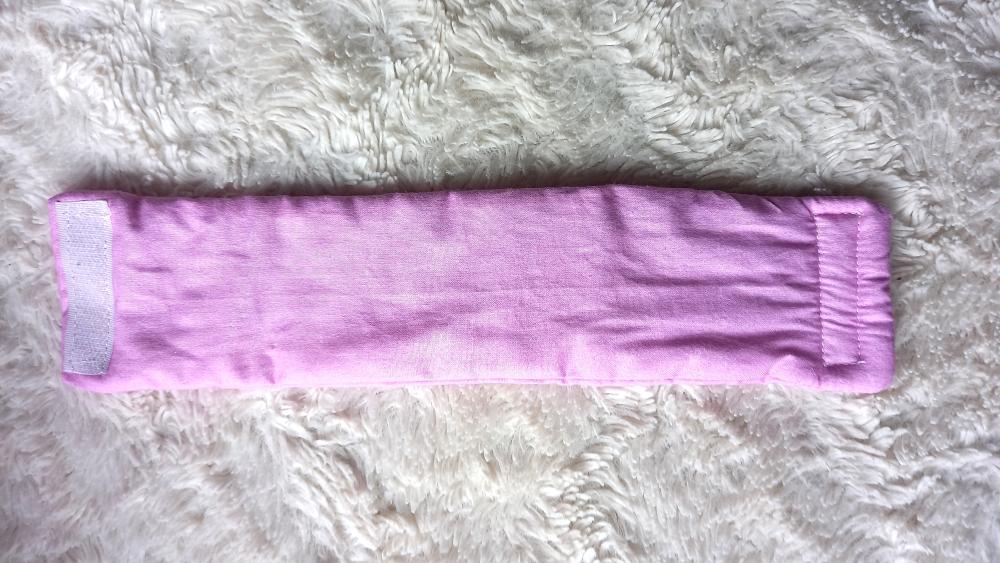
Ready.
bia_rysik