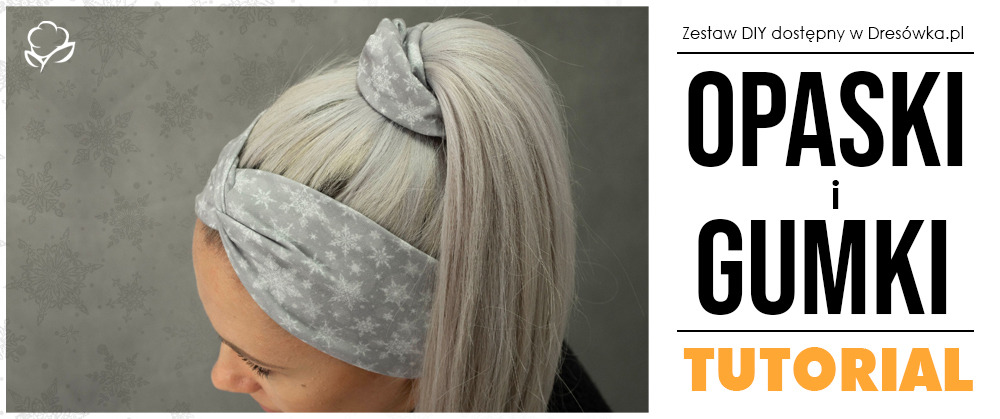
Headband and elastic scrunchie
In the set you will find:
- a panel for 3 sets, each consisting of a headband and a scrunchie
- scrunchie elastic
You need:
- DIY kit from dresówka.pl
- sharp scissors
- a multifunctional machine (I also used a serger, but I think this project can even be sewn by hand)
- clothespins/pins
PREPARATION


2. Fold all rectangles along the longer edge with the right sides facing each other. Pin them up with clothespins and sew.


SCRUNCHY


5. Align the edges of the scrunchy, stitch all the way around, making sure to leave an unstitched hole for the turnout.


Scrunchy done!

HEADBAND
8. Turn the larger rectangle right side out, align. You can place the seam at the bottom of the band, or as I did, in the middle of it. If you choose to leave it in the middle, make sure the seam allowance is facing the same direction on both sides.
Sew the sides of the band together using a serger.


9. Fold the headband exactly as shown in the picture.

10. Pin the folded side of our 'sandwich' and stitch it on the multifunctional machine.

11. Align the seam and the resulting wrap.

Headband ready!

Didn't it take literally a moment to do all the sewing?

Greetings,
Małgorzata Michalewska


