
KID'S CAP AND SCARF
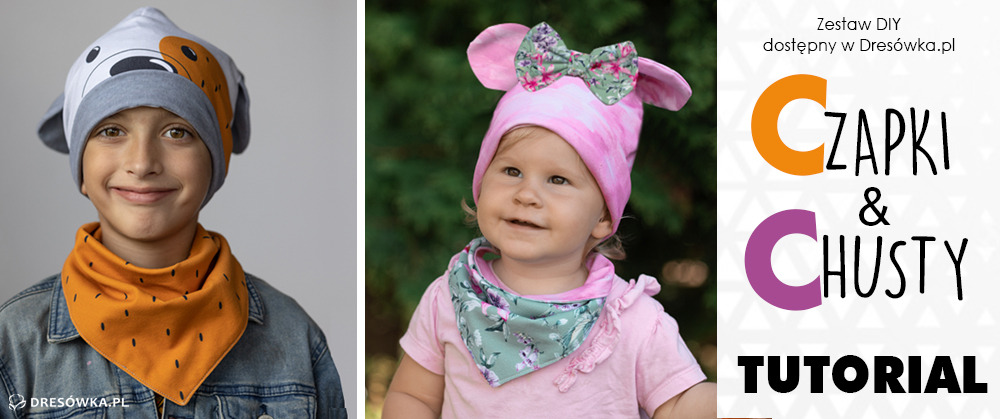
You will need:
- a multi-purpose sewing machine (with a jersey/stretch needle)
- scissors (pinking shears will also come in handy if you have them)
- pins or sewing clips
- a measuring tape
- you can also prepare/make small tassels to decorate the scarf (we did this with the rabbit set)
Depending on the model, the set consists of:
- 2x scarf pieces
- 4x ear pieces (2x front of ear, 2x back of ear)
- 1x beanie/hat piece
- 3x bow pieces (in the mouse sets)
Start by...
...cutting out all the pieces from the set:
Bear:
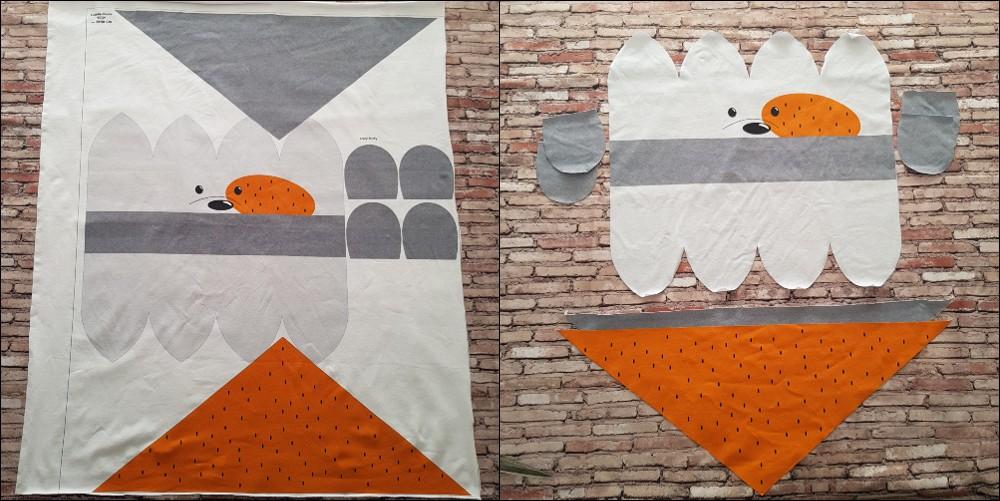
Rabbit
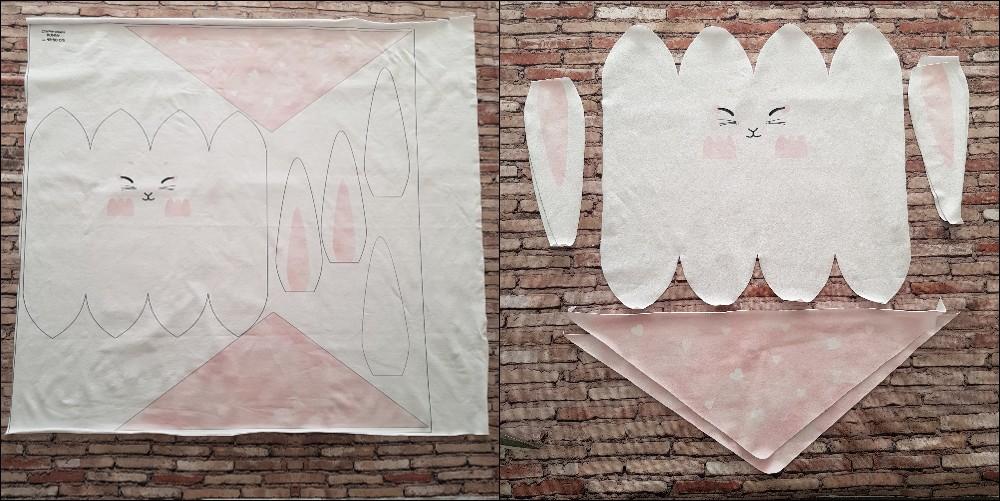
Mouse
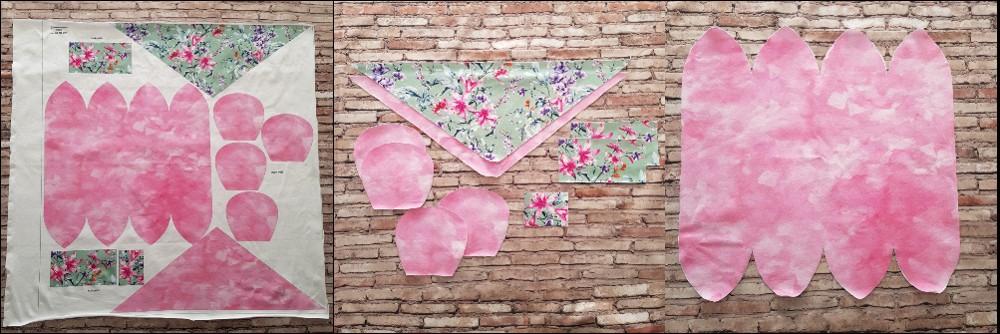
Sewing the scarf
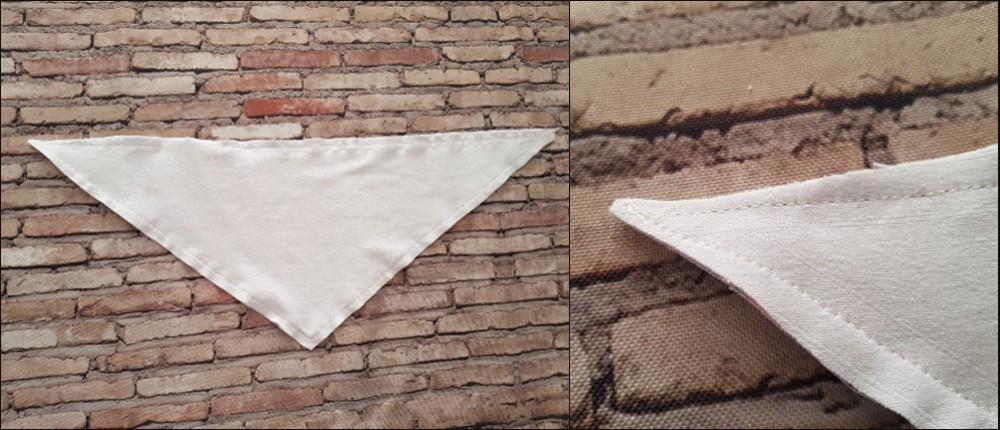
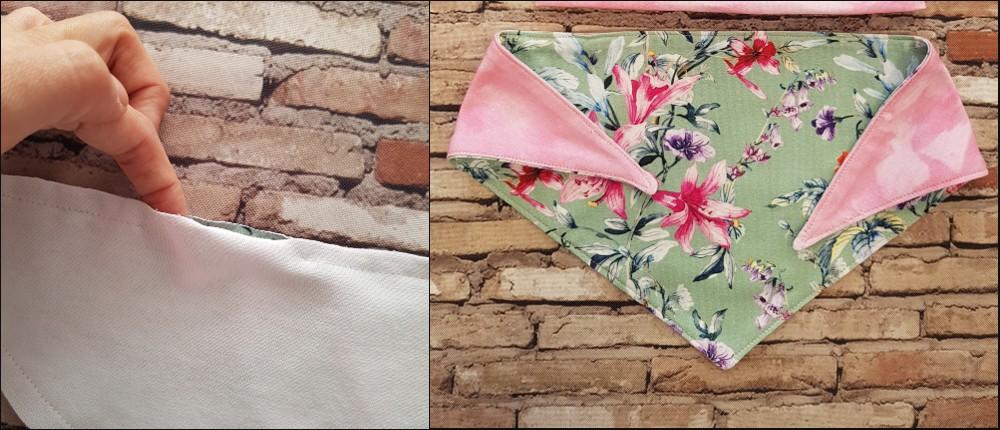
Place the scarf pieces right sides together, pin or clip them, and sew all around. REMEMBER to leave an opening for turning it inside out. Trim the seam allowances at the corners of the scarf and turn it right side out. Carefully push out the corners of the scarf, align the edges, and topstitch on the right side 2-3 mm from the edge.
Ears
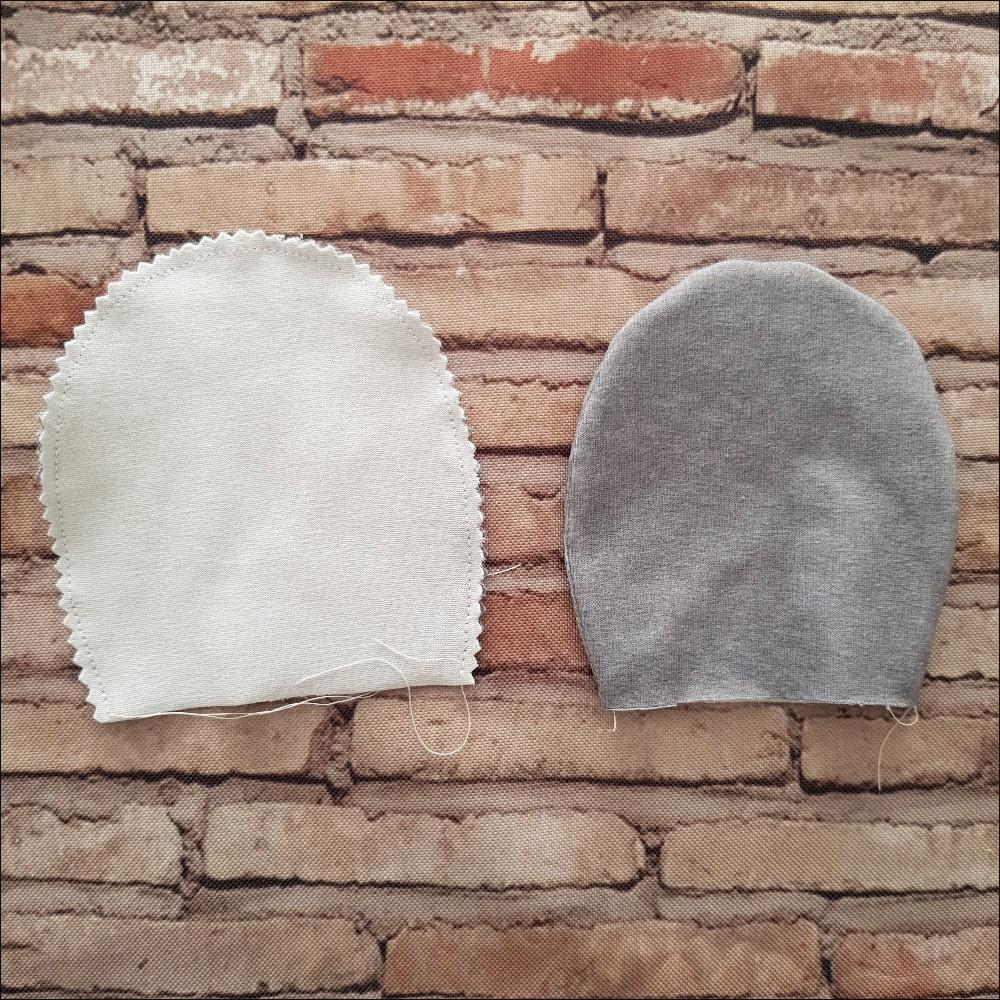
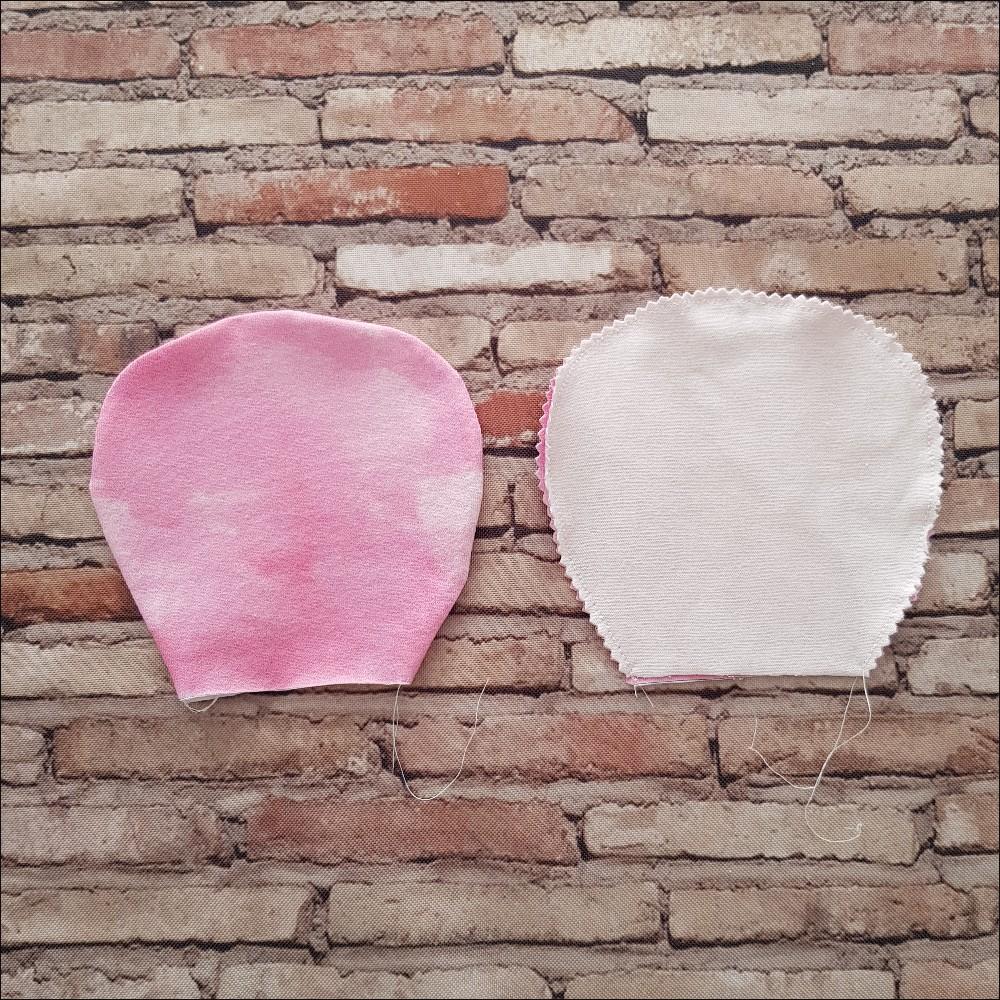
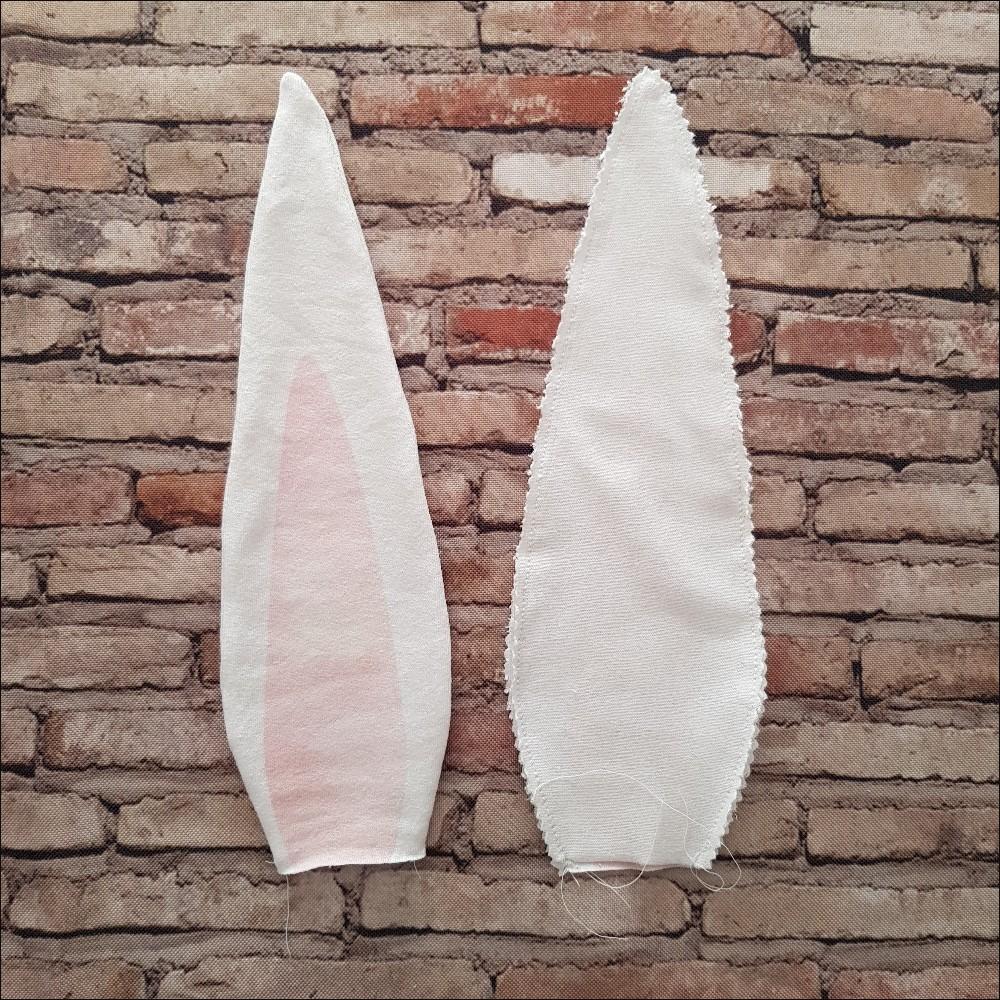
Match the ears in pairs, pin right sides together, and sew the side edges. If you have pinking shears, trim the seam allowances with them. You can also notch the seam allowance with regular scissors. Turn the ears right side out, align, and press. NOTE - for the mouse ears, we recommend reinforcing the ear with thick interfacing (e.g., fleece), batting, or stiff non-woven fabric. This will help the ear stand up nicely.
Bow
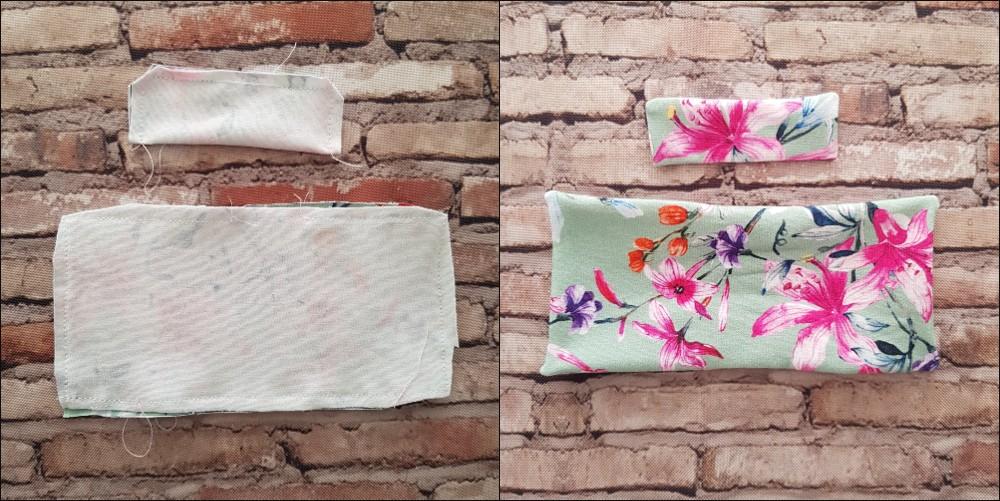
The MOUSE set includes 3 bow pieces. Fold the two larger ones together right sides together, and fold the smaller one along its longer edge. Sew the pieces as shown in the photo. Remember to leave an opening for turning. Trim excess seam allowance at the corners, turn the pieces right side out, push out the corners thoroughly, and hand-stitch the openings closed.
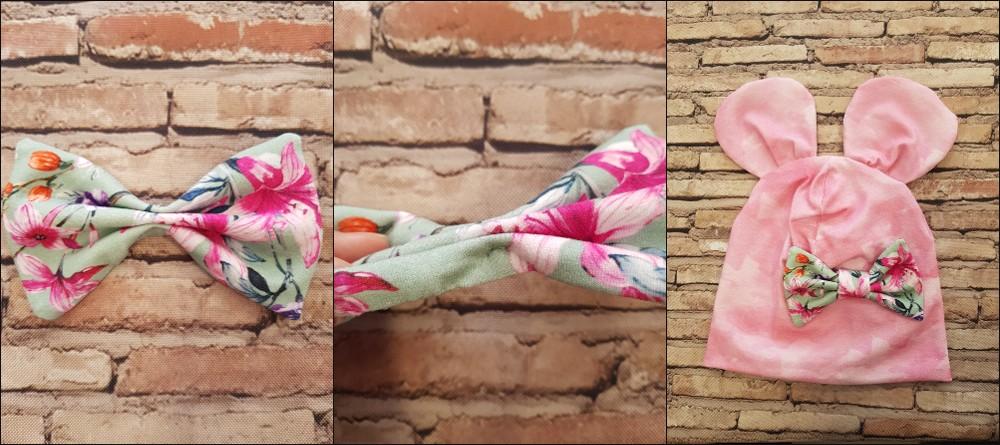
Fold the larger bow element into a nice accordion shape and stitch through the center. Hide the stitching under the smaller bow element. Hand-sew the smaller element. You can hand-sew the bow between the ears, although we like it better when attached lower - on the front seam. It will look equally nice sewn next to an ear.
Arranging the ears
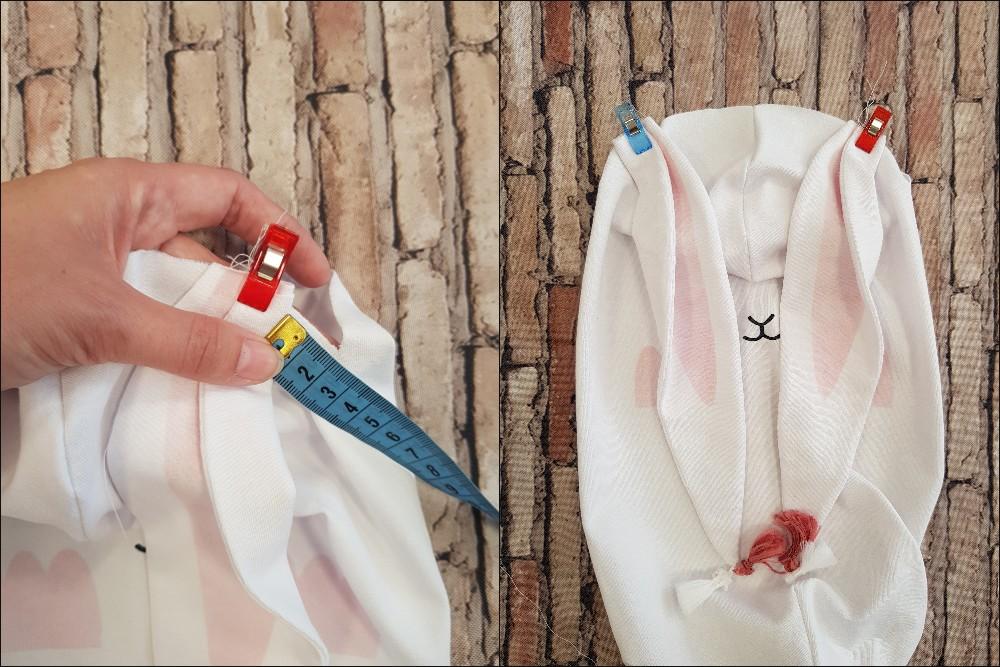
You can fold the rabbit ears like in this photo:
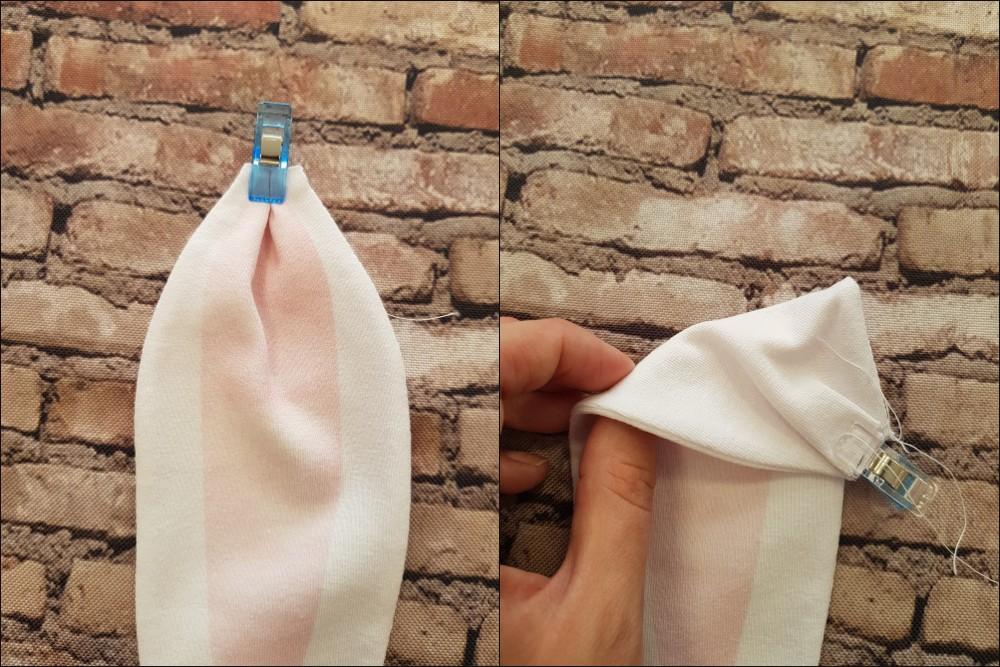
or like here:
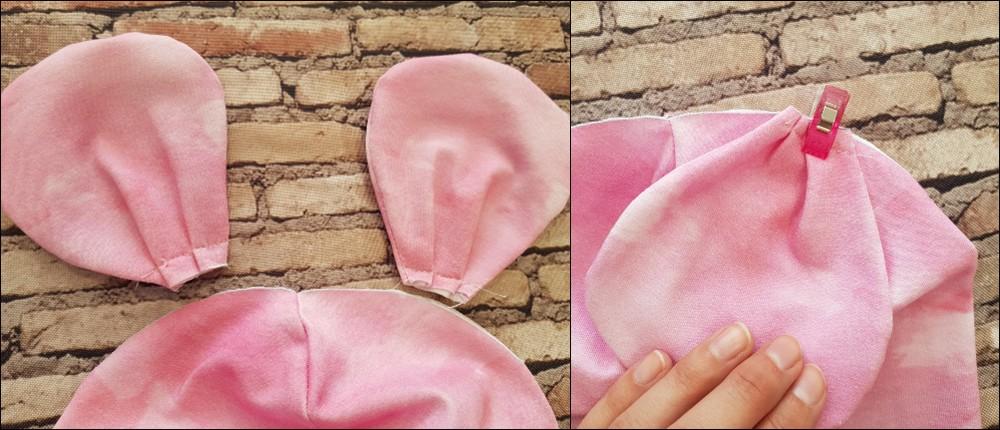
This is our suggestion for sewing on the mouse ears, but if you insert interfacing inside, for example, you can sew them completely straight:
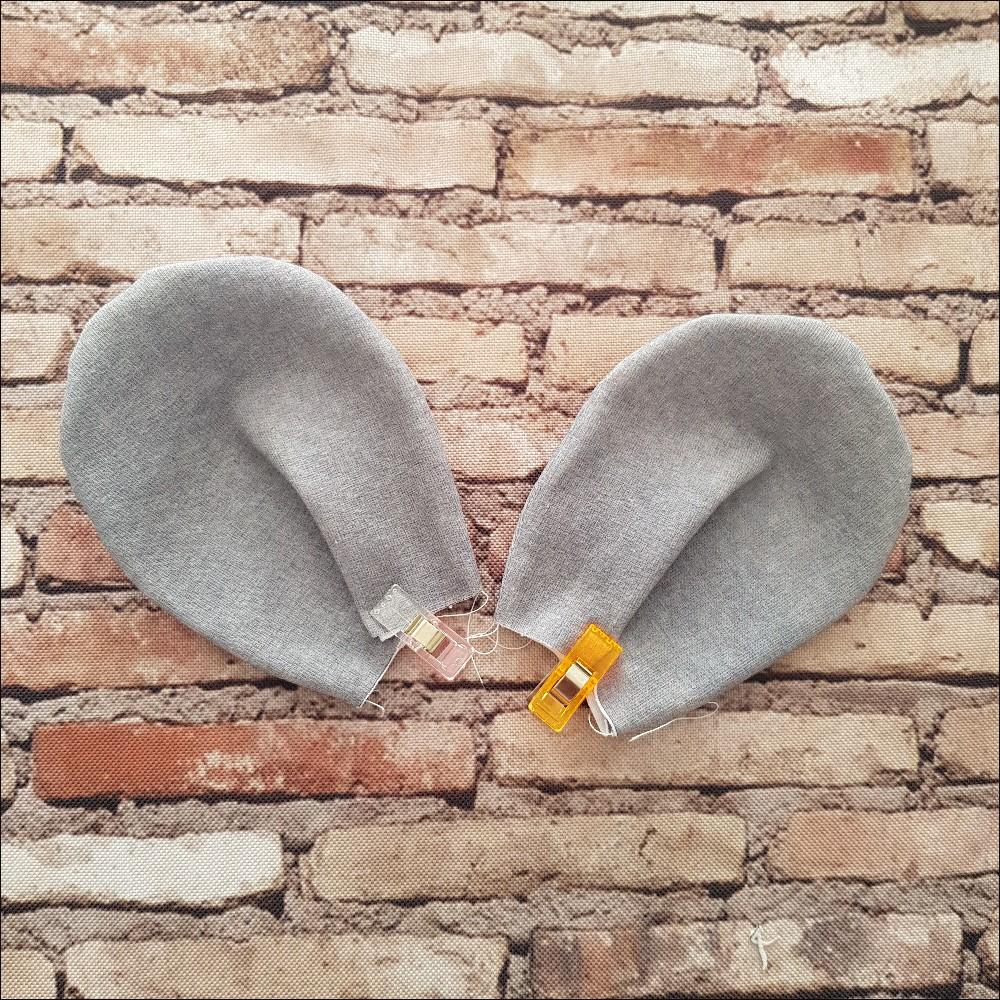
We decided to fold the bear ears this way:
Sewing the hat
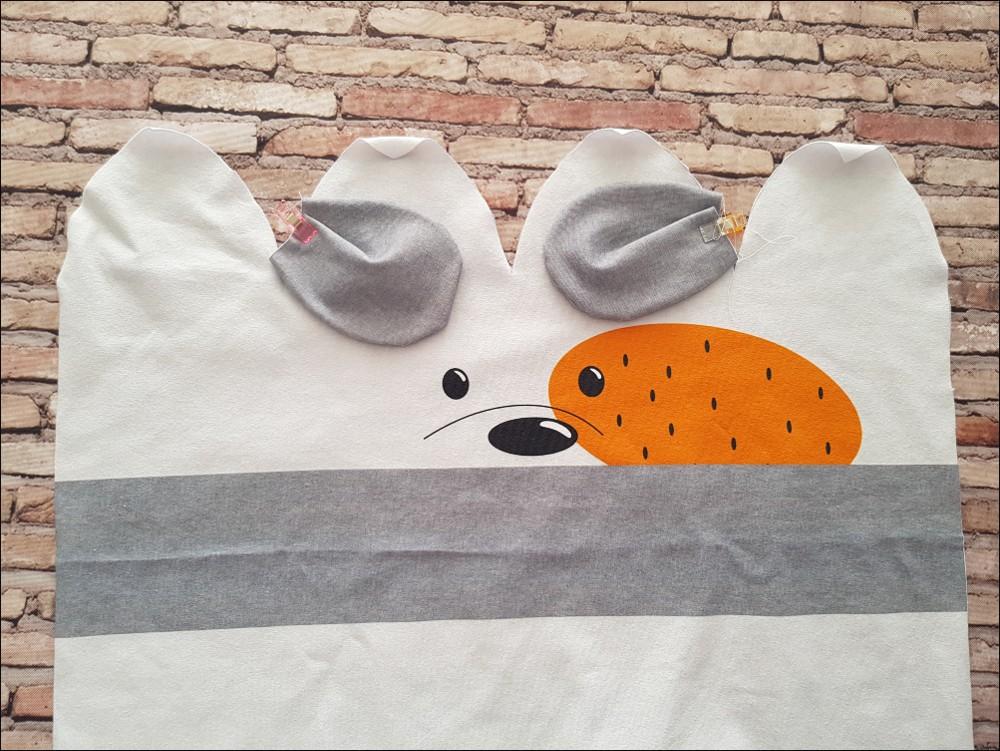
Pin the ears to the outer sides, middle, top curves. We attached the bear ears right near the bottom corner. The mouse and rabbit ears go in the middle of the curves.
Fold the hat along the long edge so that two "corners" are formed at the top and bottom. Sew the long, outer edge, from the top of the upper "corner" all the way to the top of the lower "corner".
Then sew the short side of the corners at the fold of the fabric.
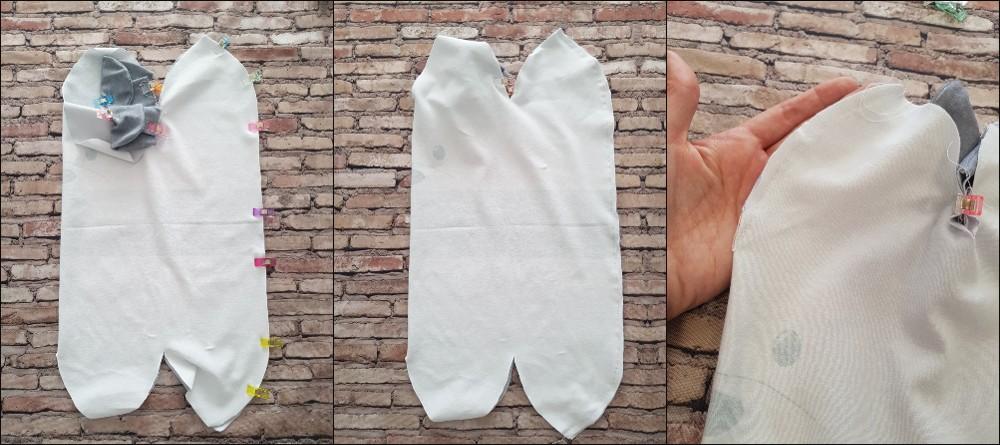
Unfold the "corners" and fold the top of the hat so that our sewn sides end up in the middle of the hat. Pin the top curve and sew. REMEMBER to leave an unsewn section in the bottom curve—it will serve as our opening for turning the hat inside out.
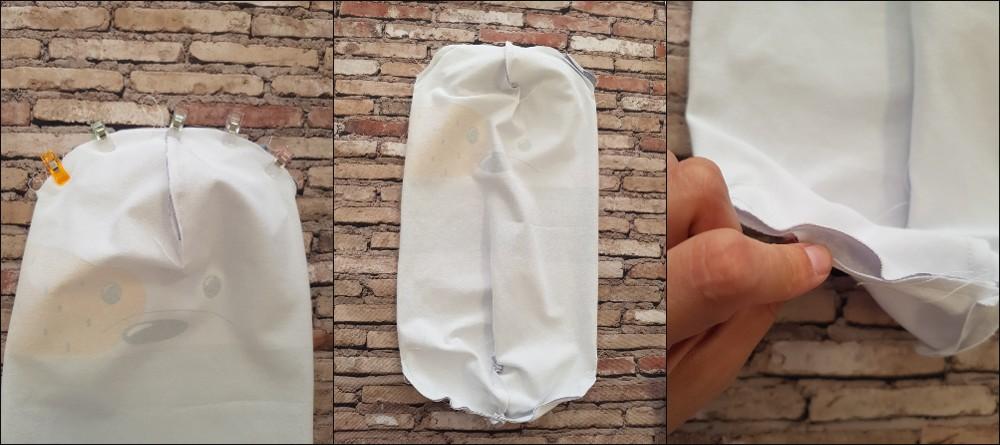
Turn the hat right side out (using the hole in the free part, i.e., the one without ears). Fold the hat in half so that the layer without ears goes inside the section with ears (wrong sides together).
Smooth it out and you're done!
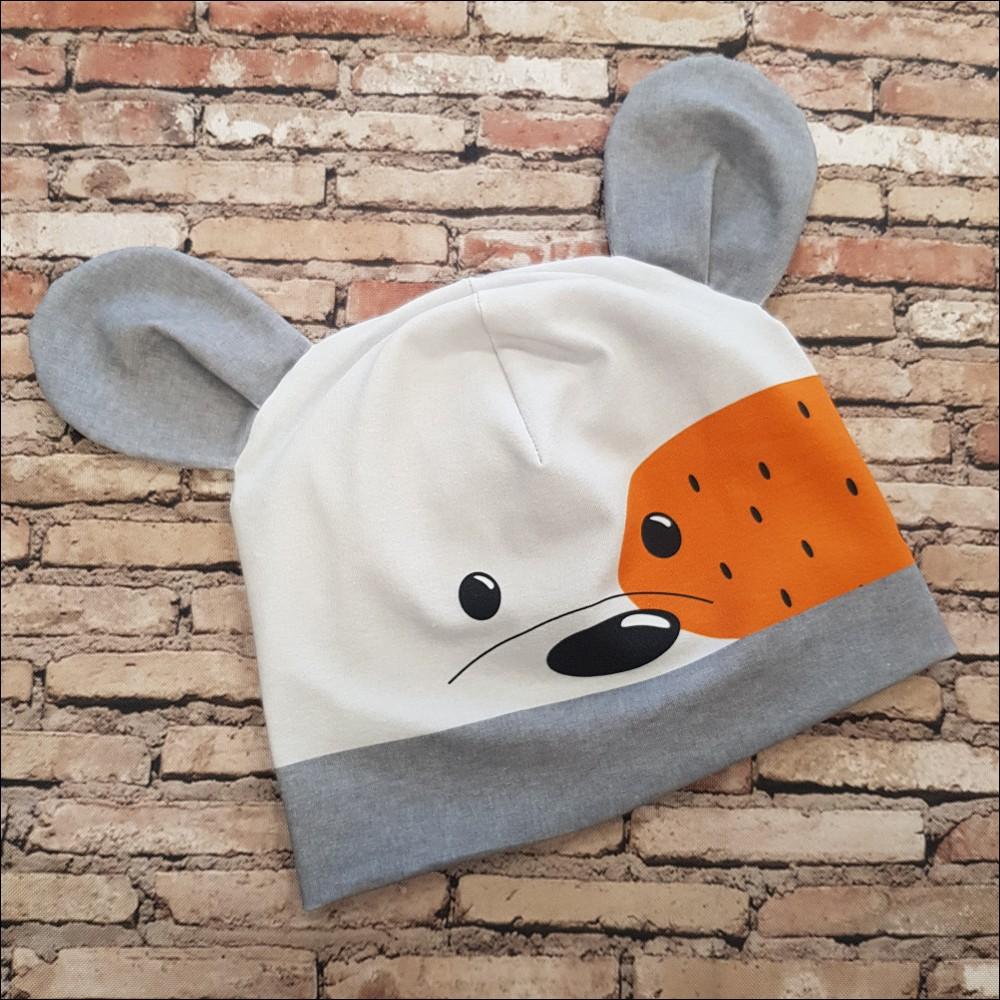
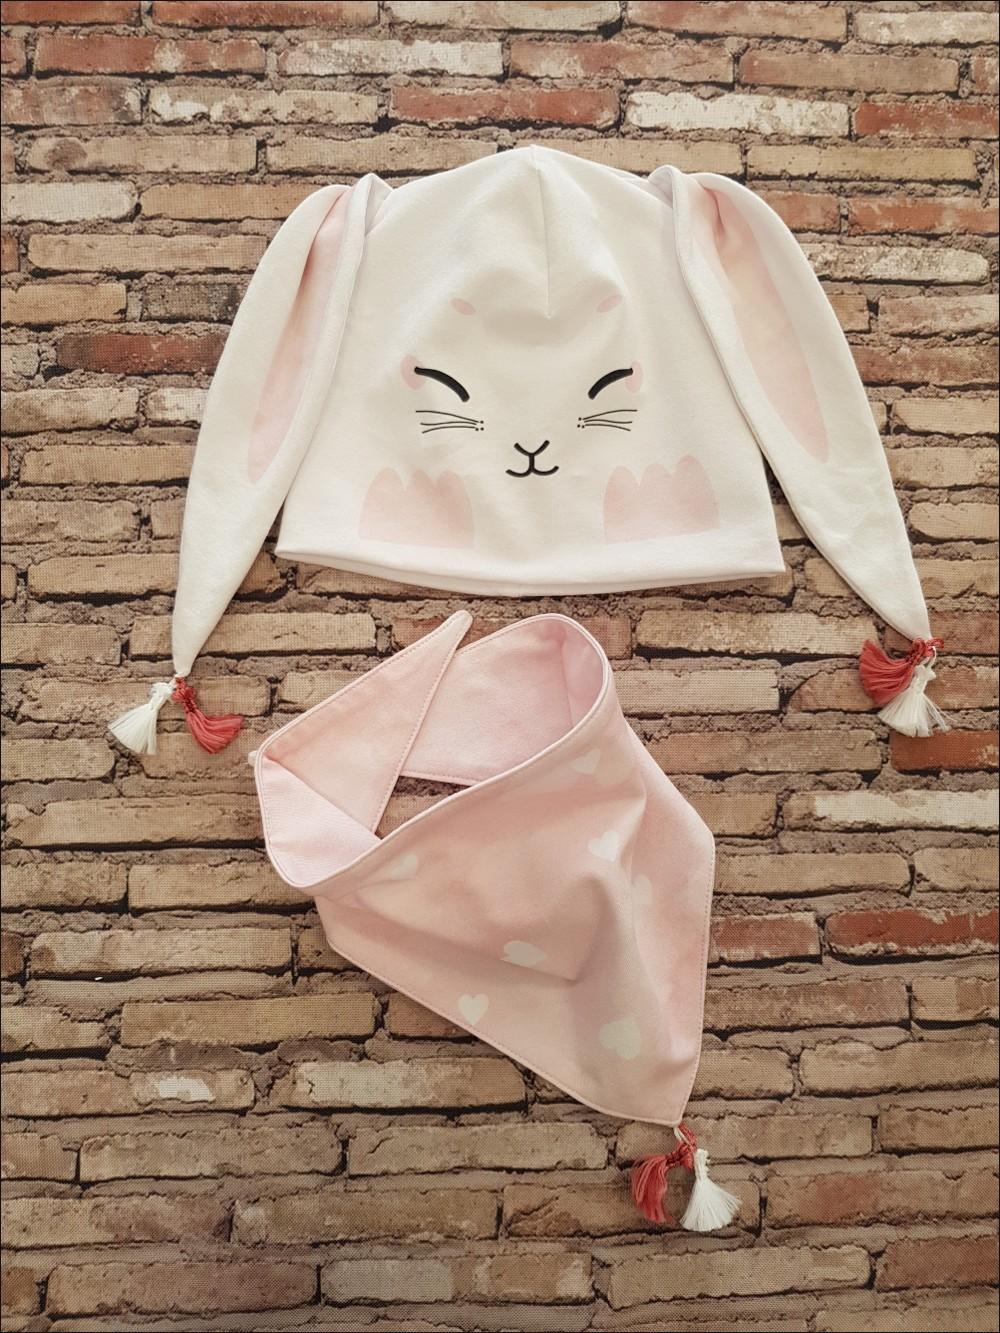
Here is how our sets look:

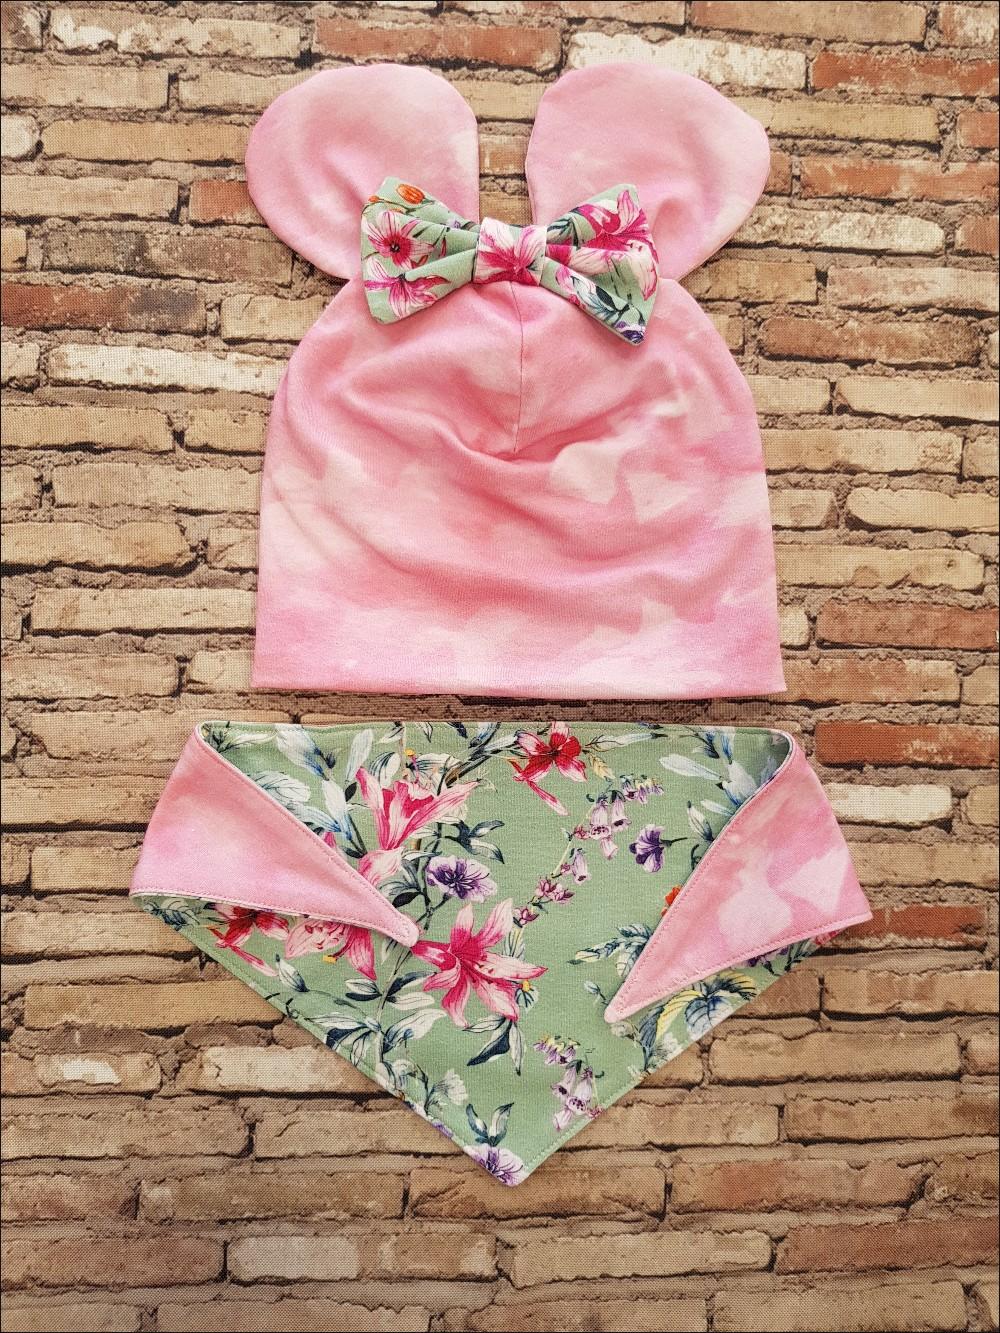
Thank you for sewing together
Gosia Michalewska
Recommended


KID'S CAP AND SCARF (MOUSE) - BUTTERFLIES (GLITTER BUTTERFLIES) / CAMOUFLAGE pat. 2 (rose quartz) 55-58

KID'S CAP AND SCARF (MOUSE) - BUTTERFLIES (GLITTER BUTTERFLIES) / CAMOUFLAGE pat. 2 (rose quartz) 51-54

KID'S CAP AND SCARF (MOUSE) - BUTTERFLIES (GLITTER BUTTERFLIES) / CAMOUFLAGE pat. 2 (rose quartz) 48-50

KID'S CAP AND SCARF (MOUSE) - BUTTERFLIES (GLITTER BUTTERFLIES) / CAMOUFLAGE pat. 2 (rose quartz) 44-47

KID'S CAP AND SCARF (MOUSE) - BUTTERFLIES (GLITTER BUTTERFLIES) / CAMOUFLAGE pat. 2 (rose quartz) - sewing set


KID'S CAP AND SCARF (MOUSE) - BUTTERFLIES MIX PAT.1 (WATER-COLOR BUTTERFLIES) 59-61

KID'S CAP AND SCARF (MOUSE) - BUTTERFLIES MIX PAT.1 (WATER-COLOR BUTTERFLIES) 55-58

KID'S CAP AND SCARF (MOUSE) - BUTTERFLIES MIX PAT.1 (WATER-COLOR BUTTERFLIES) 51-54

KID'S CAP AND SCARF (MOUSE) - BUTTERFLIES MIX PAT.1 (WATER-COLOR BUTTERFLIES) 48-50


