
MEN'S PARKA - DETAILS
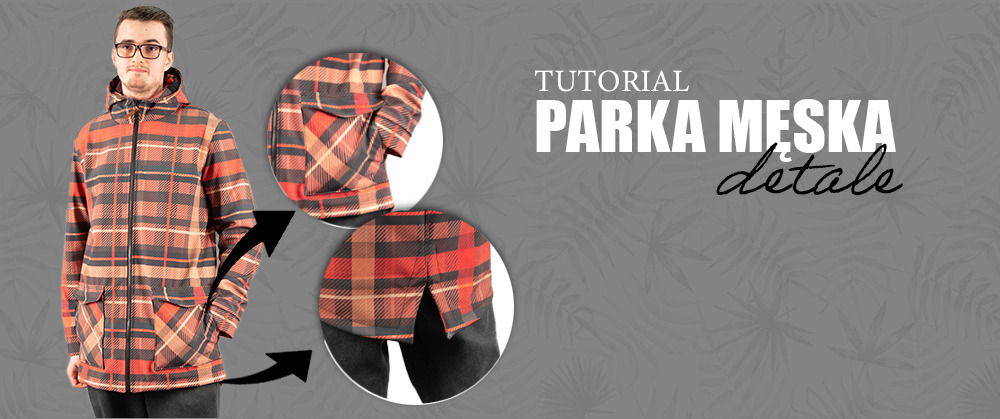
MEN'S PARKA - details
If you think sewing a parka is beyond your reach, we're here to prove that it's a project for everyone! By purchasing a DIY kit for the women's ANNA parka, children's ARIEL parka, or men's TOM parka, you get in one package:
- a parka pattern printed directly onto softshell fabric (including seam allowances and a pattern layout designed to create a neat composition once sewn together)
- fabric for the hood lining and pockets (plus a paper pattern for these elements)
- a zipper complete with a zipper pull tag
(in the women's and children's parka kits, you will also find self-clinching eyelets and a drawstring cord)
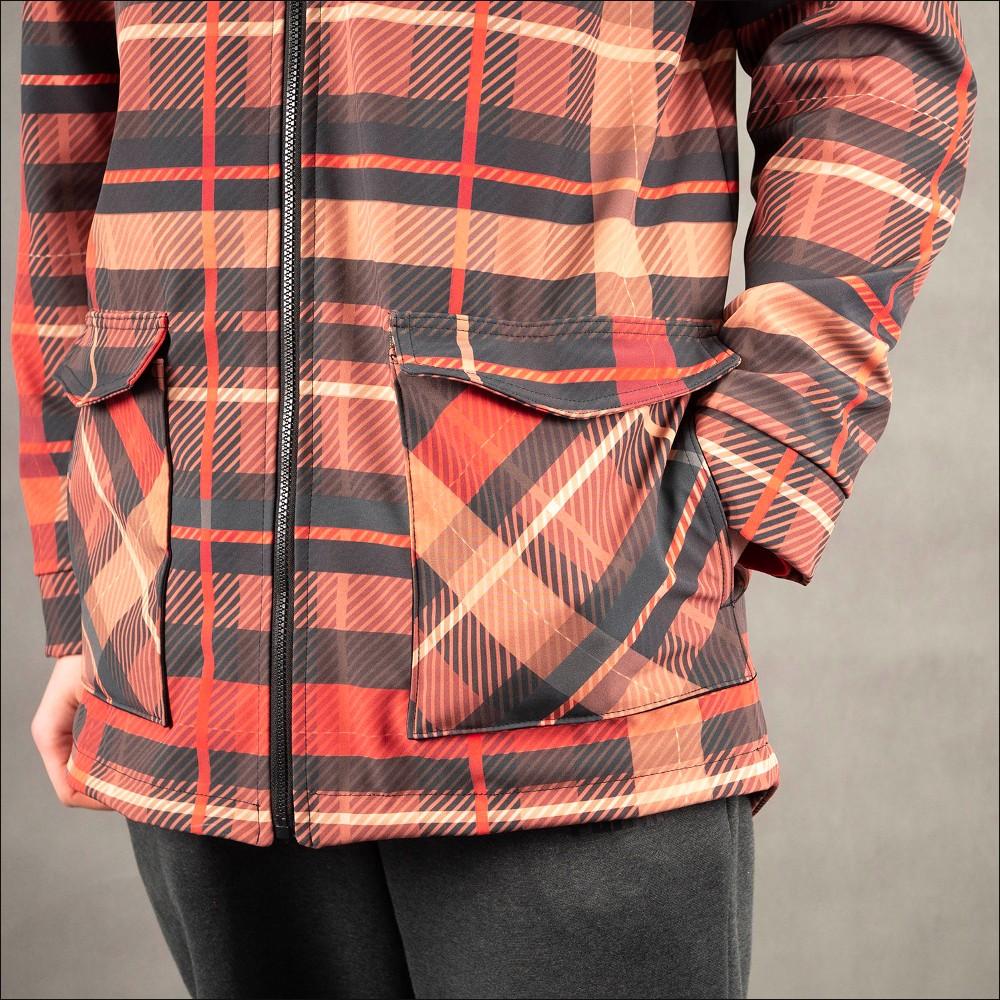
We've already written about how to sew a parka in this article: HOW TO SEW A PARKA FROM A DIY KIT. Today we'll focus on the differences, because the men's parka features a different, really interesting pocket design (sewn onto the front of the parka, rather than hidden in the seam like in the ANNA and ARIEL patterns) as well as a different finish for the back slit.
{{useMaterials}}
We start with the pocket. When sewing the parka, prepare and sew it on right at the beginning, before joining the remaining pieces together.
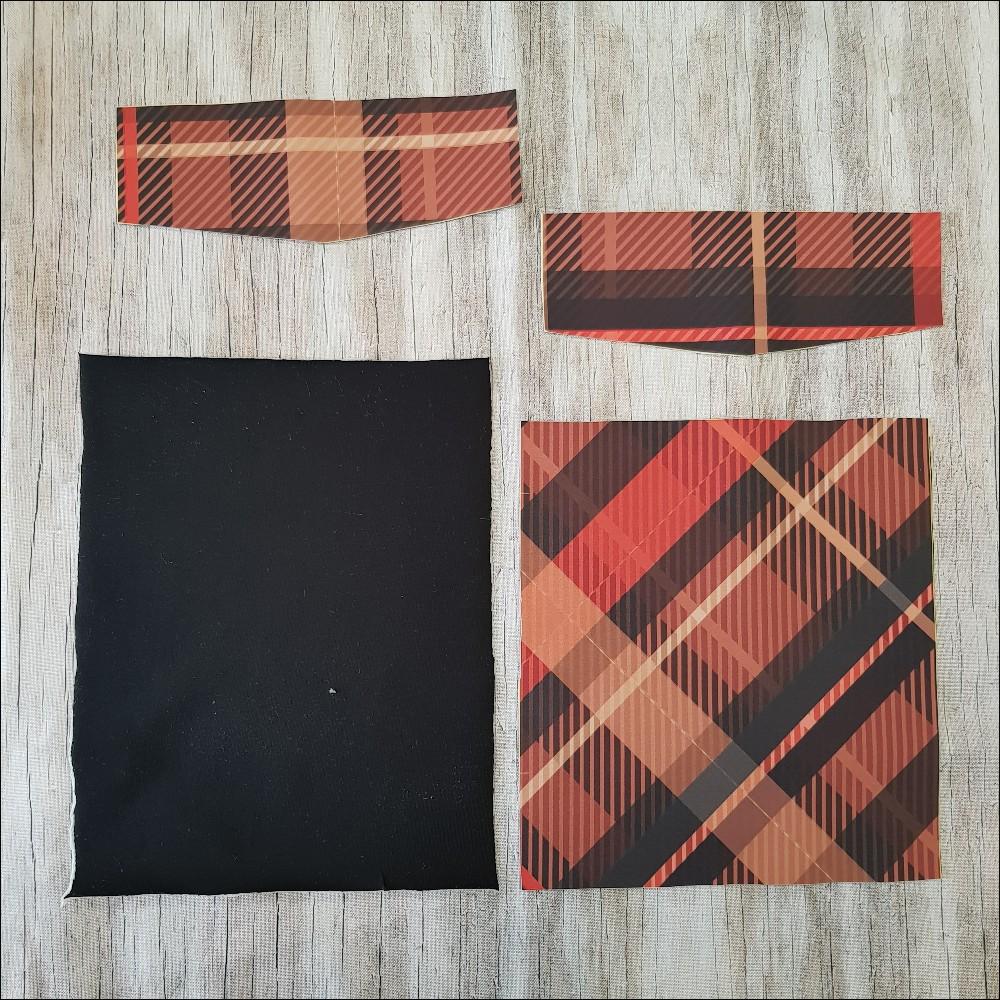
Each pocket (and there are two) consists of:
- two flap pieces,
- the pocket front piece,
- the pocket lining piece cut from the fabric included in the kit (cut it out using the provided paper pattern).
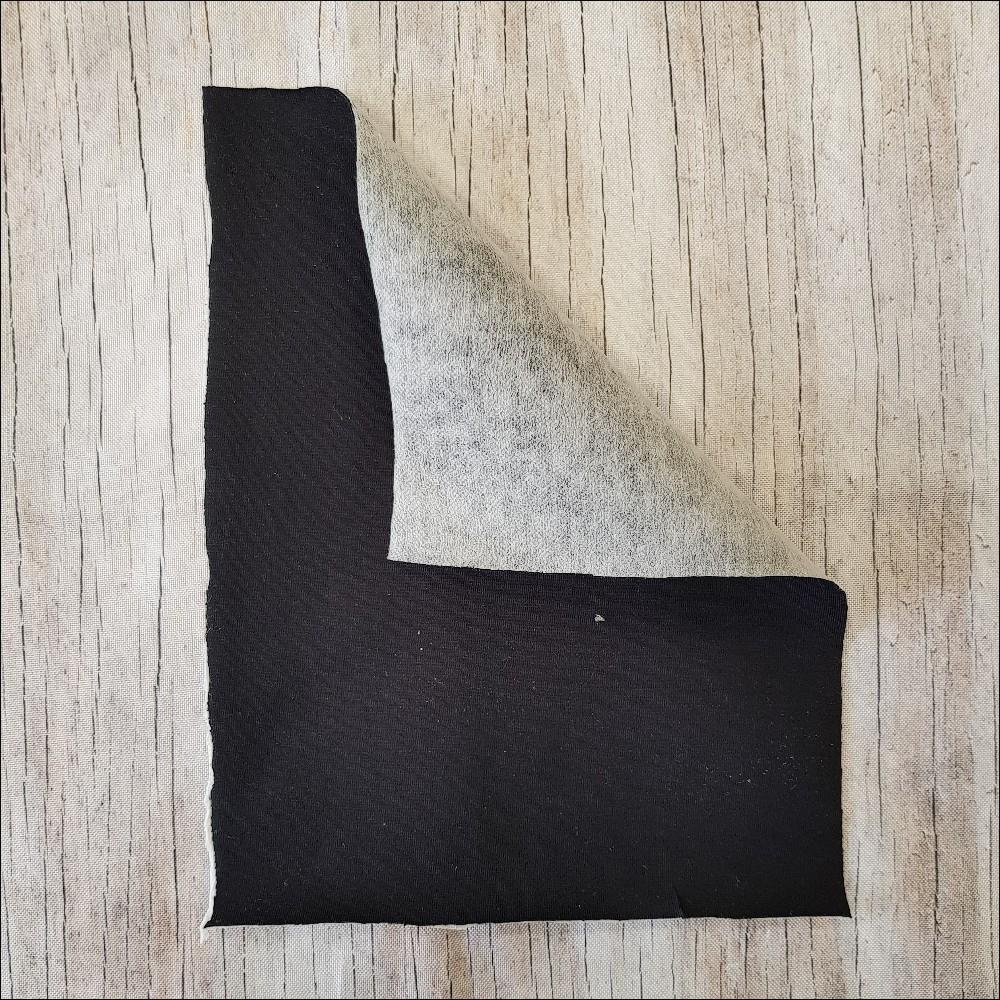
We recommend interfacing the knit fabric piece with fusible interfacing. We used 33g Vilene in white so it would show up better in the tutorial - for your project, we recommend matching the interfacing color to the color of your knit fabric.
In the photos below, you can see the front of the parka with markings showing where to sew the pocket. Yours will look a bit different, but make sure to stick to your markings while sewing.
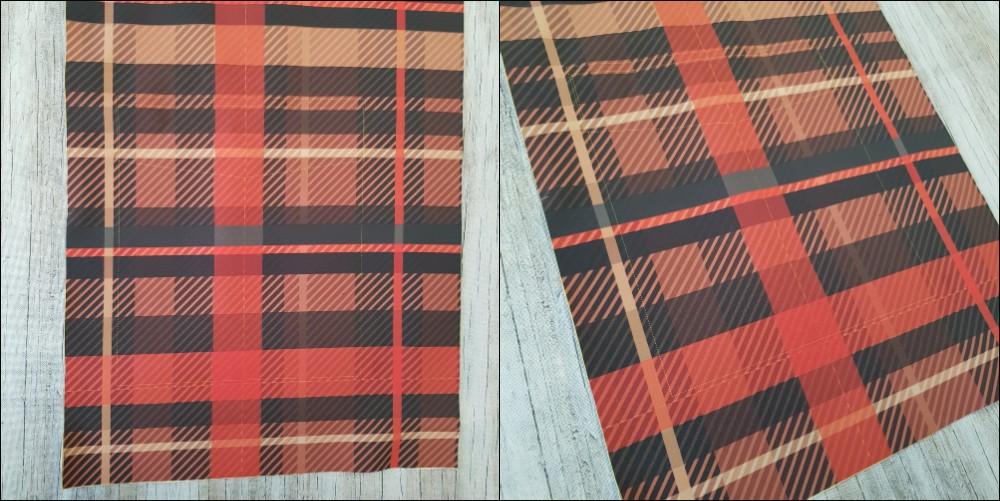
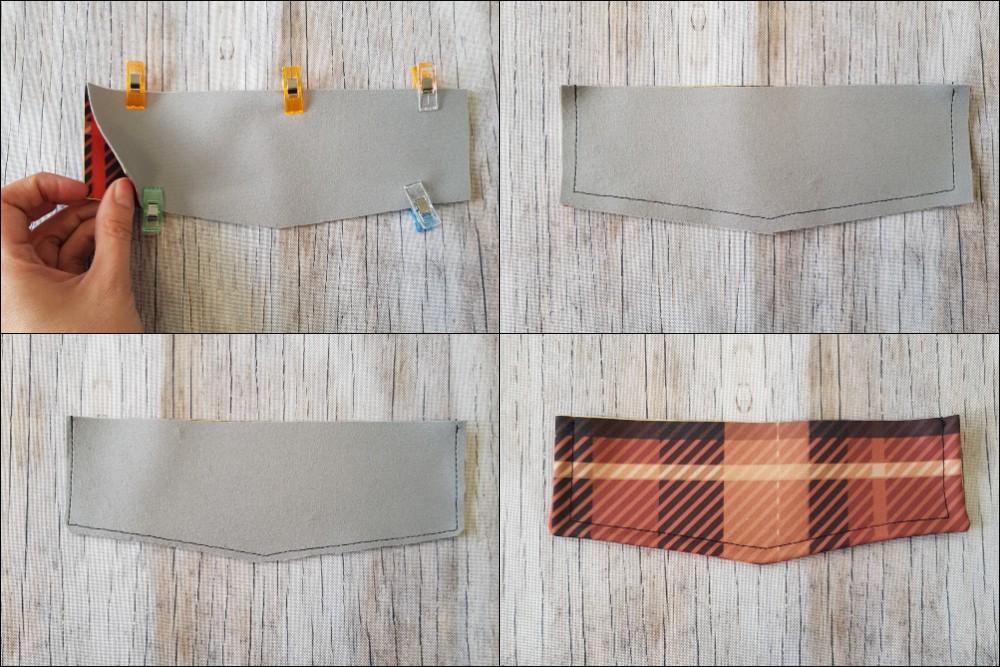
Place the flap pieces right sides together and stitch as shown in the second photo. Trim the seam allowances and clip the corners. Turn the flap right side out, push out the corners, and topstitch around the outer edge.
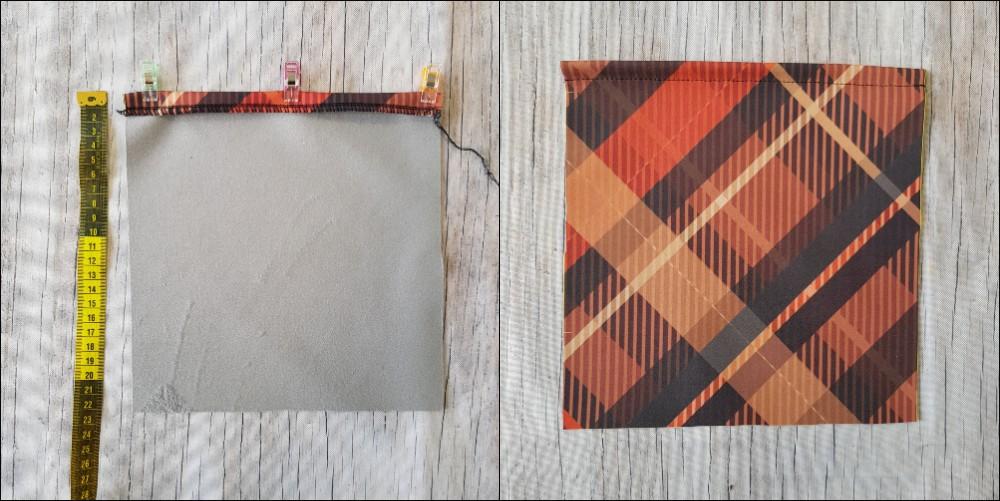
Finish the top edge of the pocket front with an overlocker, fold it inward by 1.5 cm, and stitch across.
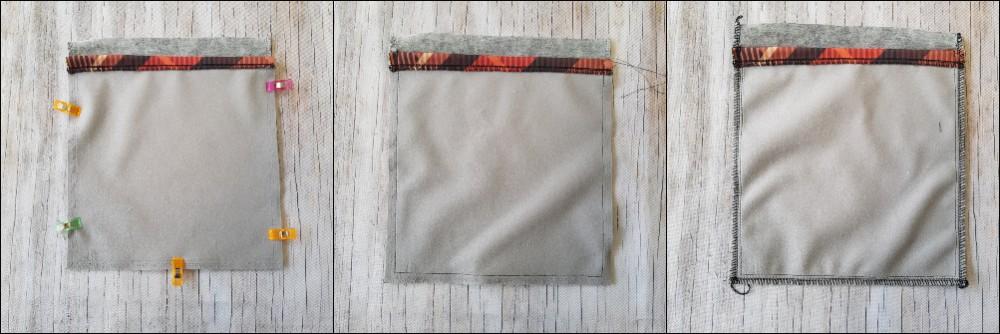
Pin the pocket lining and pocket front together - WRONG side of the lining to the RIGHT side of the pocket front. The lining is slightly longer, and this excess should stick out at the top of the pocket. Stitch the pocket around three sides and overlock the raw edges.
Turn the pocket right side out, push out the corners, and align everything neatly. Take the PAPER pocket pattern and transfer the markings on it to the side of the pocket. Double topstitch the pocket (as shown in the second photo). This is where your hand will enter the pocket, so you don't want the lining sticking out.
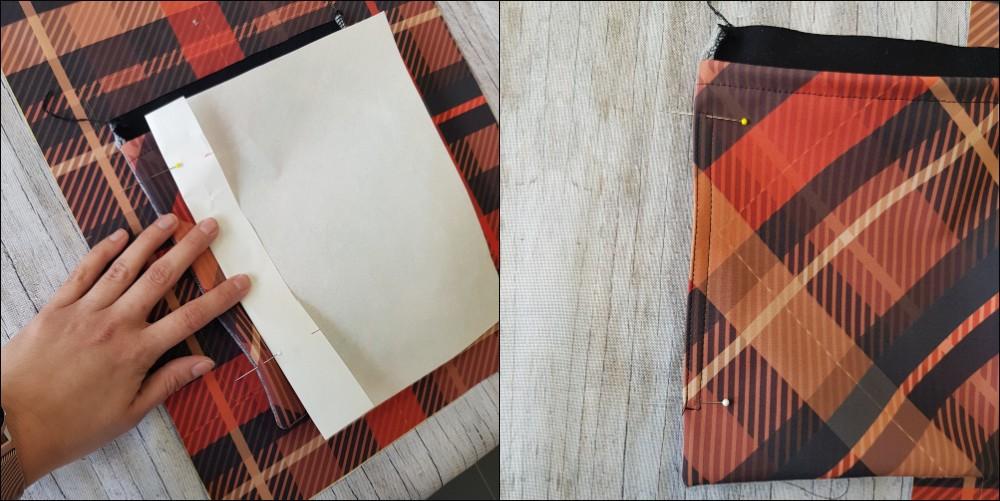
Fold the excess lining fabric toward the back and pin it along with the entire pocket onto the front of the parka.
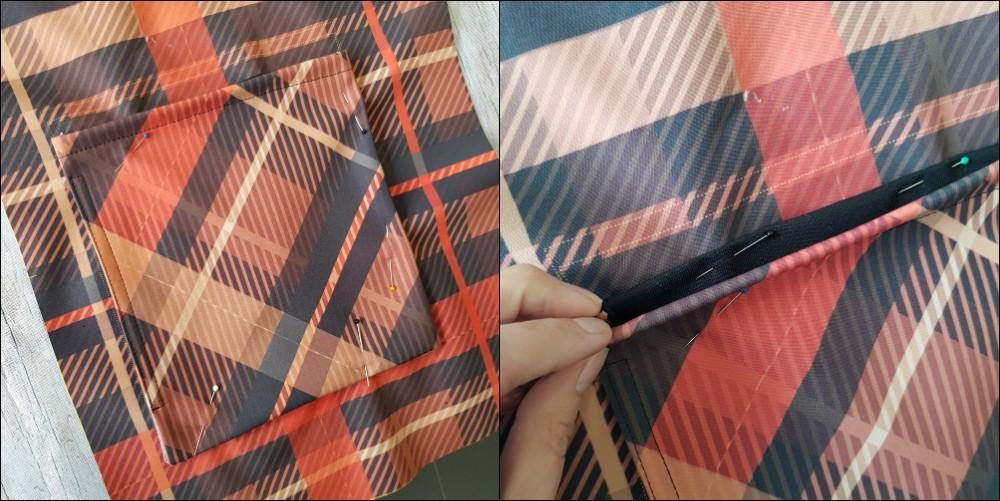
Sew the pocket onto the front of the parka close to the edge. Leave an opening unstitched at the top for your hand. Naturally, do not sew down the side area where you previously double topstitched.
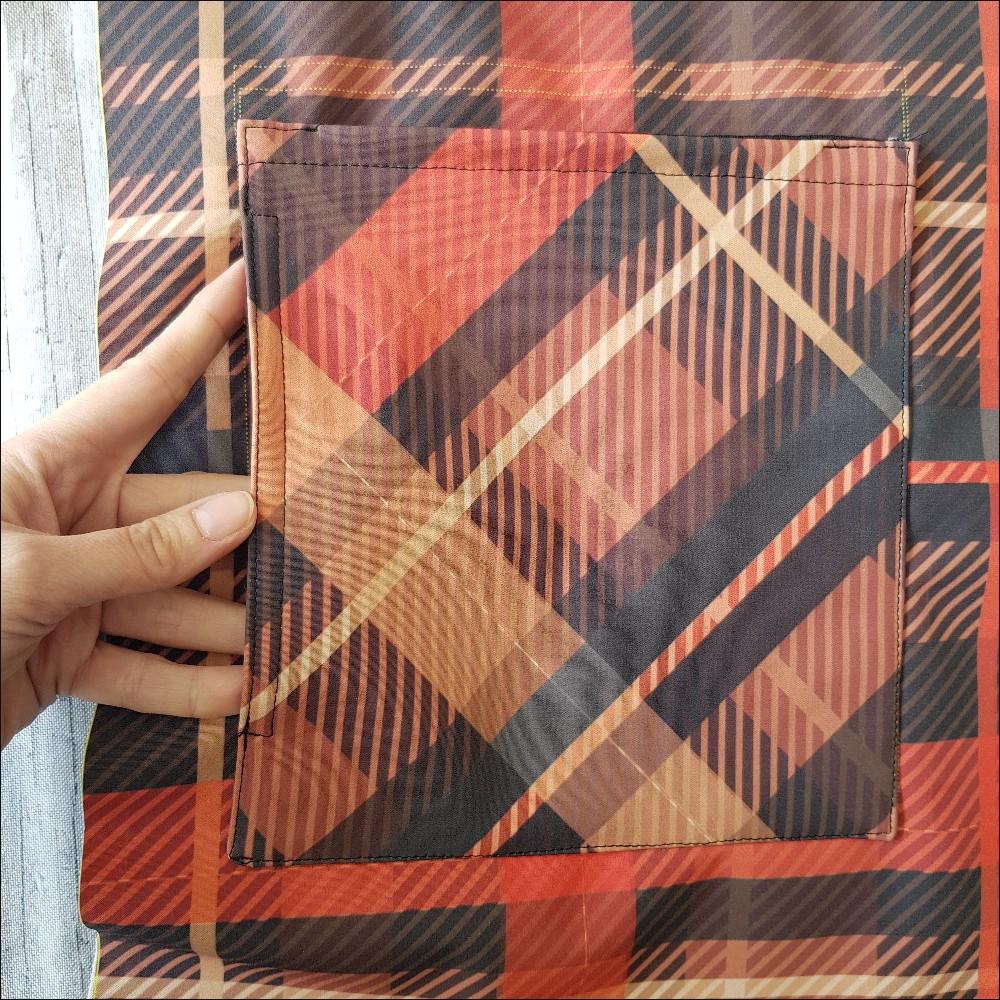
This is how it should look at this stage.
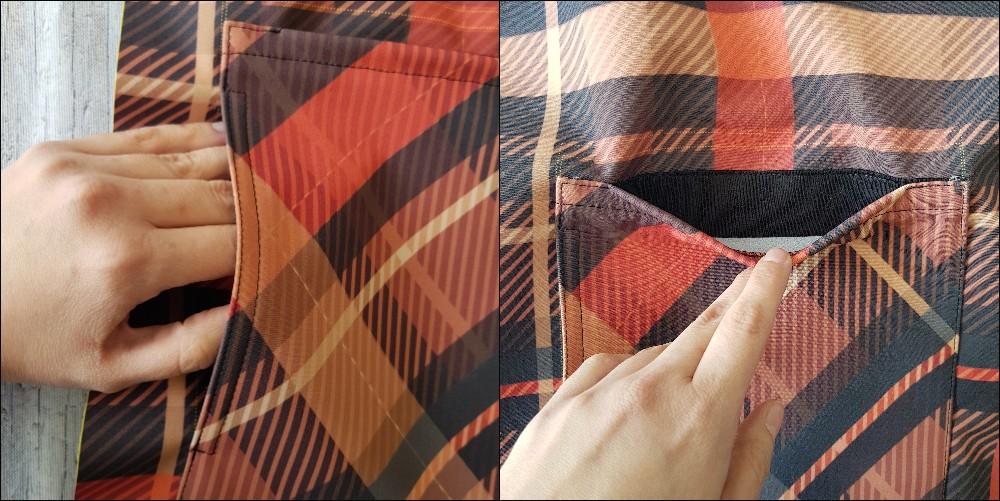
Using the markings on the front of the parka, position the flap above the pocket and stitch it in place. Then fold it down toward the pocket and topstitch it down at a distance wider than the seam allowance you created when attaching the flap. This will enclose and hide the seam allowance inside.
If you'd like, you can add a pocket closure, such as a snap fastener. However, we don't consider it strictly necessary.
BACK OF THE PARKA - bottom hem finish
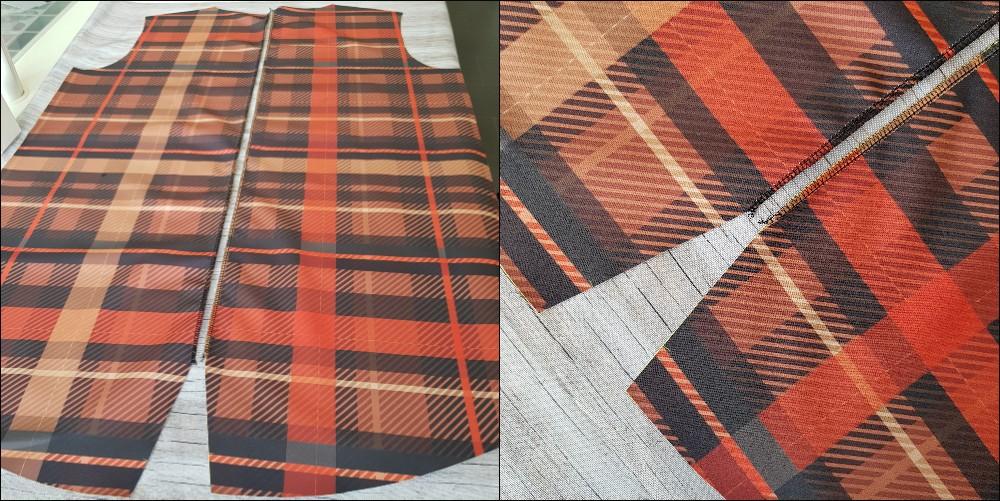
Just like in the ANNA and ARIEL projects, the back of the parka consists of two pieces. Overlock the edges that will be joined together. Do not finish the bottom hem edge yet (as shown in the photo).
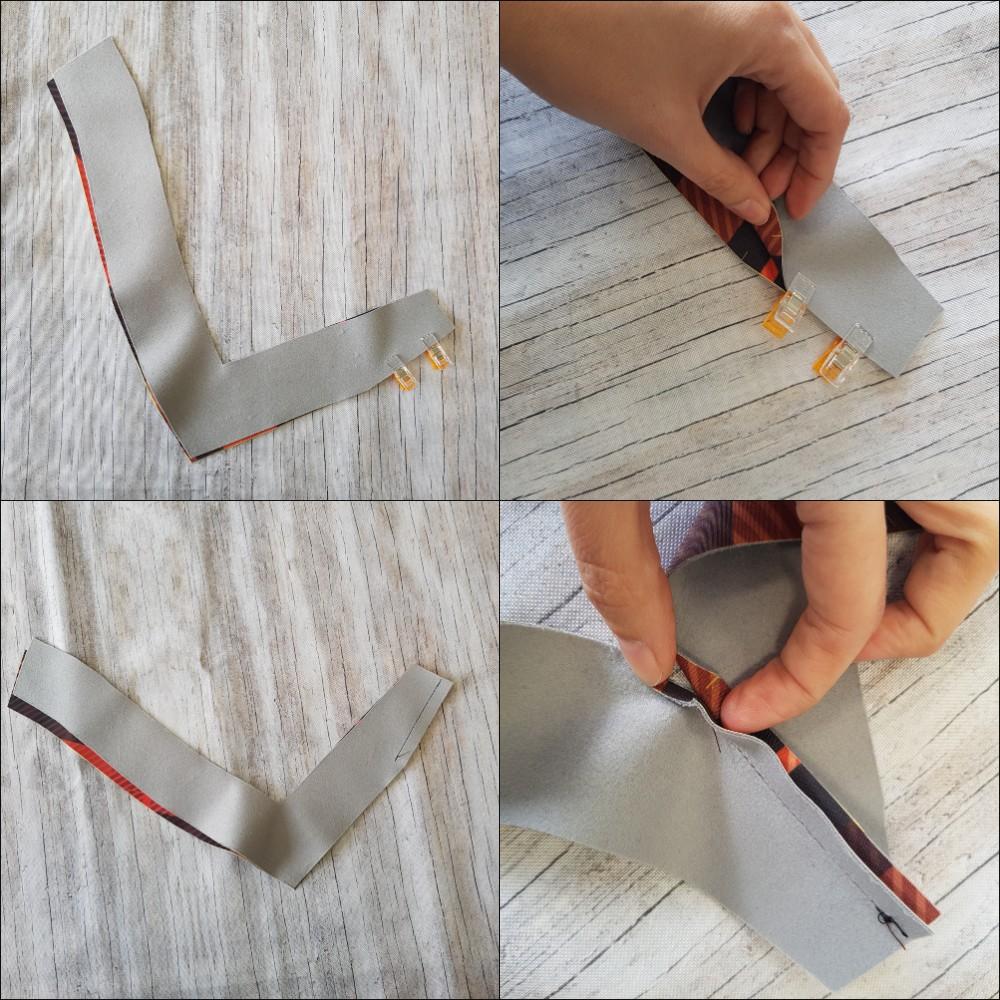
Place the bottom hem facing pieces together and pin them. Stitch from the marking all the way to the end (the marking is visible in the last photo).
Stitch the center back seam of the parka using a standard sewing machine, sewing down to the marking point.
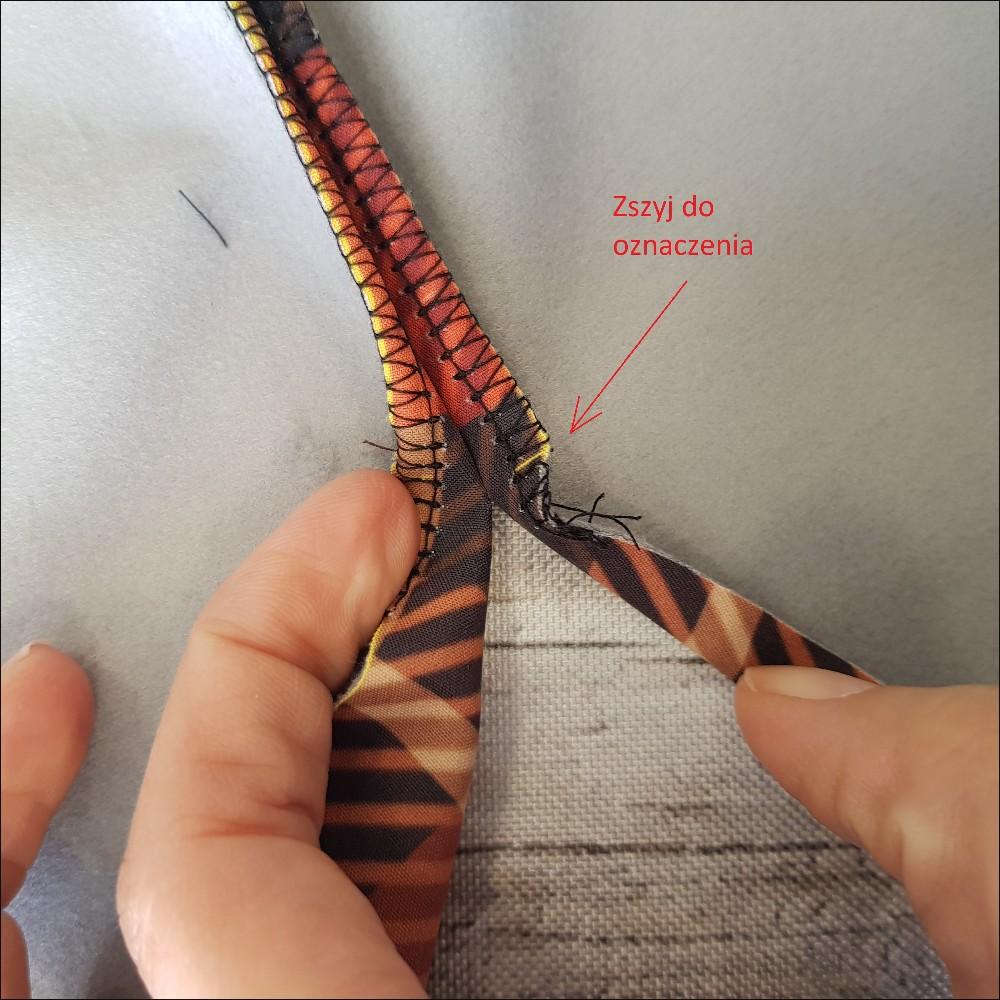
Place the facing on top of the parka back and mark its top edge onto the back piece. Topstitch/stitch down the seam allowances flat to each side down to this point (for the seam joining the two back pieces).
Place the facing back onto the bottom of the parka and pin the pieces together.
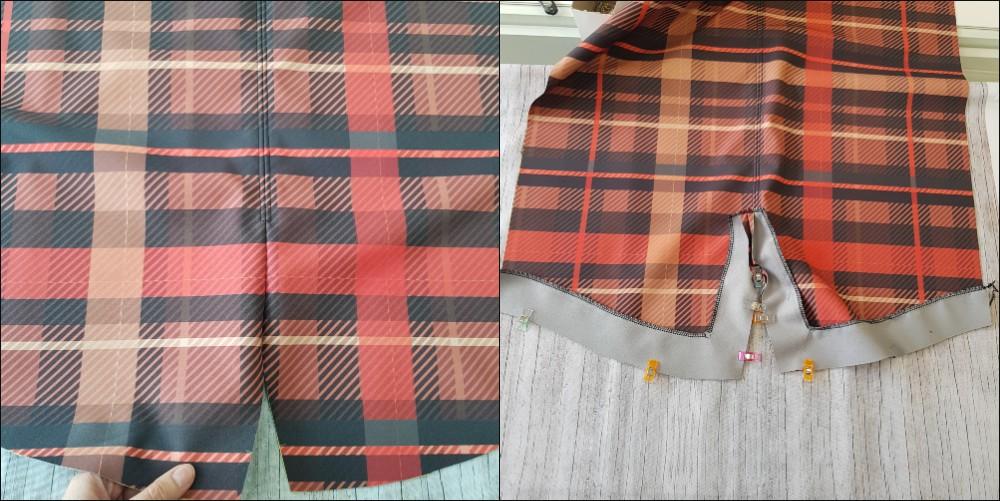
Stitch the facing to the parka. It is very important here that you do NOT stitch the facing all the way to the very top vertex of the back slit.
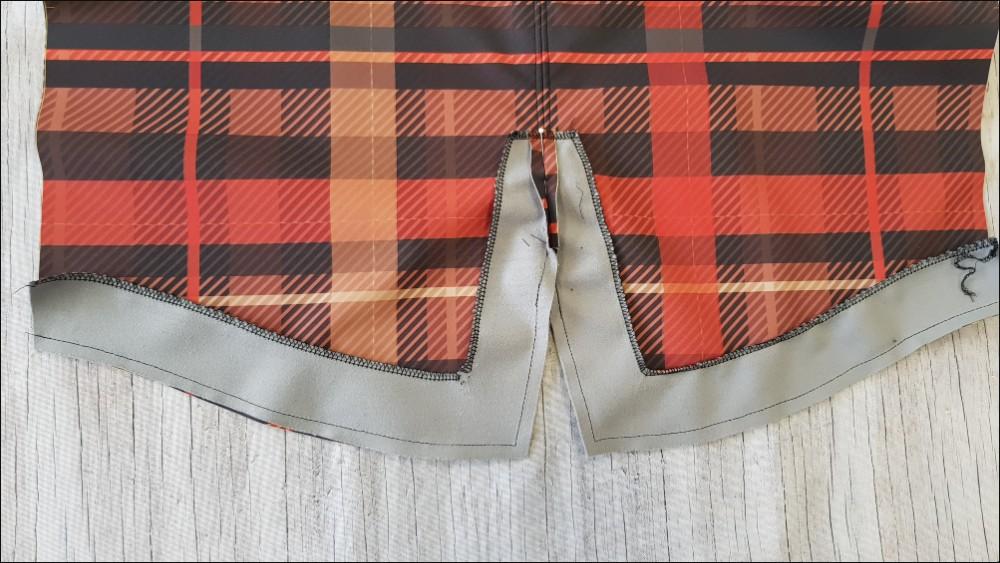
Leave about 2 mm unstitched. This will make it much easier to turn the facing right side out and ensure it sits cleanly.
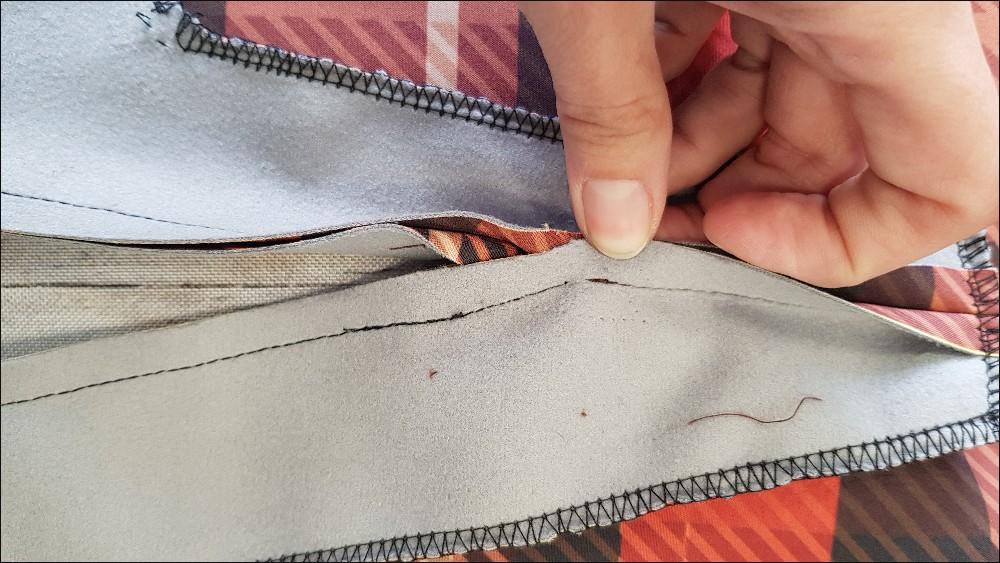
Turn the facing right side out, push out the corners, smooth everything flat, and pin the pieces together.
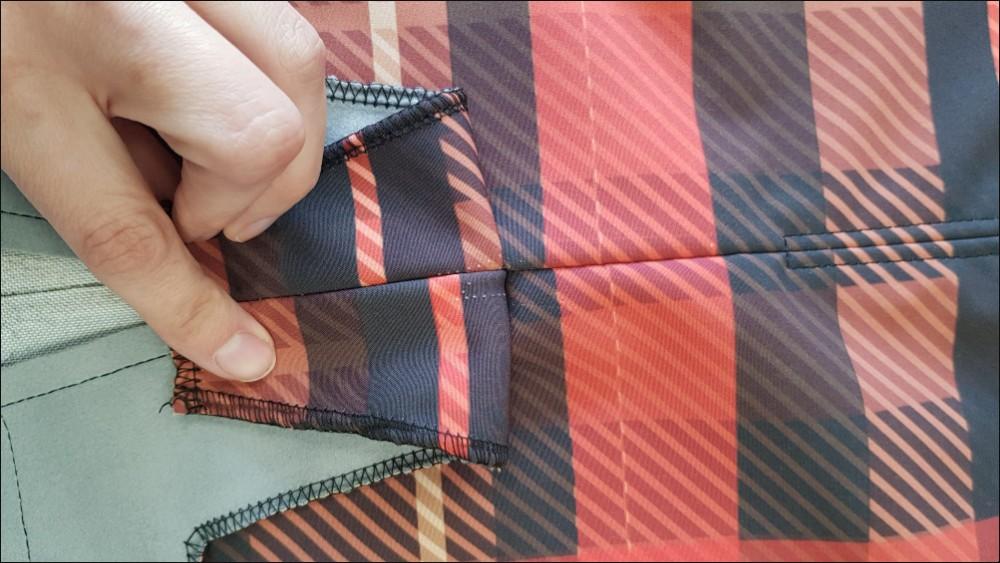
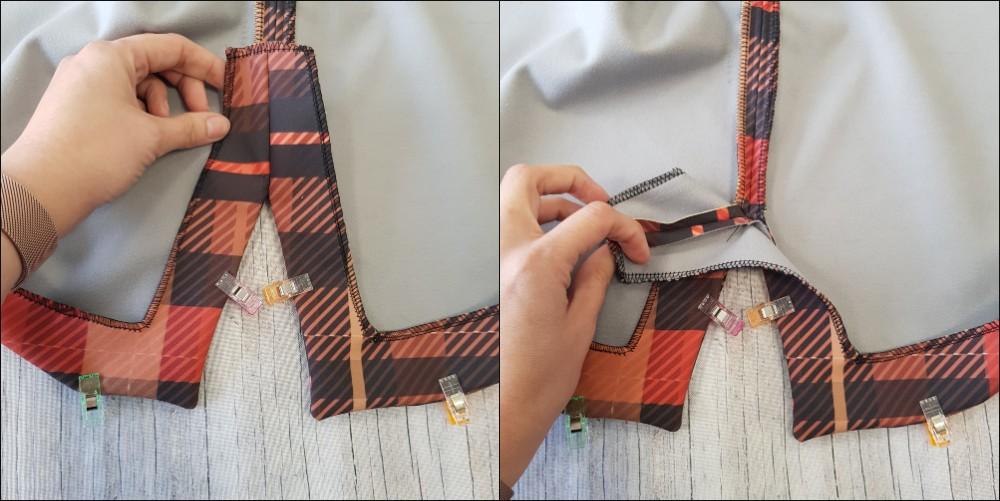
Topstitch the facing.
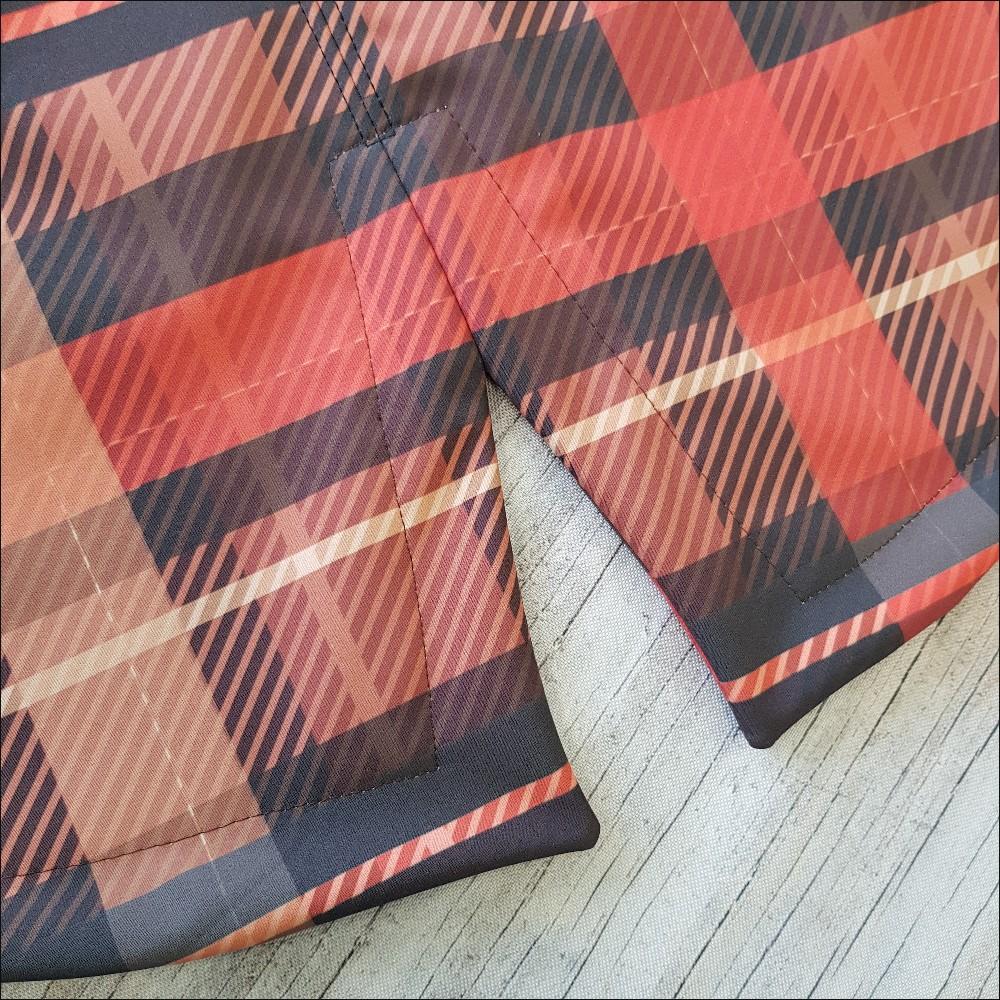
Finished!
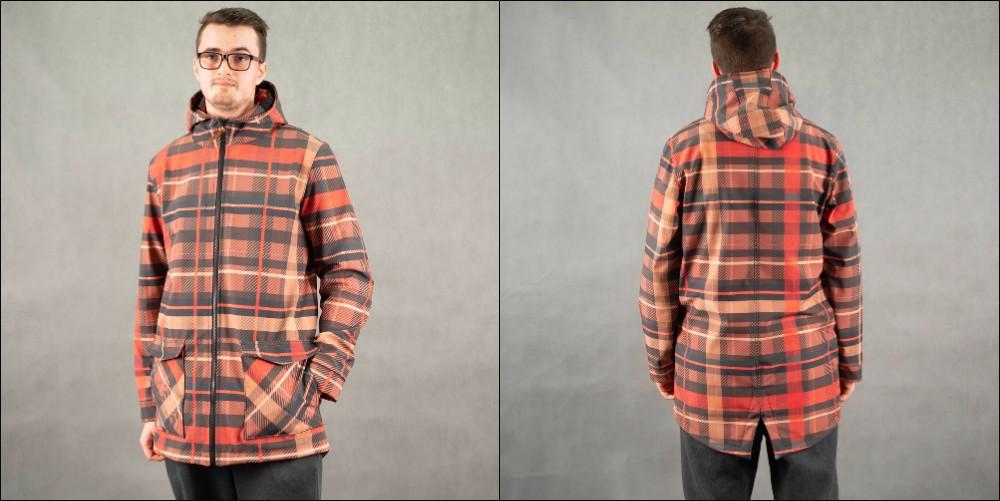
See? It looked harder than it actually turned out to be!
Happy sewing!
Iwona Bartczak
Małgorzata Michalewska


