
First grade candy cone
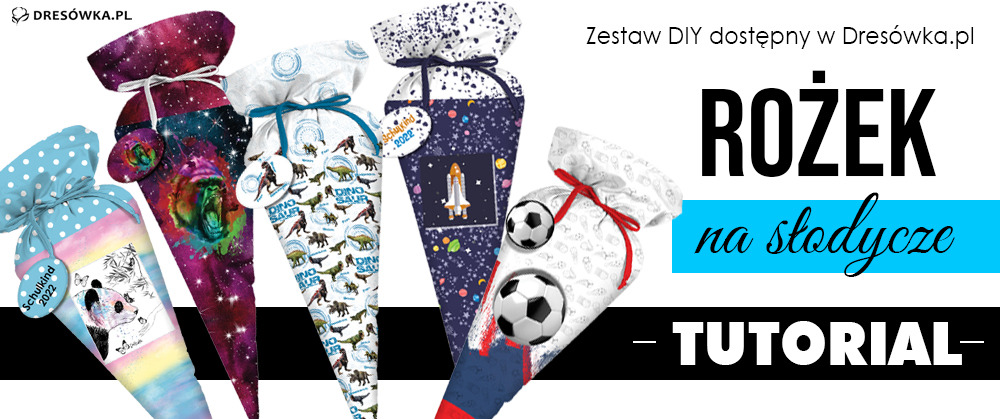
If we do not want the early years of education to be associated for our children only with "school duty", it is worth taking care of a good first impression and welcoming young students with the First Grade Candy Cone.
Haven't you encountered this custom yet? It's high time to change that! First Grade Candy Cone, as the name suggests, is nothing more than a cone filled with sweets that the youngest students receive when they start their school adventure as a morale boost.
It’s equally important to take care of the unique setting of all chocolates, lollipops and jelly beans and pack them in a unique made with love cone.
To sew the candy cone, you need:
- a set from dresówka.pl
- multifunction machine
- tailoring accessories
{{useMaterials}}
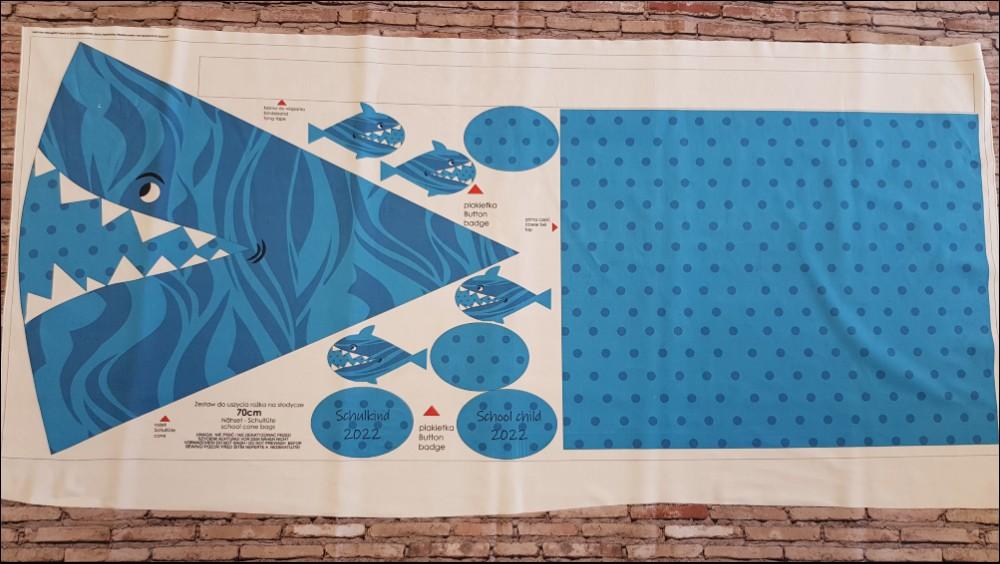
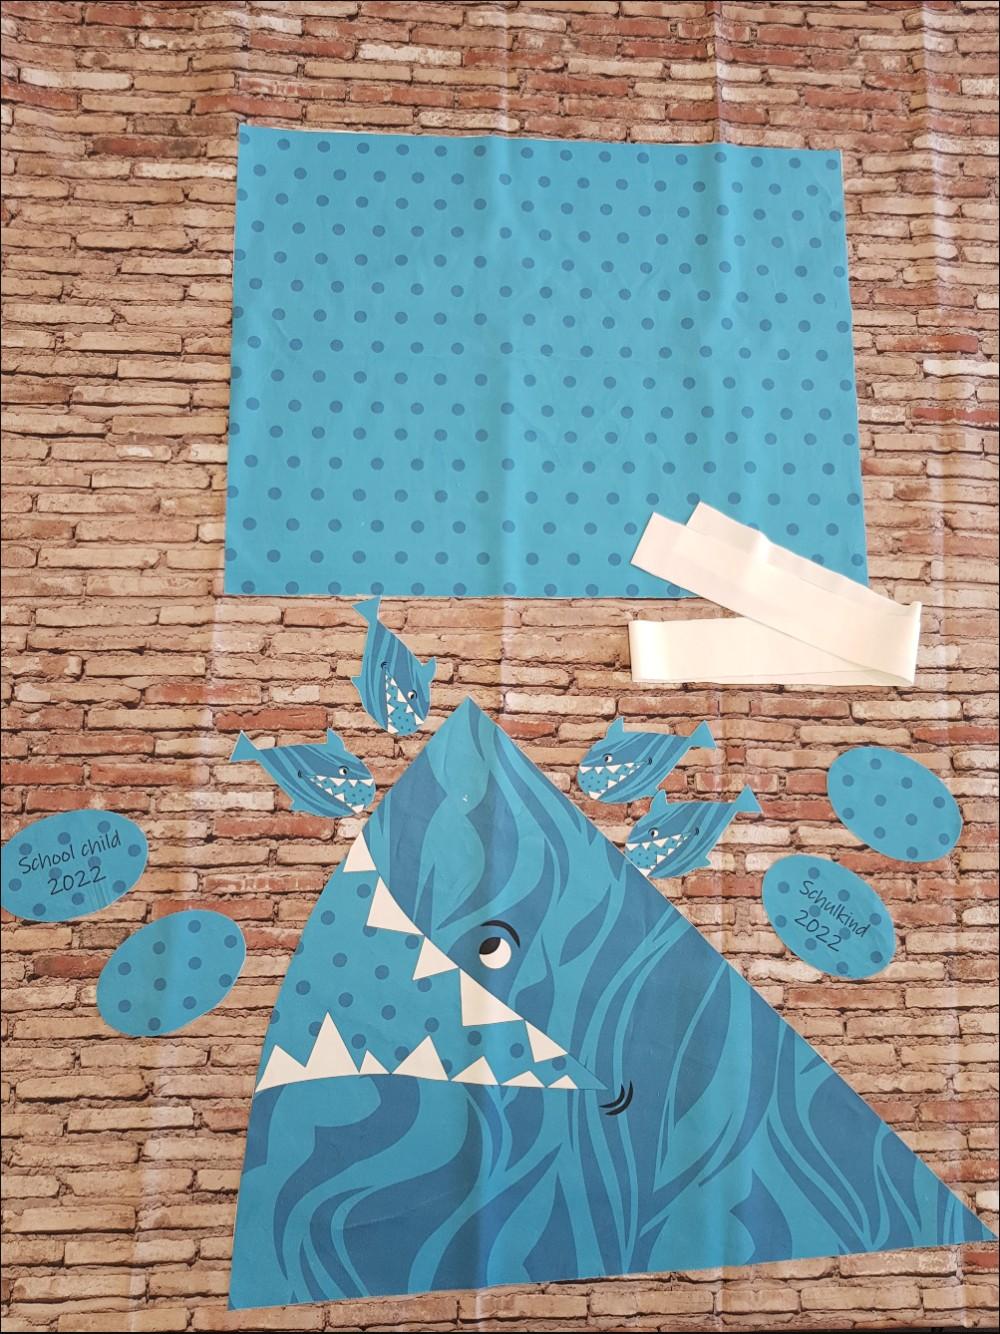
1. Cut out the elements of the cone:
- 1x cone
- 1x neck warmer
- 1x drawstring
- 8x badges (pendants)
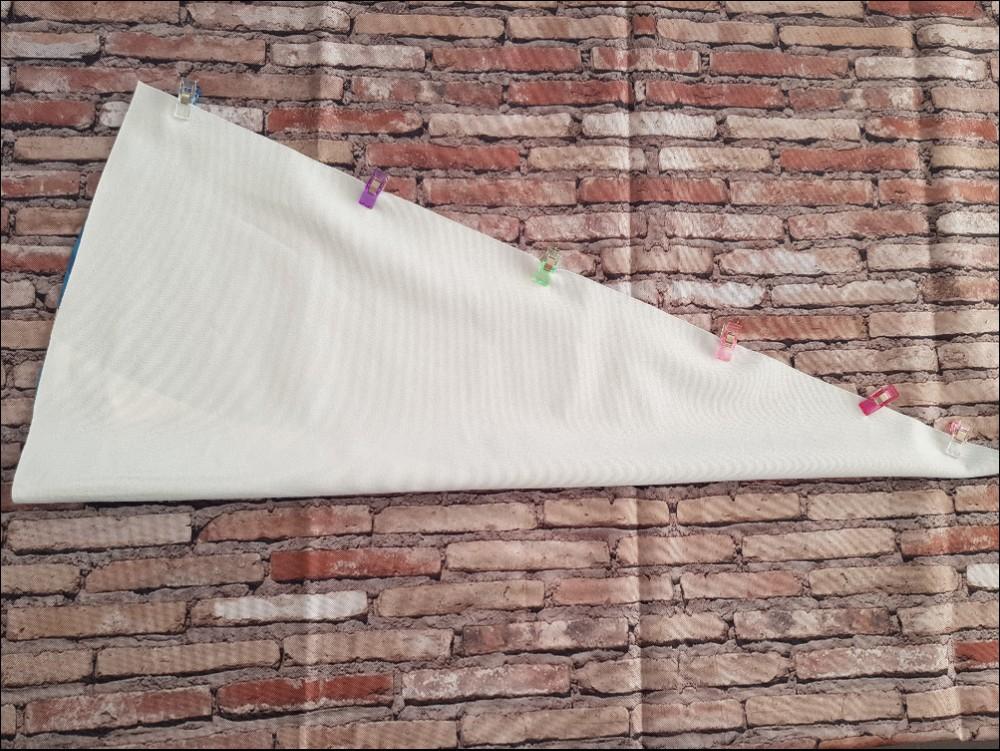
2. Fold the cone right sides together, pin it with pins and sew it along the longer edge. Remember to cut off the seam extra allowance of the bottom corner. This will make it easier to evenly push it to the right side. You can now turn the cone inside out and check the seam. When you do this, flip it back inside out.
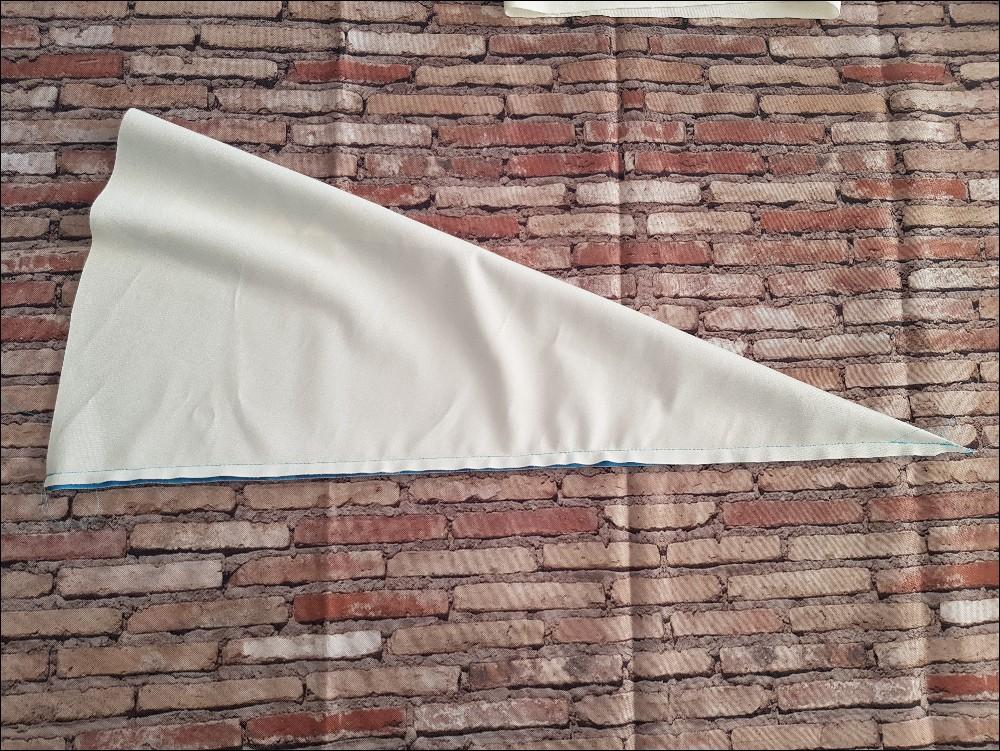
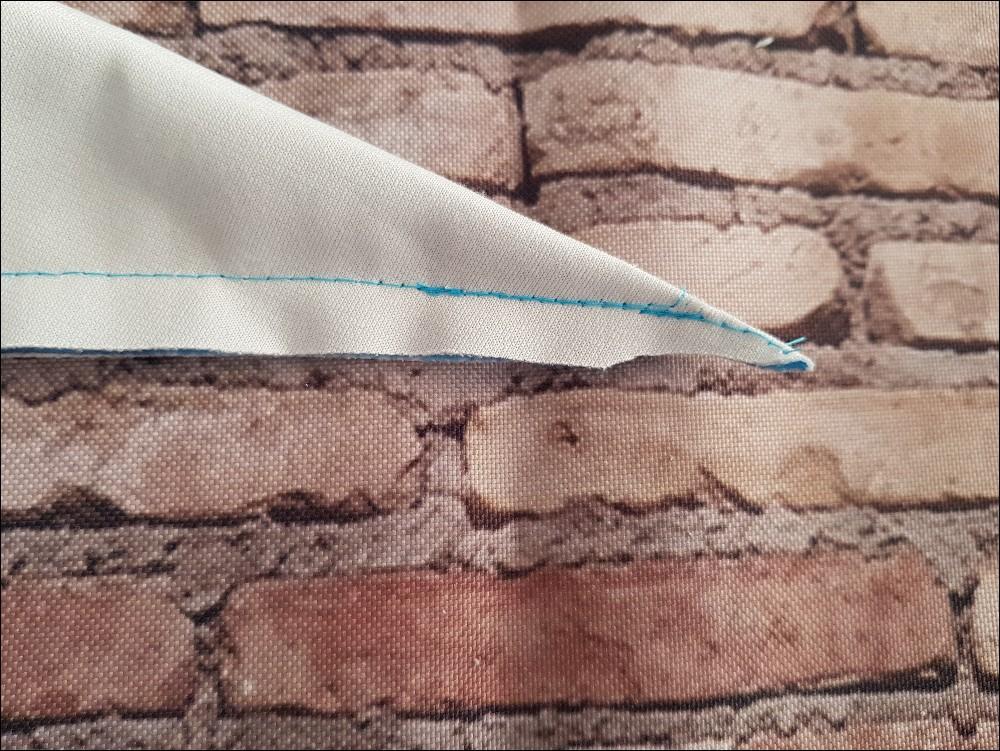
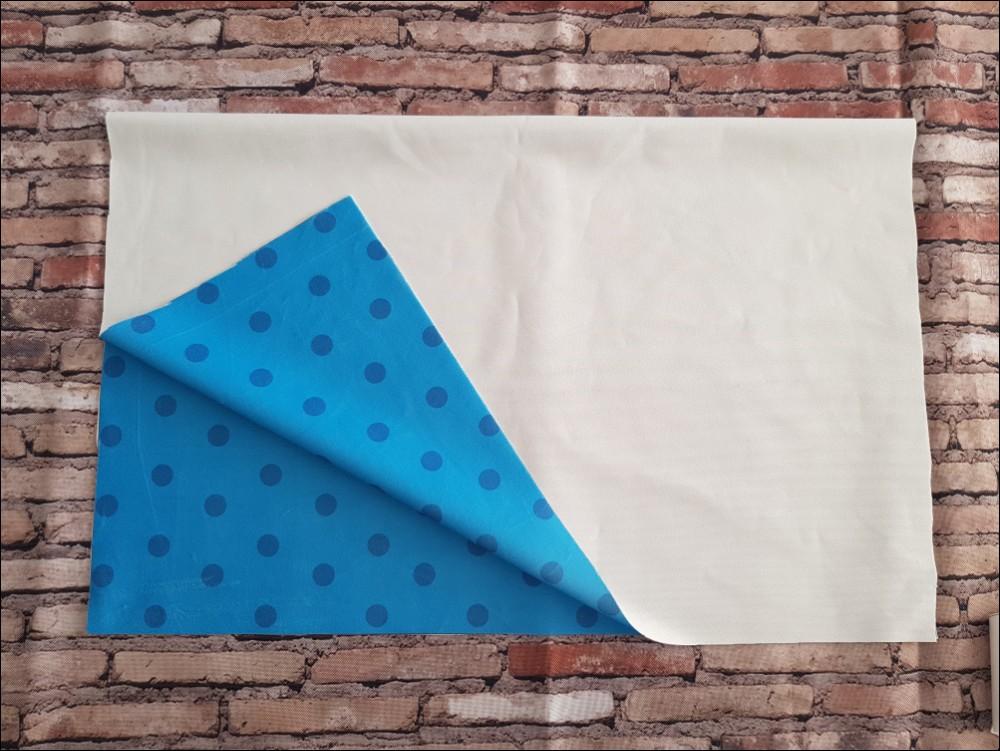
3. Fold the neck warmer along the short edge right side to right side.
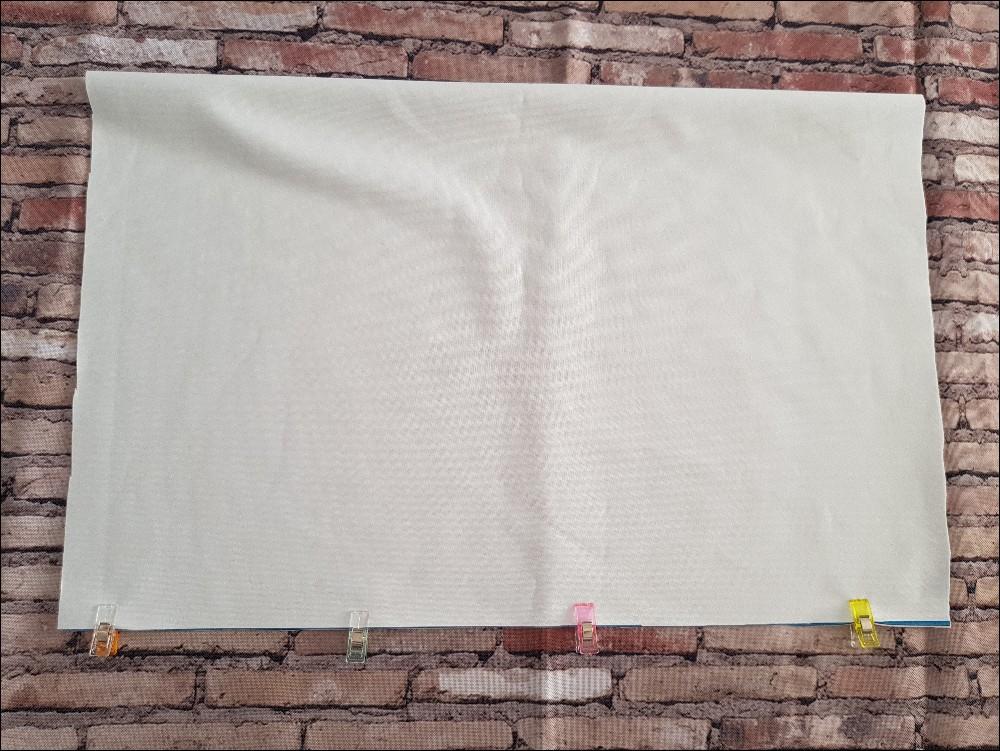
4. Fasten the sides with the clasps and sew with a straight stitch. If you want to use the cone as a backpack or bag in the future, check step 13 now.
5. Draw out the seam allowances to the sides.
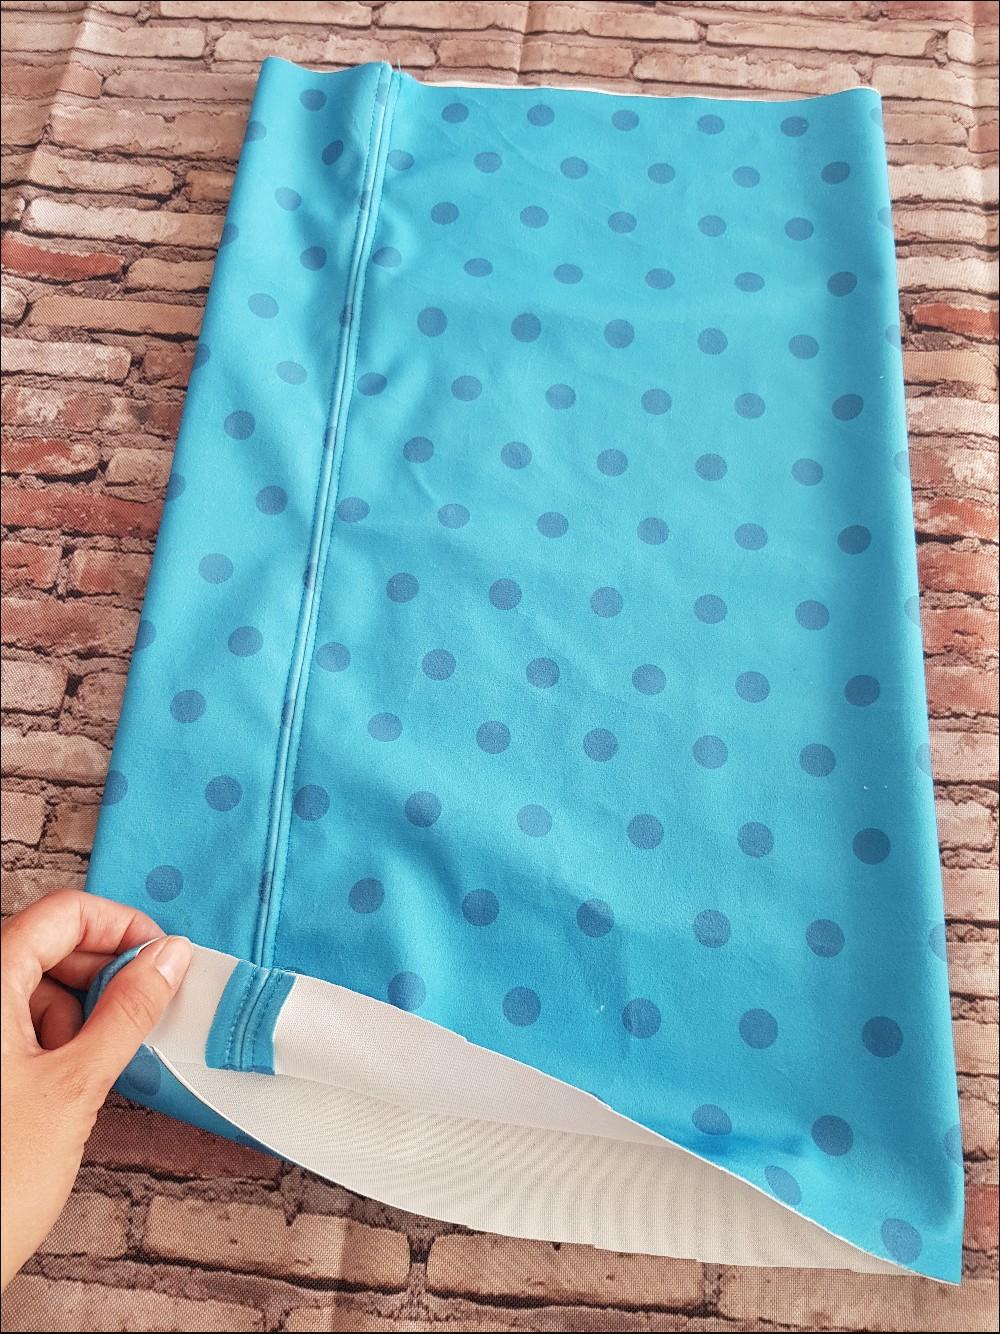
6. Fold the neck warmer left sides together.
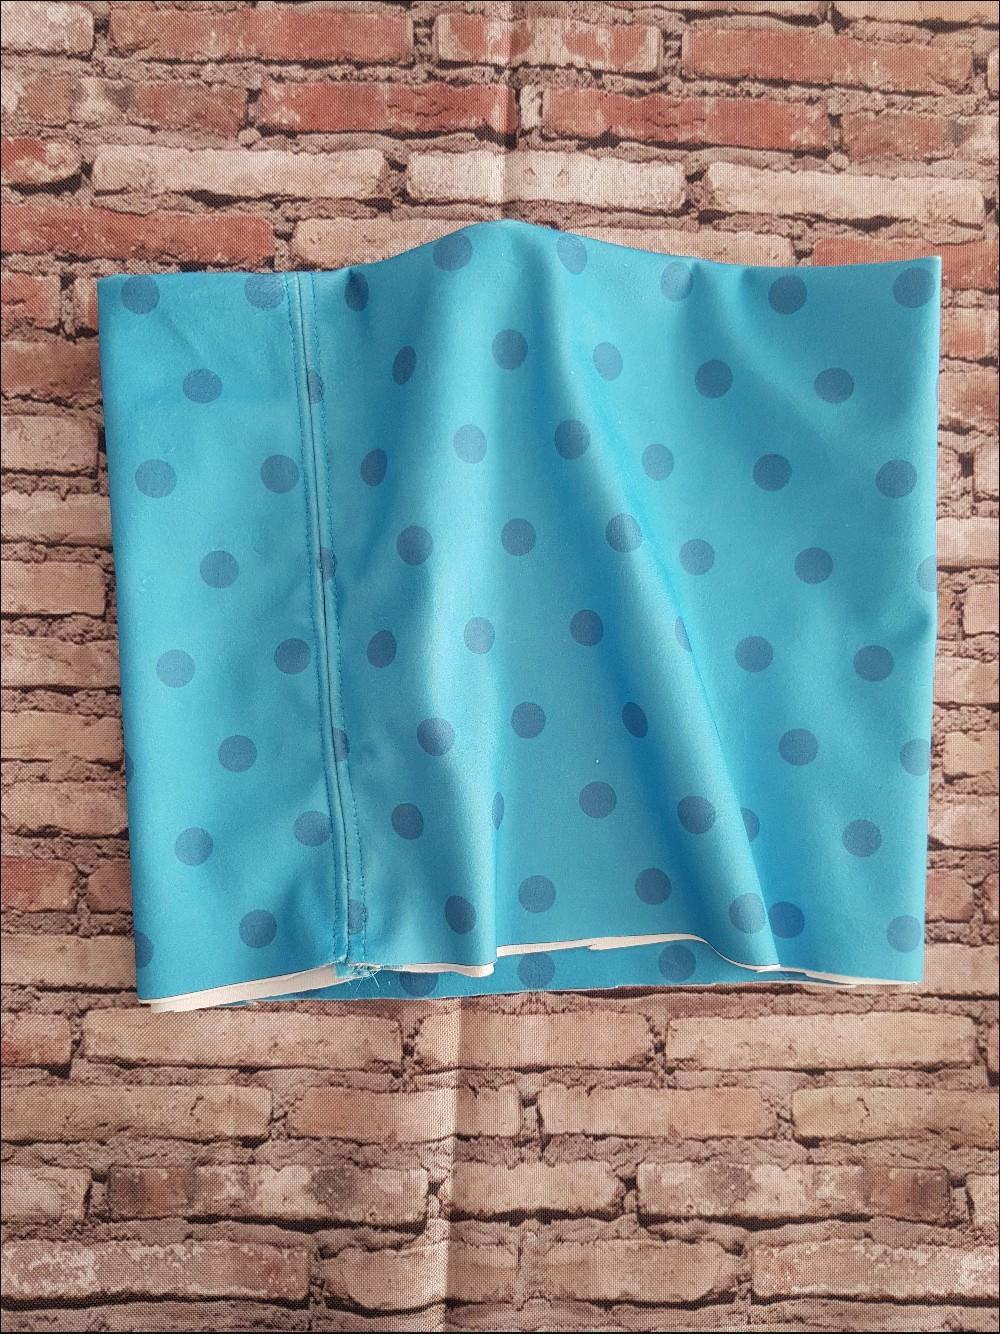
7. Insert the folded neck warmer inside the cone. Make sure that the seams of both parts form a straight line. While sewing, gently stretch all 3 layers of fabric. Sew carefully, velor likes to slide. See point 13 if you decide to use the horn as a backpack in the future
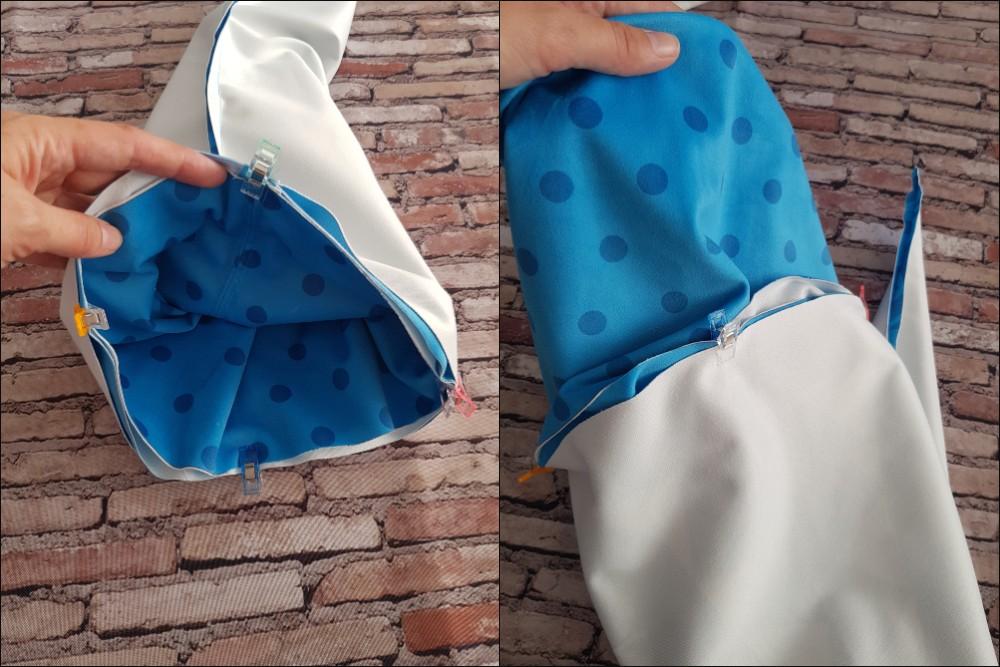
8. Turn the cone inside out.
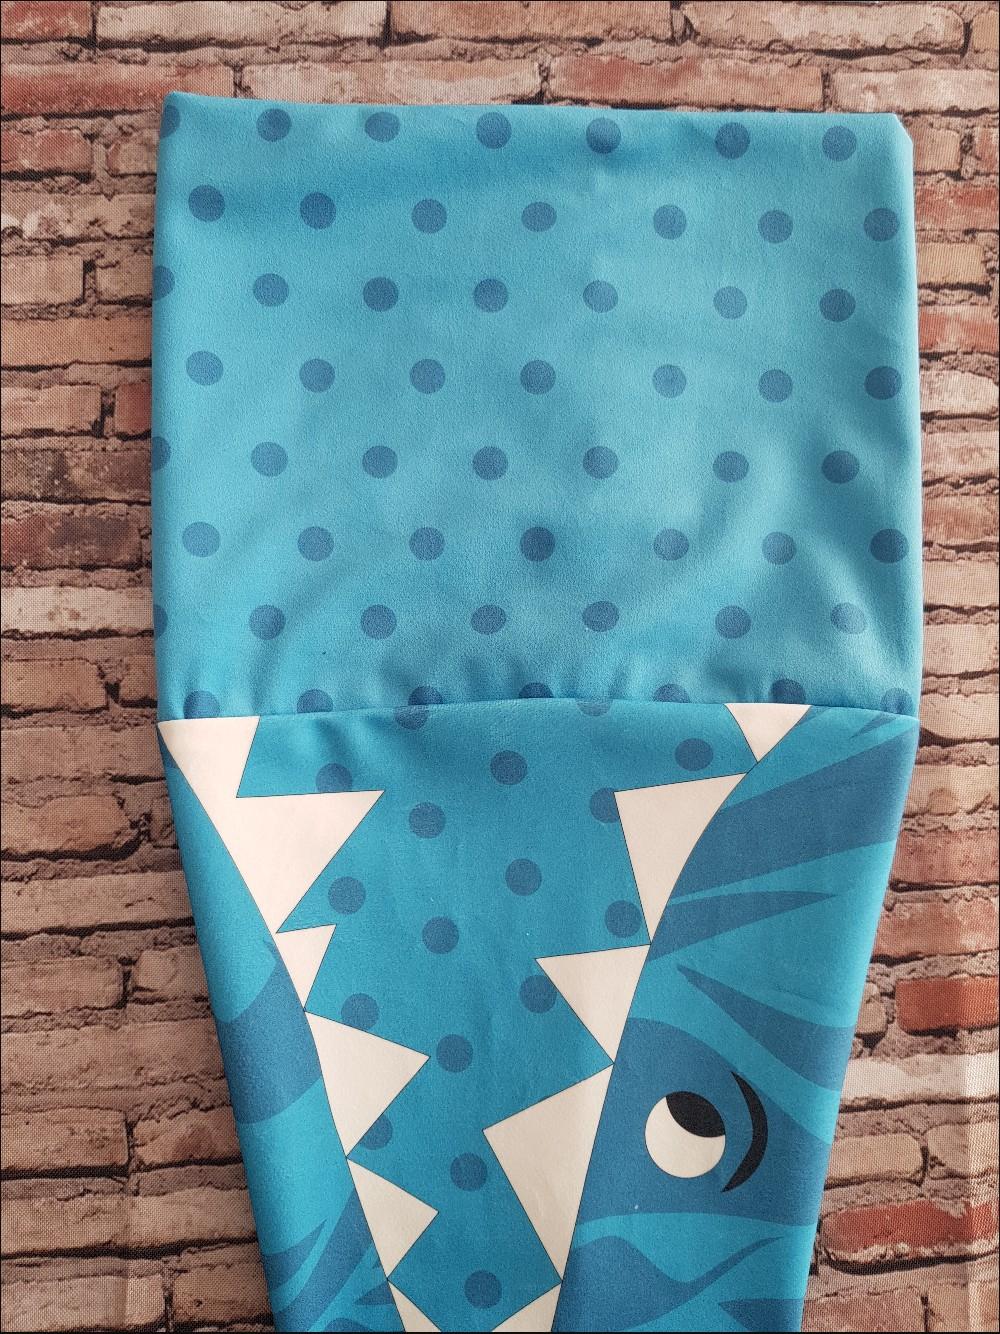
9. Fold the string like a hem, fasten with clasps and sew it.
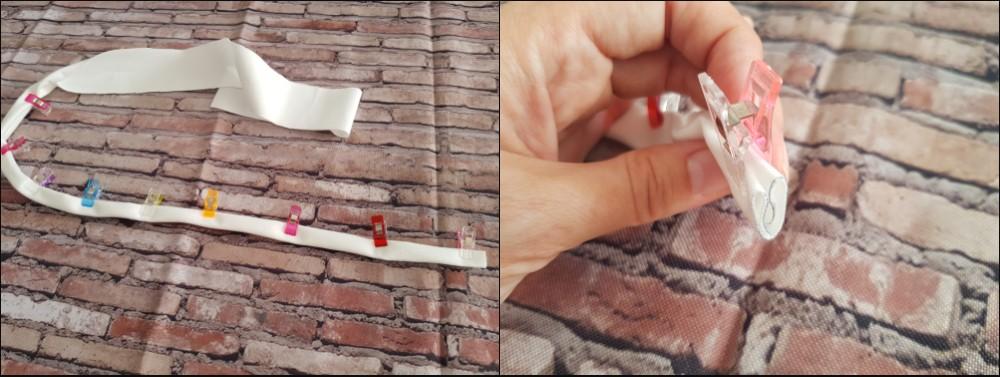
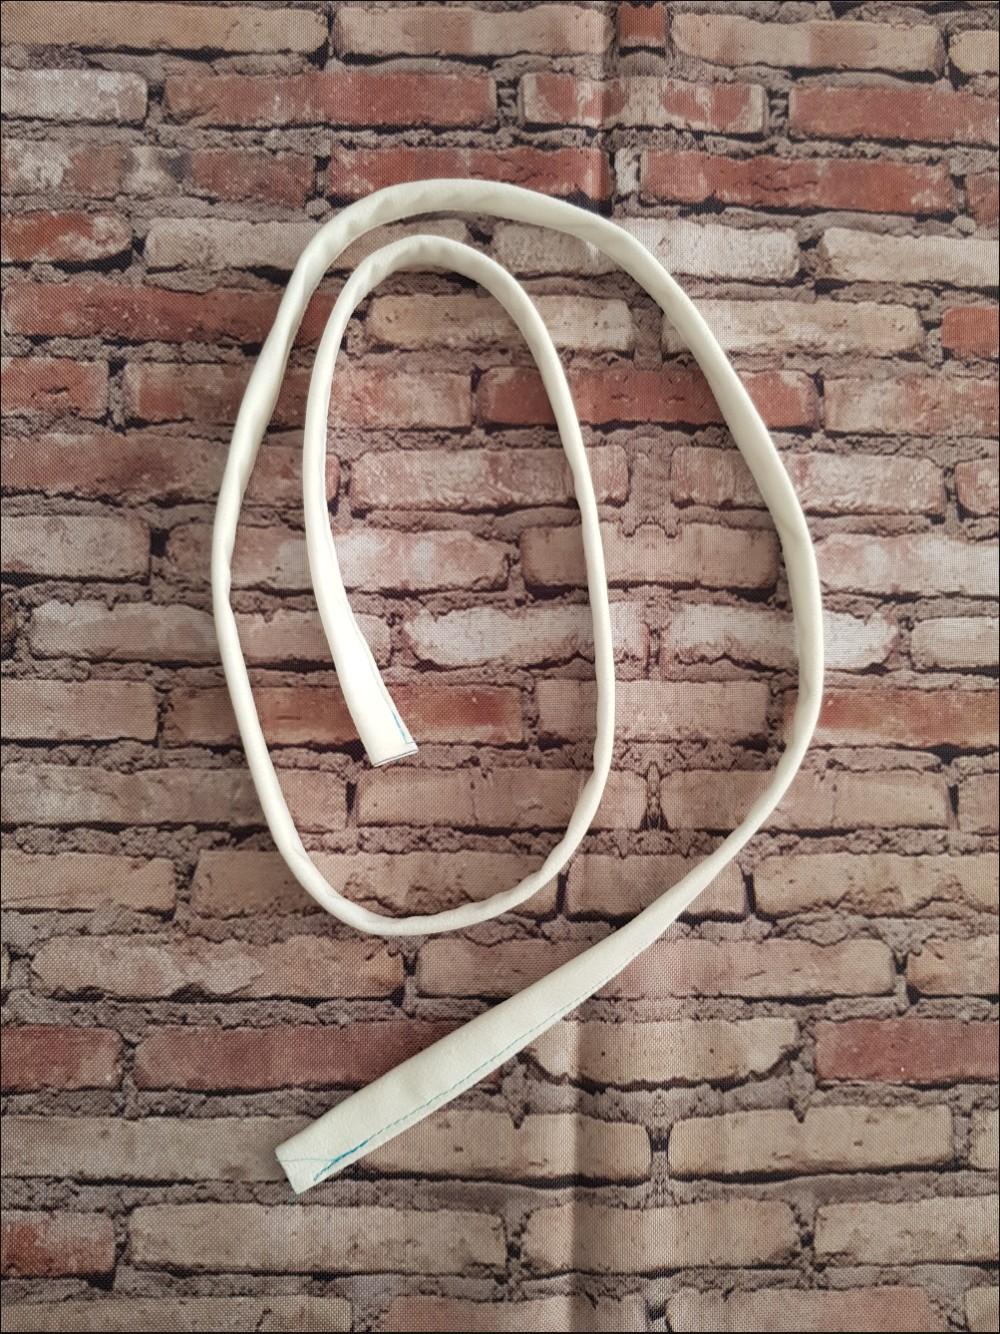
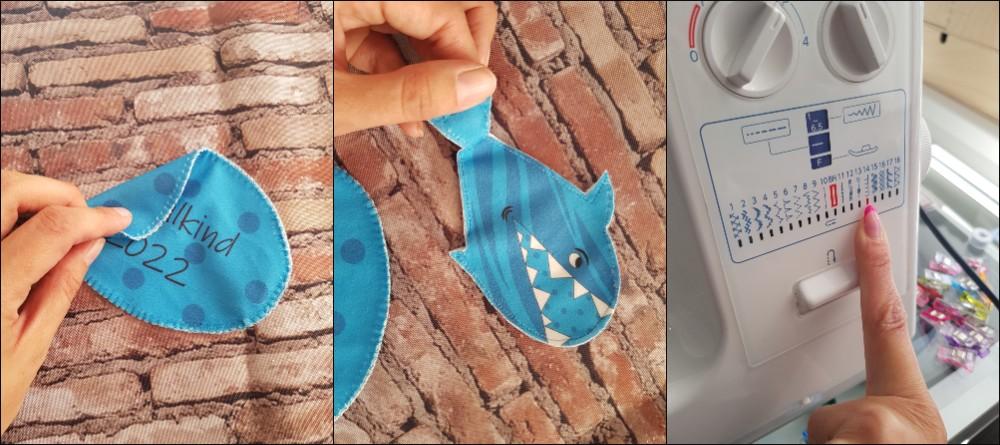
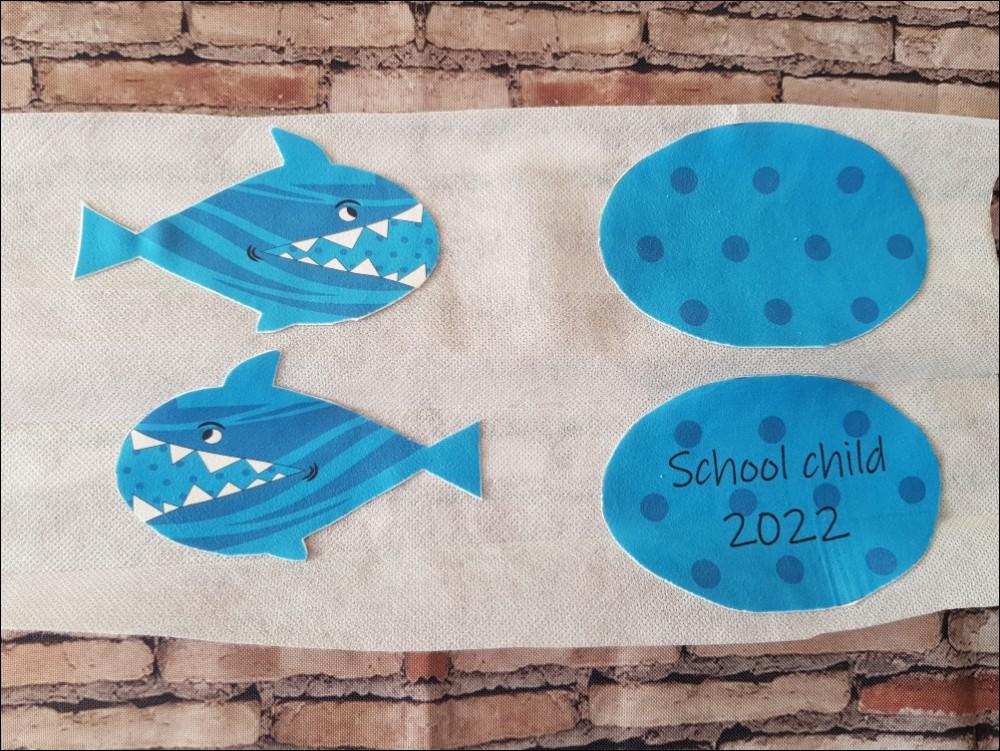
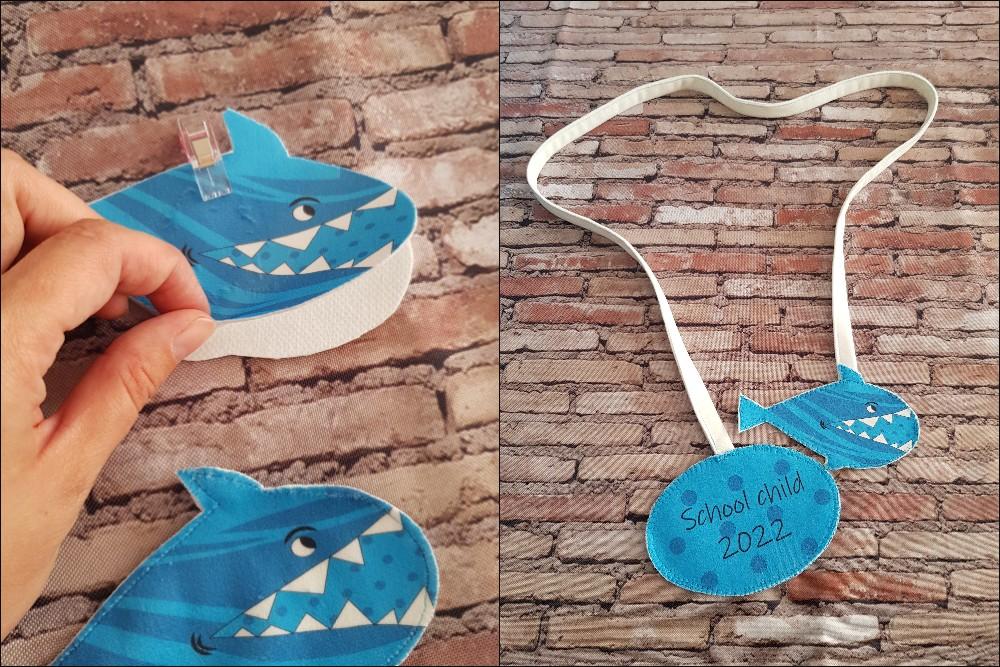
10. Place the tags together in pairs and sew each on the right side. You can use e.g. an overlock stitch on your machine for this. You can also stick the badges with a piece of non-woven fabric before sewing. Thanks to this, they will be stiffer and easier to sew. You can also sew a tiny string at the top of the tag, for example made of velor, with a carabiner or a ring. Thanks to this, the pendants will be more durable when attached to a school backpack.
We sewed ours to the ties to fasten the cone
MODIFICATIONS
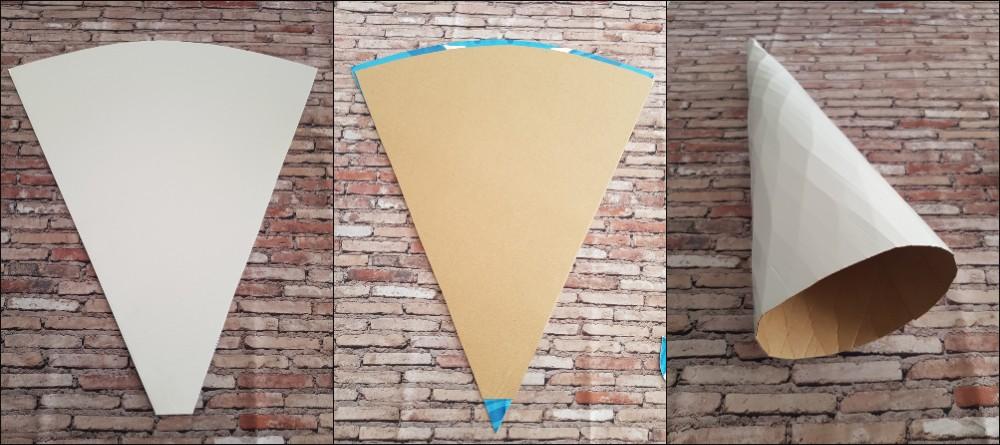
11. If you want to strengthen the cone, at the beginning of sewing, draw the shape of a cone on the card stock. Reduce it from above and below by a few centimeters and glue the side.
After the end of the school start ceremony and eating all the sweets, it is worth slightly modifying the project so that it stays with us for longer.
12. You can fold a silicone ball into an empty cone, tie it and ... enjoy the original pillow!
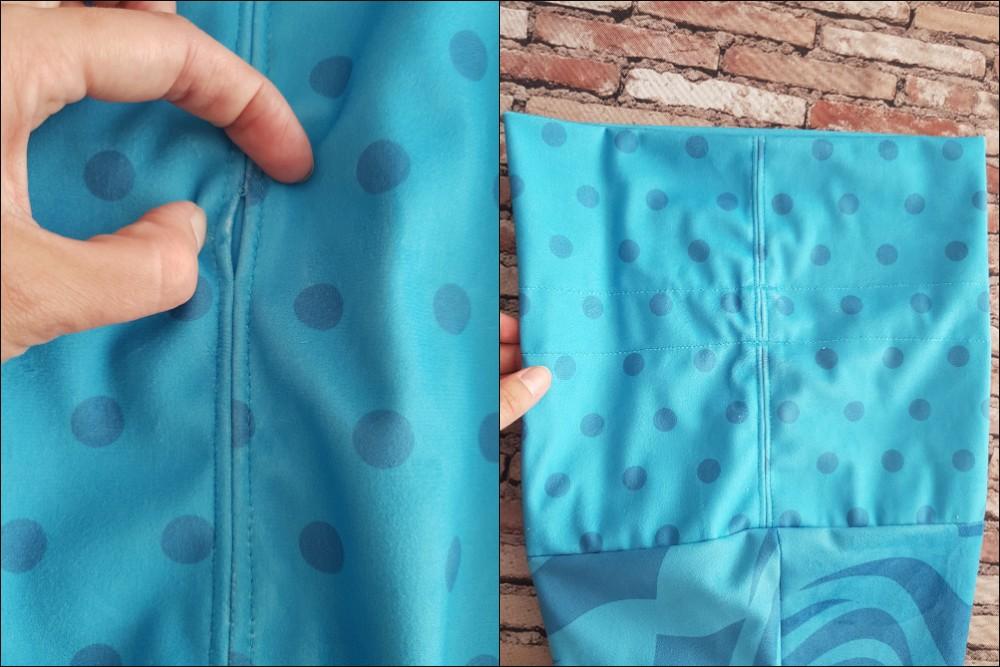
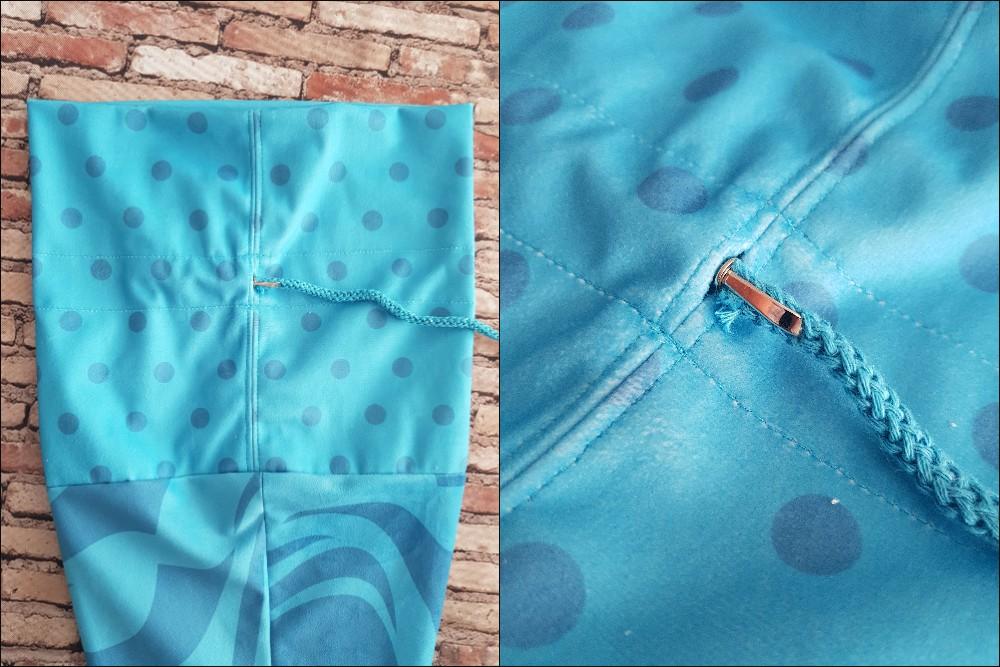
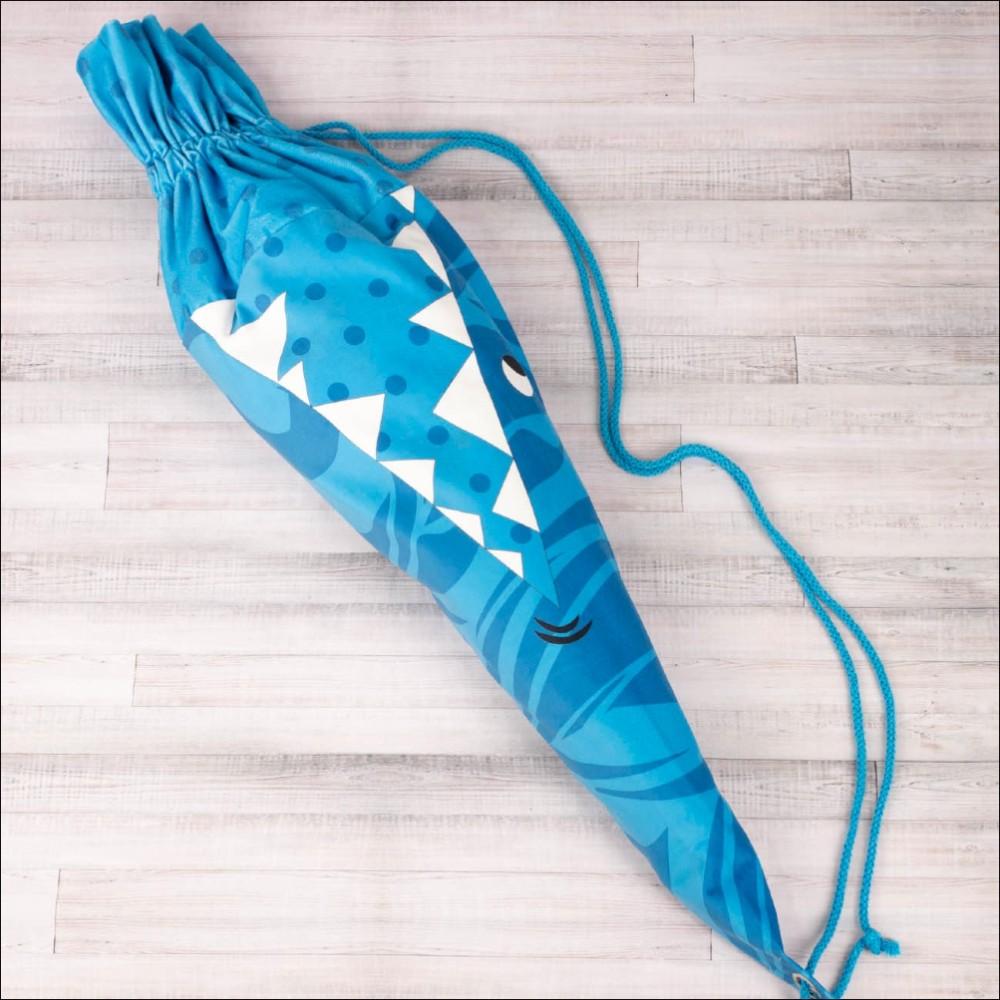
13. You can also convert the cone into a bag / backpack. To do this, when sewing the neck warmer, mark the middle of half of its height and leave it unattached (about 2 cm).
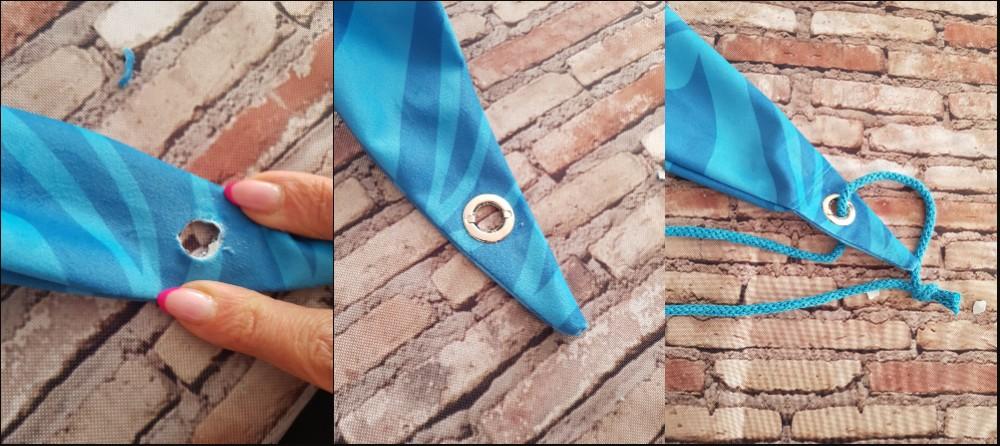
Open the seam allowances to the sides, sew them. When connecting the neck warmer to the cone, make sure that the side with the opening is on the outside of the horn. Then, pipe the neck warmer above and below the opening, to create a string tunnel. At the bottom of the cone, make a hole for the eyelet and punch it in. Now all that's left to do is pull the string and it's ready!
Done!
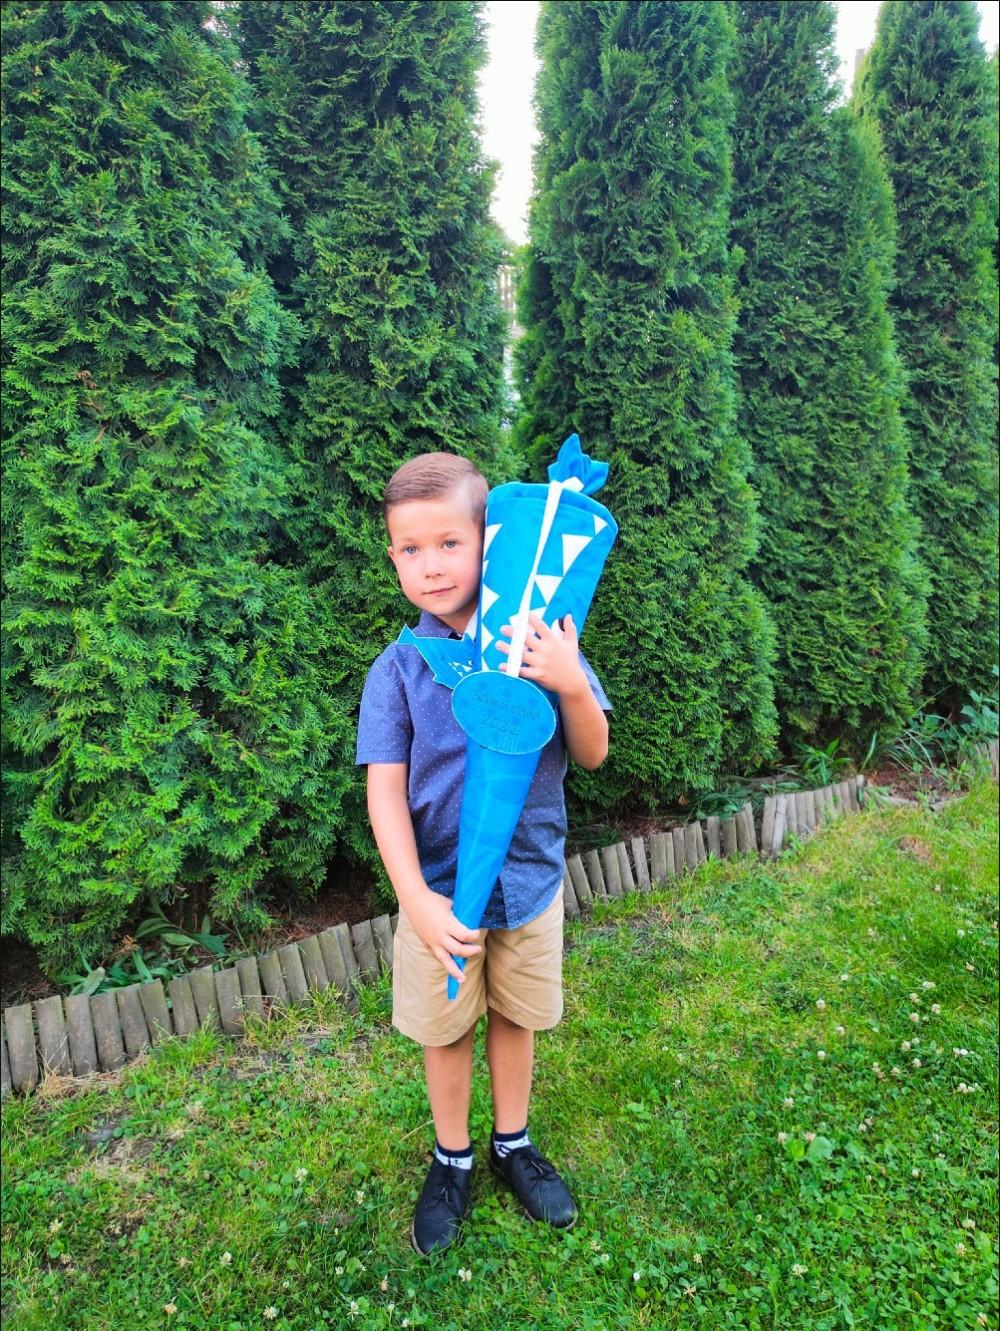
Thank you for sewing together!
Iwona Bartczak
Małgorzata Michalewska
Recommended


First Grade Candy Cone - SKULLS pat. 4 / colorful (DIA DE LOS MUERTOS) - sewing set


First Grade Candy Cone - SCHRECKLICH COOLES KIND / DARK BLUE STRIPES (SCHOOL DRAWINGS) - sewing set

First Grade Candy Cone - SCHRECKLICH COOLES KIND / DARK BLUE STRIPES (SCHOOL DRAWINGS) - small

First Grade Candy Cone - SCHRECKLICH COOLES KIND / DARK BLUE STRIPES (SCHOOL DRAWINGS) - big


First Grade Candy Cone - ROCKET AND PLANETS (SPACE EXPEDITION) / ACID WASH MINT - sewing set


