Shopper bag
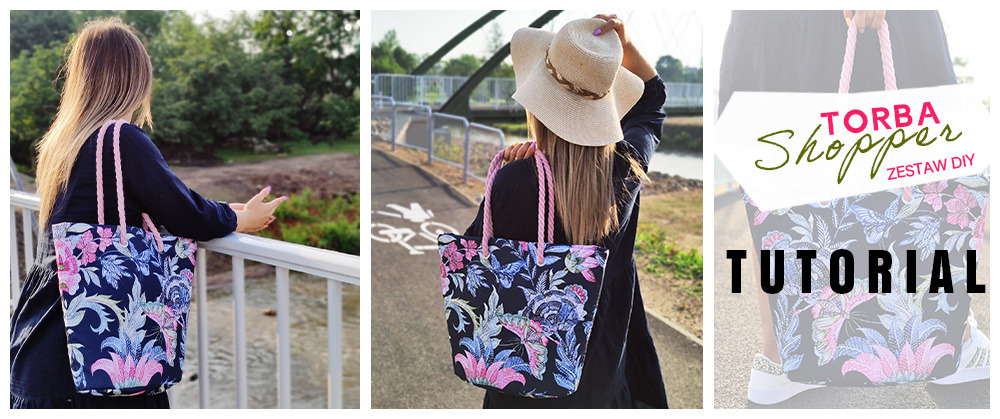
You need:
- DIY kit from dresowka.pl, which includes: panel with printed elements of the bag, wigofil, string, purse eyelets.
- sewing accessories (scissors, pins, clothespins, measuring line, soap)
- multifunctional machine
- iron to iron out the seams
{{useMaterials}}
- 2x lining elements
- 2x bottom
and from the wigofil (treat the waterproof fabric elements as a template)
- 2x top element
- 1x bottom

2. To the left side of the bottom of the waterproof fabric sew the bottom of the wigofil. Seam allowance of no more than 5mm.

3. Put the top elements on top of each other right side to right side. Add wigofil to their left sides. A "sandwich" will be formed: wigofil, waterproof fabric, waterproof fabric, wigofil.
Sew the sides of this "sandwich" together.

4. Determine the center of the bottom of the sides of the bag and the top 4 points of the elliptical bottom. Pin the bottom to the bag starting from these 4 points. Align the resulting sections. You can add more pins or clothespins.

5. Sew the bottom to the bag, 7mm seam allowance. Iron all the seams. Remember to use a low temperature iron through another fabric.

6. Sew the sides of the lining together. Remember to leave an opening in them for the entire bag to turn inside out. Sew the bottom to the lining as it was done for the top layer of the bag.

7. Turn the top of the bag to the left side, put the lining inside into the center of it , so that the elements meet the right sides.

8. Sew the top of the bag with the lining along the top rim. Using the opening in the side seam of the lining, turn the bag out to the right side.

9. Align the top edge of the bag, pin it up with clothespins and sew it across the top about 3cm from the top edge.

10. Sew a hole in the lining.

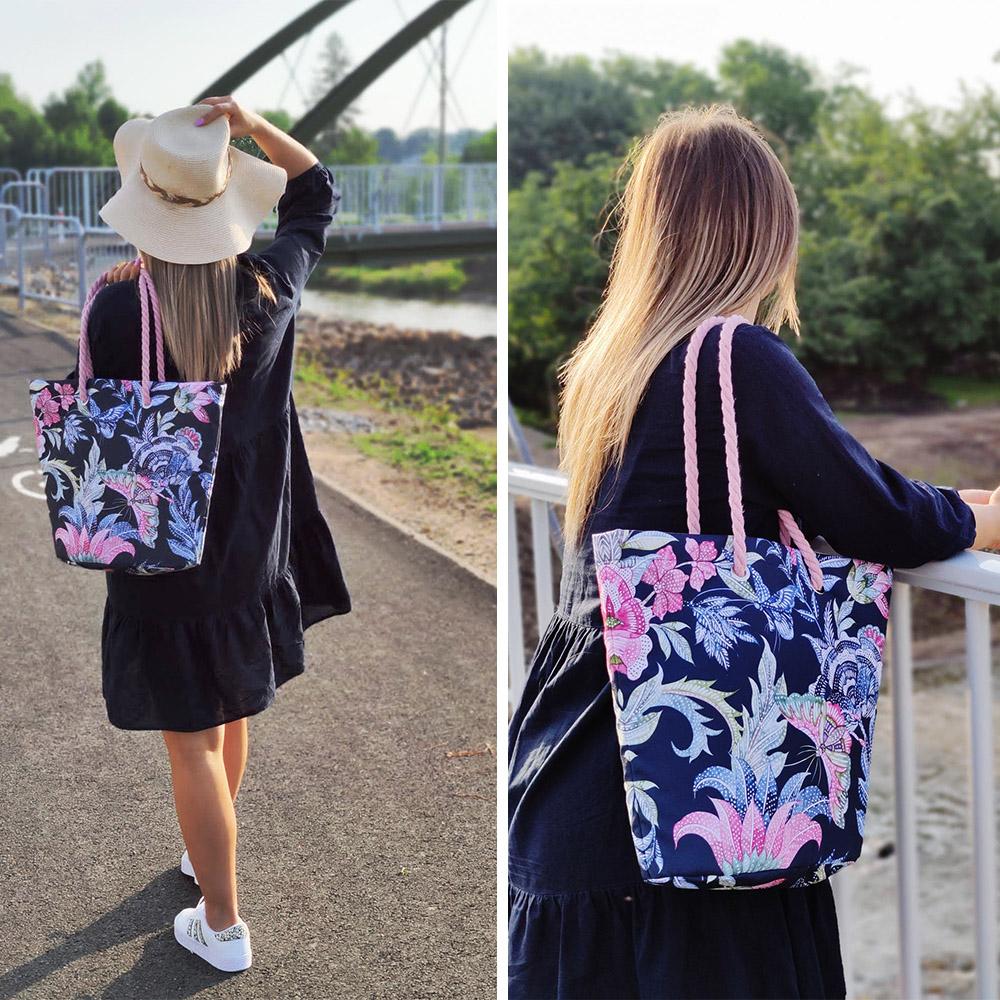
11. This is what your bag should look like at the moment.

12. On the top of the bag, measure 15 cm from the side seam and mark the place where the eyelet is punched.

13. On the material trace the inner circumference of the eyelet and cut it out.

14. Insert the eyelets. You can press the "whiskers" of the eyelet, for example, with the handles of scissors.

15. The eyelets have been scored. Now all that's left is to cut the string in half, put it through the eyelets, make nice knots and enjoy a comfortable bag!

Have a successful sewing!
Iwona Bartczak
Małgorzata Michalewska


