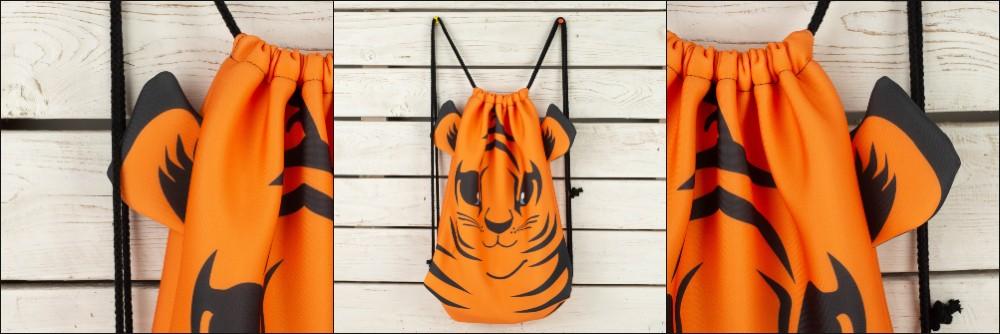
Children's backpack

A beautiful animal-shaped drawstring backpack is something that will bring joy to every preschooler (and from our experience, it will delight anyone young at heart, regardless of their age ;) ). In the blog post below, I will show you how to sew the bag itself as well as individual elements for various backpack models.
In the kit you will find:
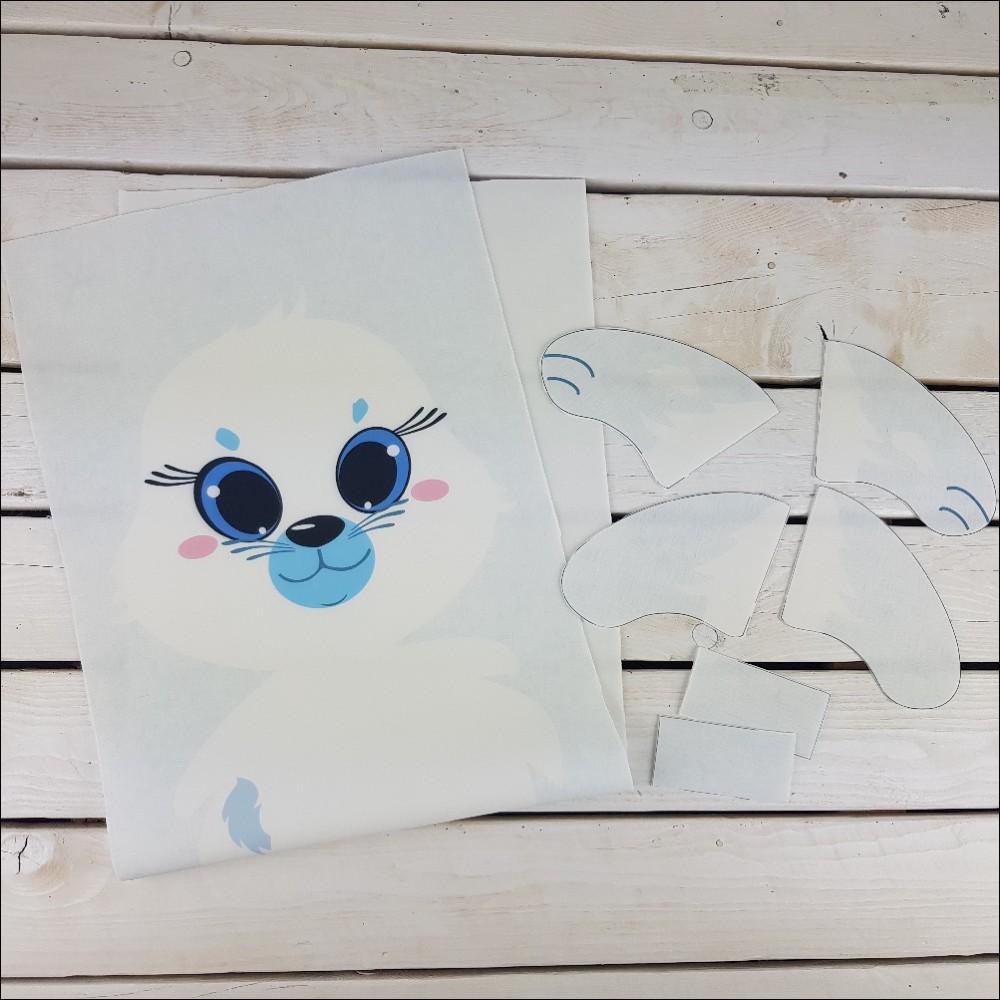
- a fabric panel with all the drawstring backpack elements printed on it
- cotton cord
To sew the backpack you will need:
- a multi-purpose sewing machine
- an overlocker (however, it is not essential; using it is largely a matter of aesthetics. You can easily use an overlock stitch or a zigzag stitch on your multi-purpose sewing machine),
- all-purpose thread
- jersey/knit sewing machine needles
- sewing pins and/or fabric clips
- scissors
{{useMaterials}}
Before starting your work, remember – DO NOT WASH THE PANEL, and this is very important. Washing such a kit before sewing may cause the individual elements to misalign, skew, or fail to fit together after cutting out. Therefore, wash only after the kit has been fully sewn.
1. Cut out the backpack elements. In my case, for the SEAL backpack, these are:
- backpack panel
- front paw x2
- back paw x2
- cord loop/attachment x2
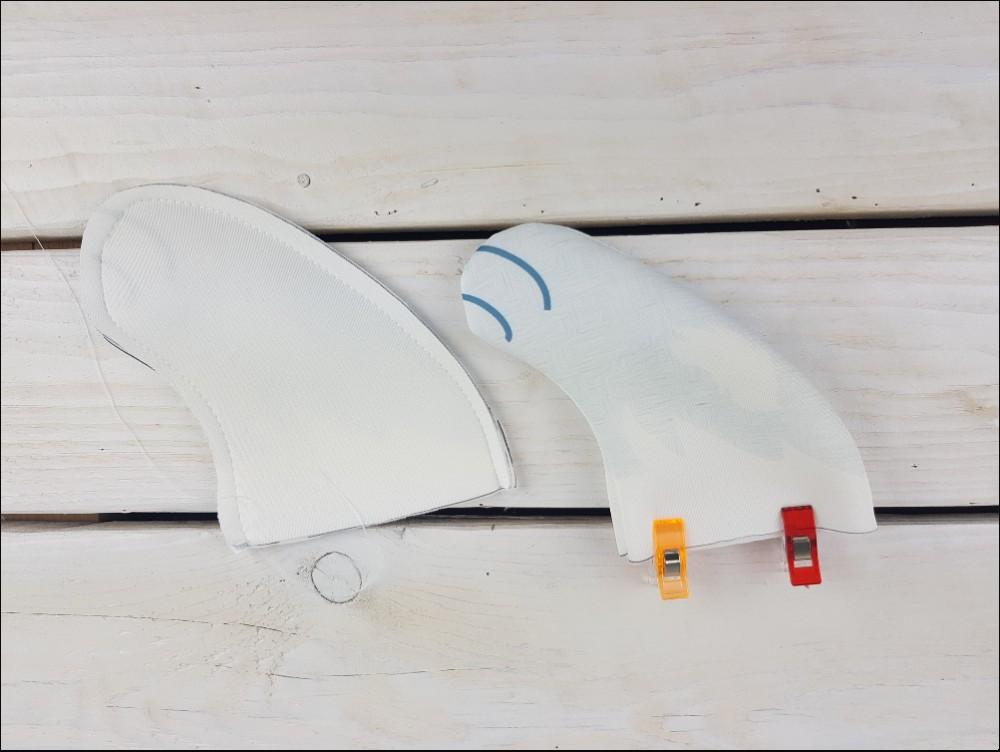
2. Sew the front of the paw to the back of the paw, right sides together, then turn right side out.
3. Finish/overlock the raw edges of the cord attachments.
4. Fold the panel and mark its half point (that will be the bottom of the backpack).
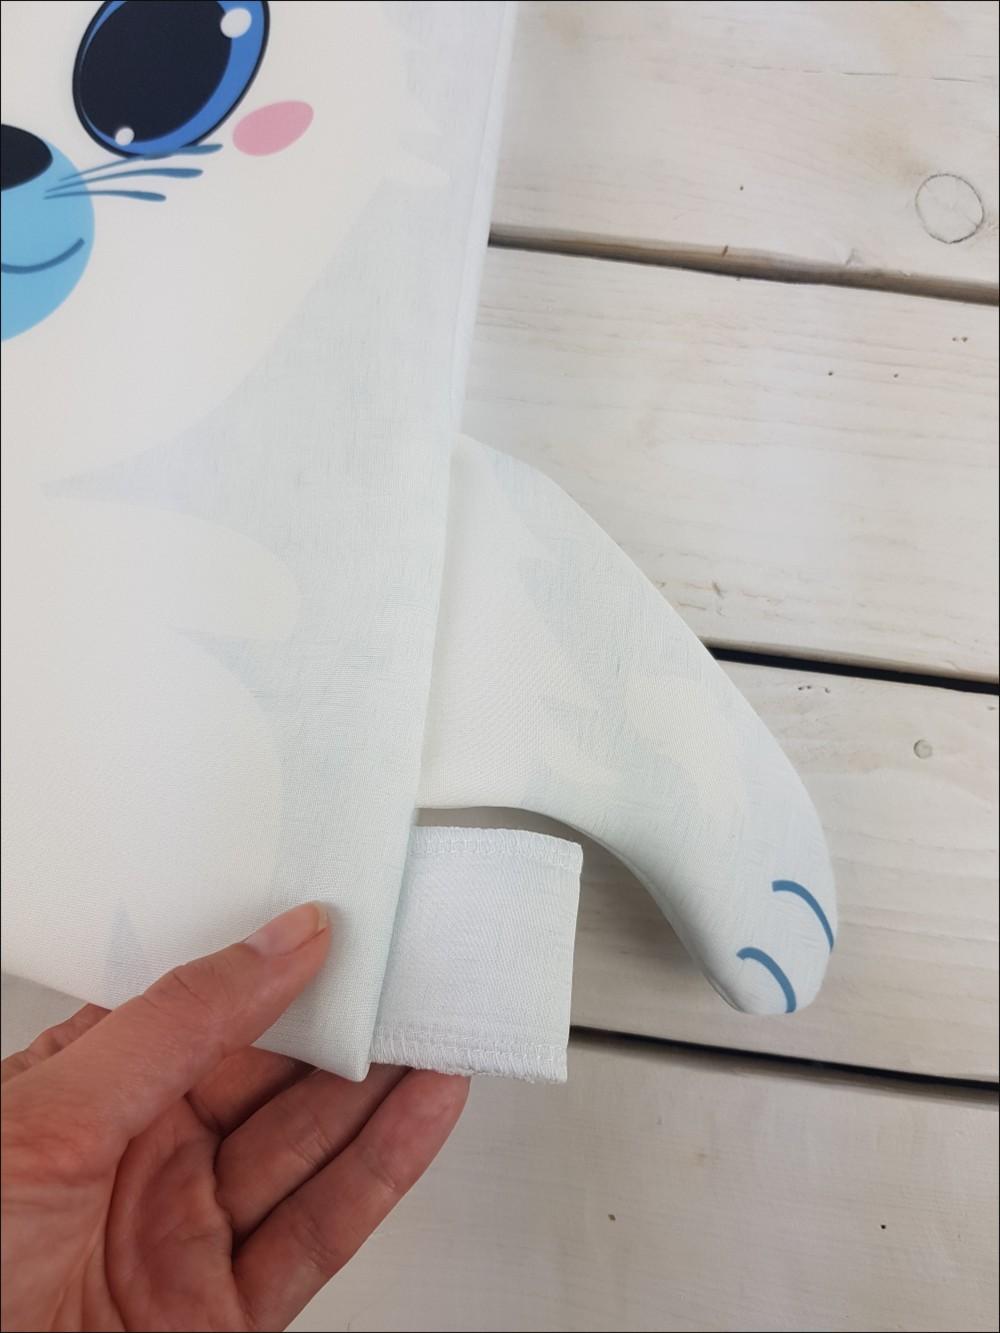
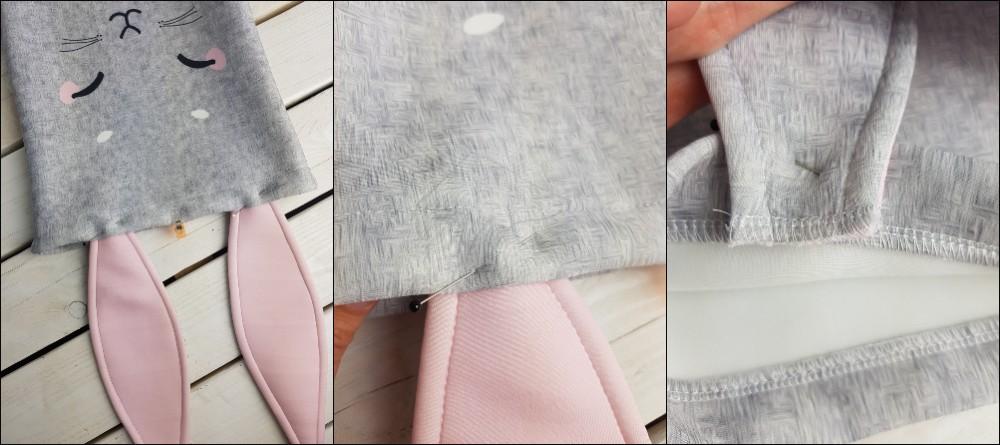
5. About 1 cm from the bottom, pin or clip the cord attachment pieces. Adjust their placement to your needs (they can be inserted deeper than shown in the picture). Pin the paws above the cord attachment.
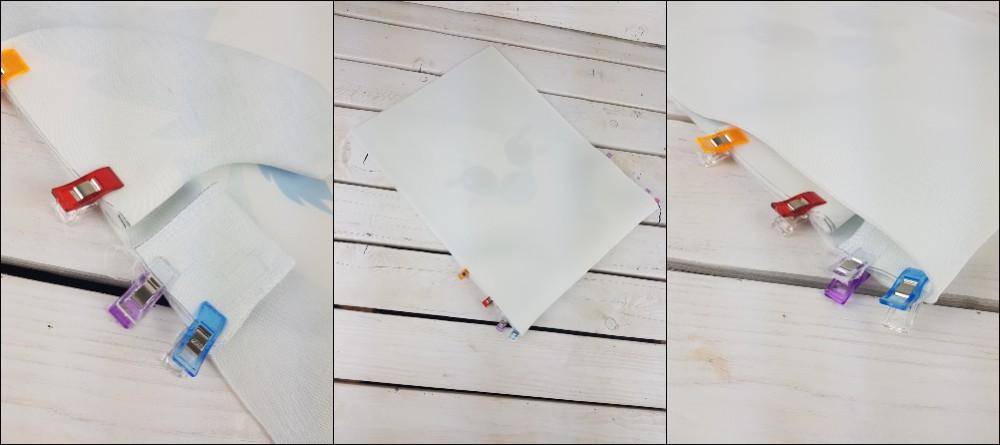
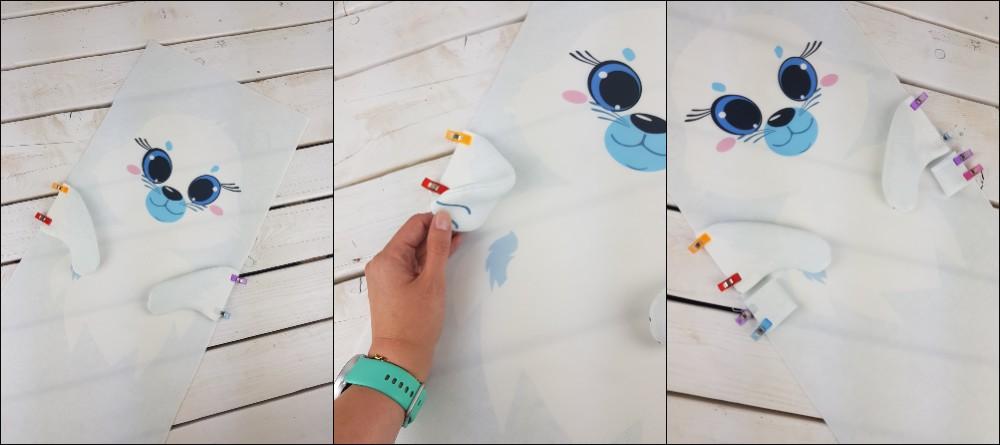
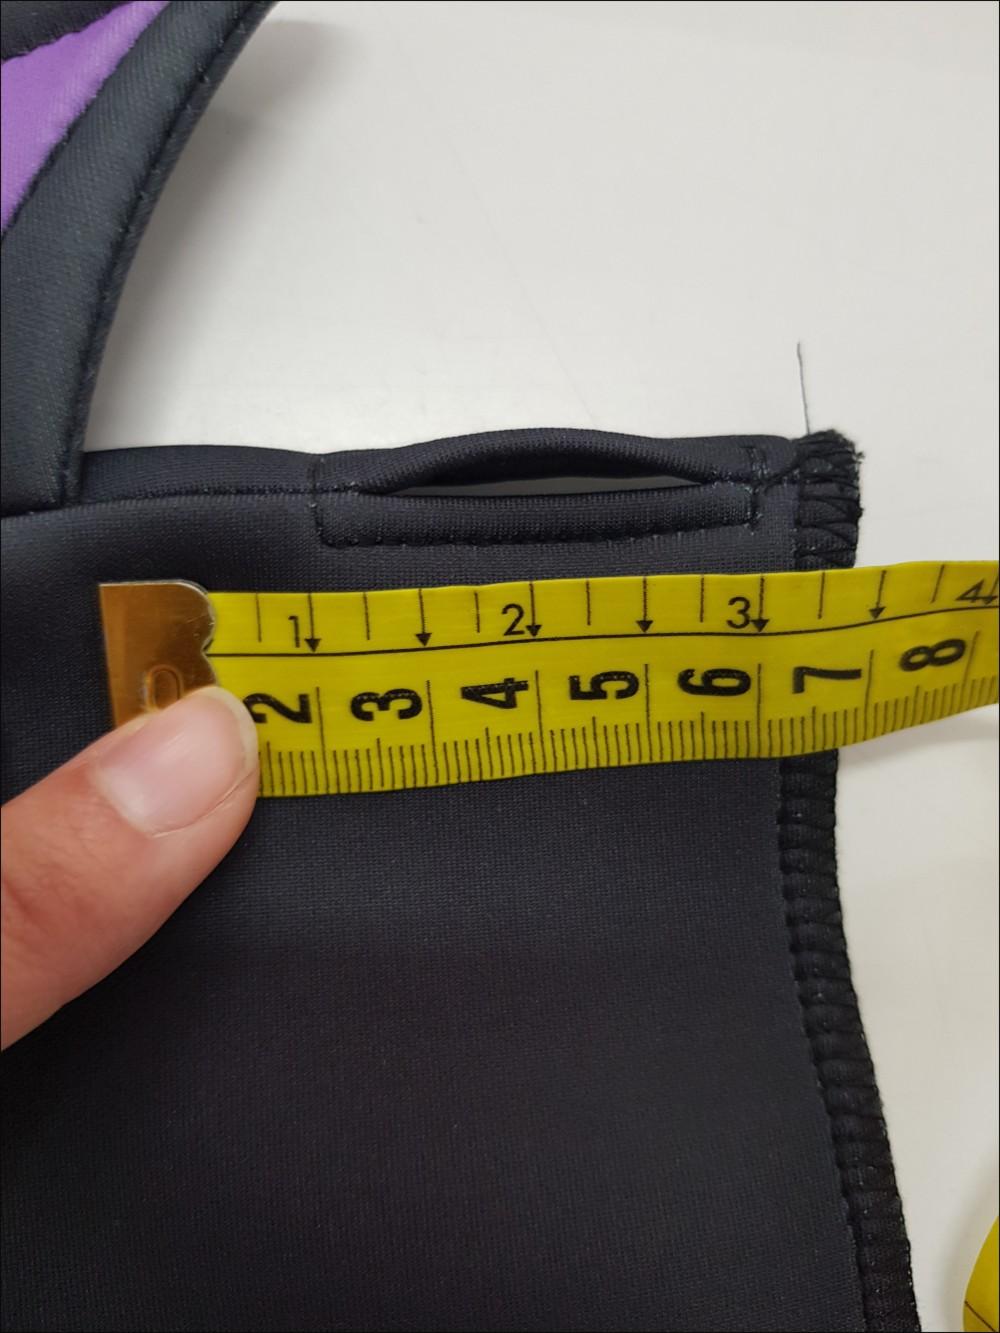
6. Sew the sides of the backpack. Leave an opening for the cord of approx. 3 cm (sew 1 cm from the top of the backpack, then leave 3 cm for the opening). Press/stitch the seam allowances open around the opening.
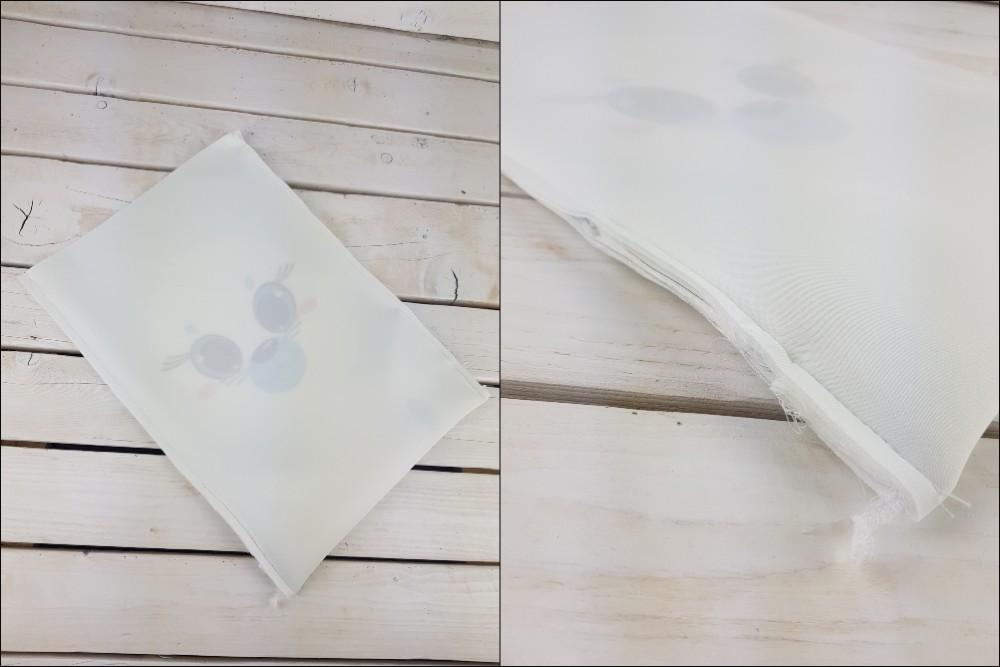
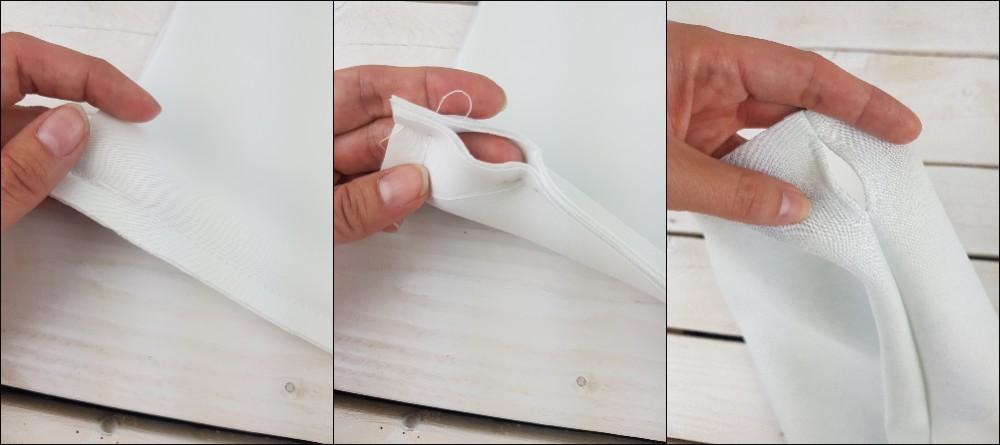
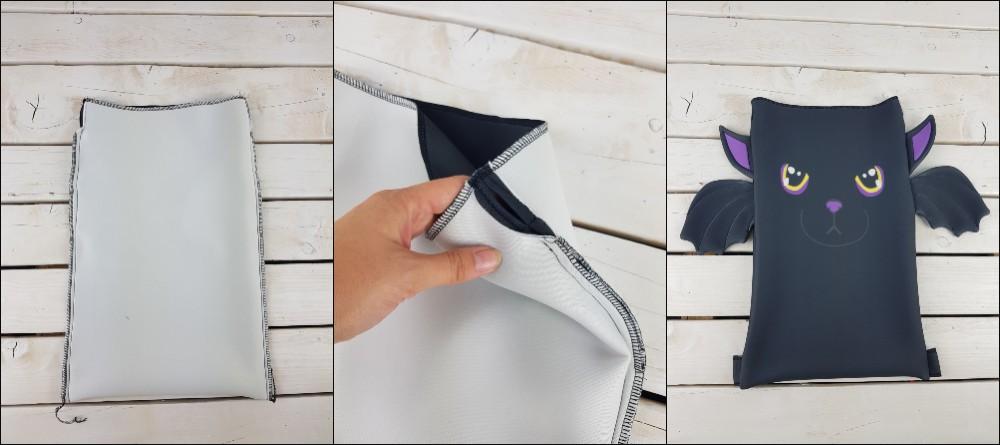
7. Turn the backpack right side out.
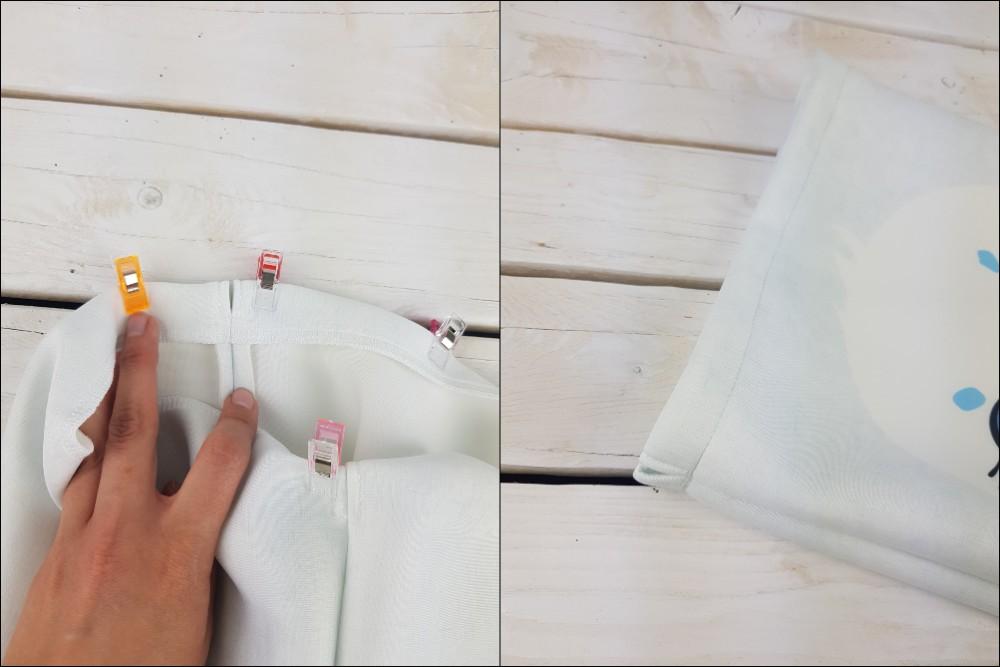
8. Create the drawstring casing/casing channel. Fold the top edge of the backpack to the inside and stitch down.

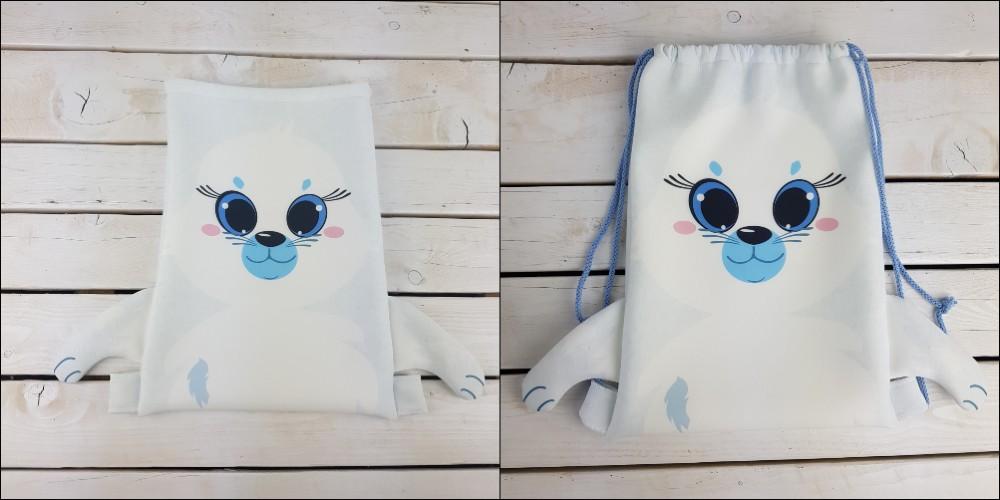
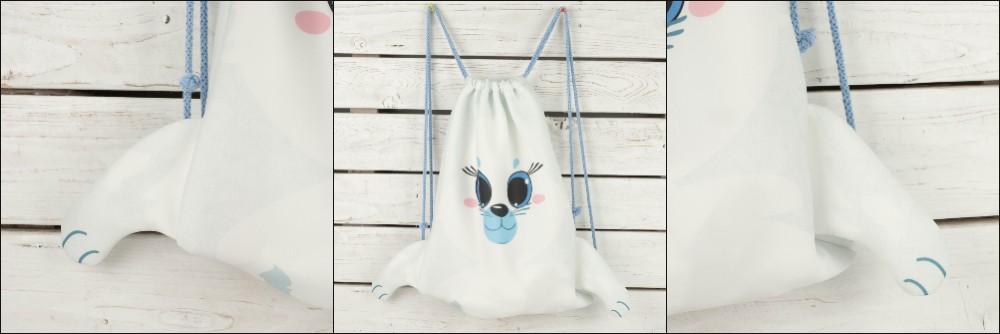
9. Cut the 3m cord into two equal parts (the set might already include pre-cut 2x 1.5m pieces). Thread the cord all the way around the backpack starting from one side and ending on the same side. Pass the cord through the loop at the bottom of the backpack and tie a knot. Do the same on the other side.
METHODS OF PREPARING THE CORD ATTACHMENTS
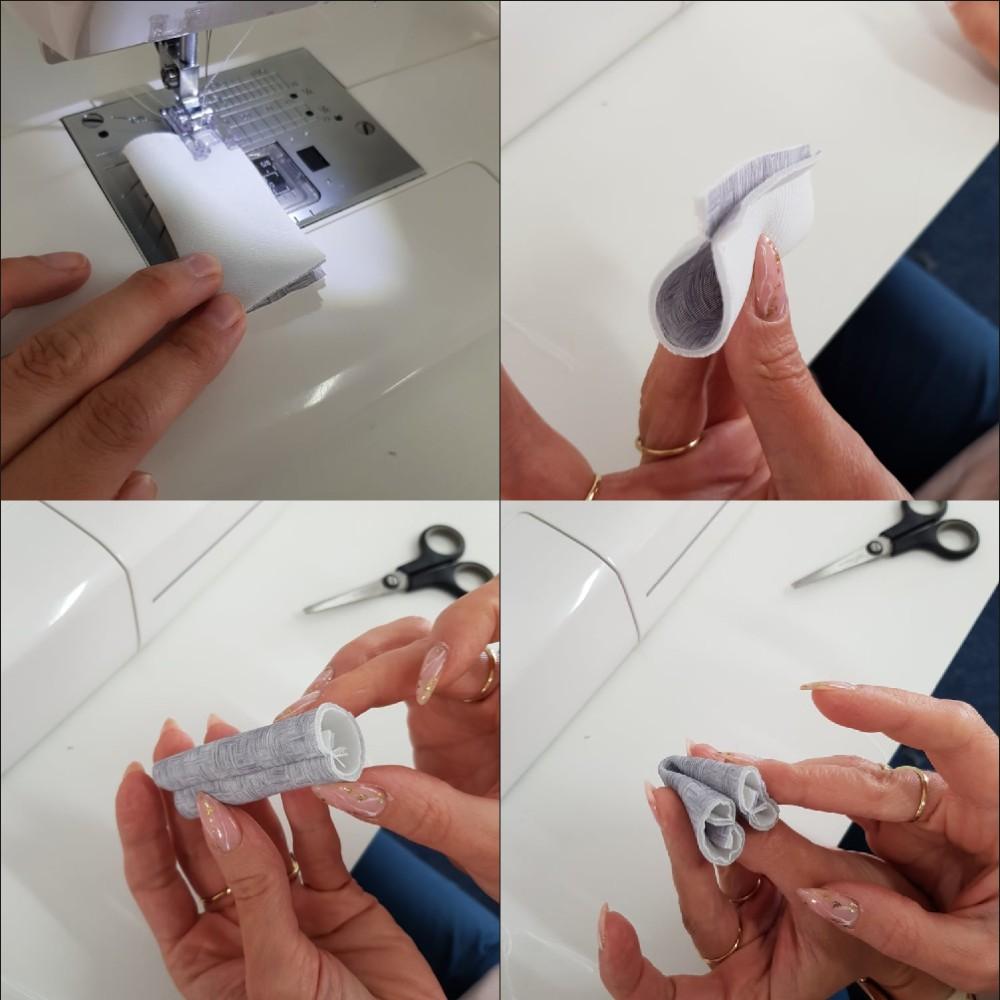
1. Fold the piece in half lengthwise, sew a presser-foot width away, turn right side out, fold into a loop, and insert into the backpack seam.
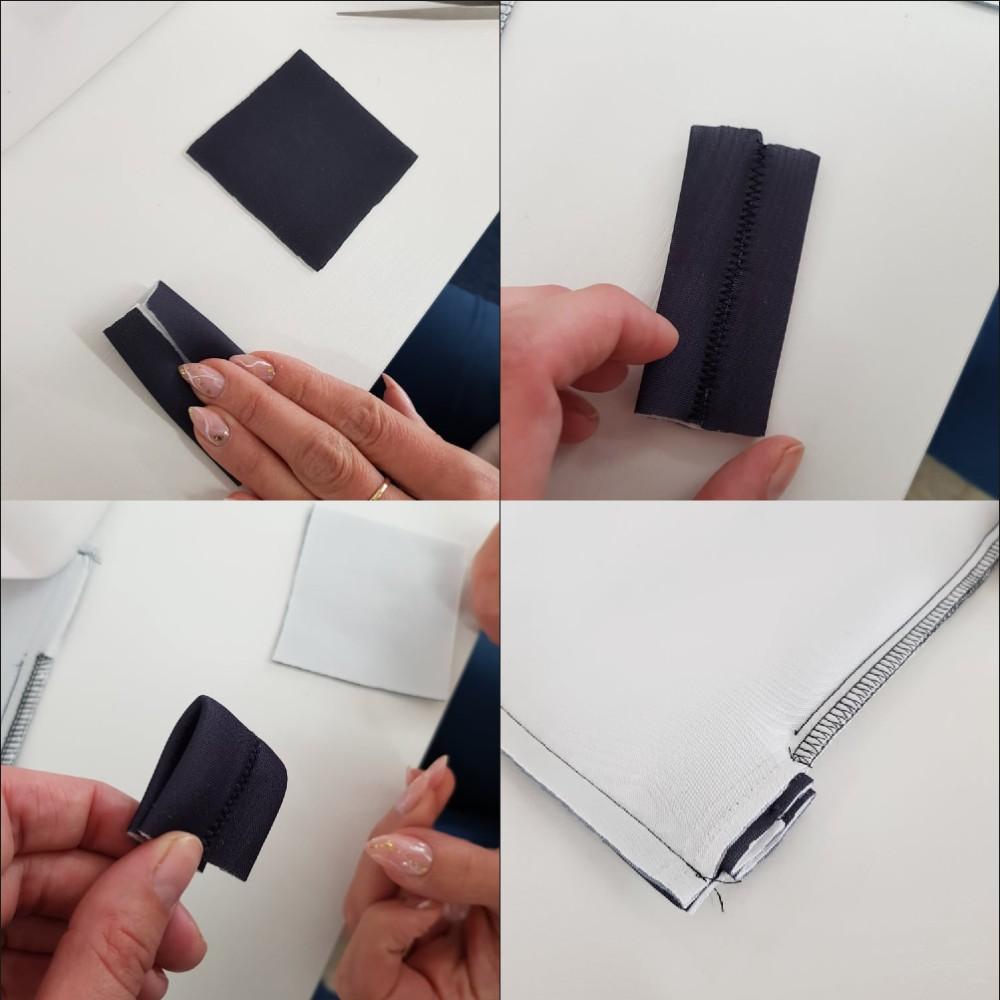
2. Fold the attachment piece wrong sides together, stitch down the middle using a zigzag stitch. Fold into a loop and insert into the backpack seam.
BUNNY EARS (or any animal that has ears at the "top of the head")
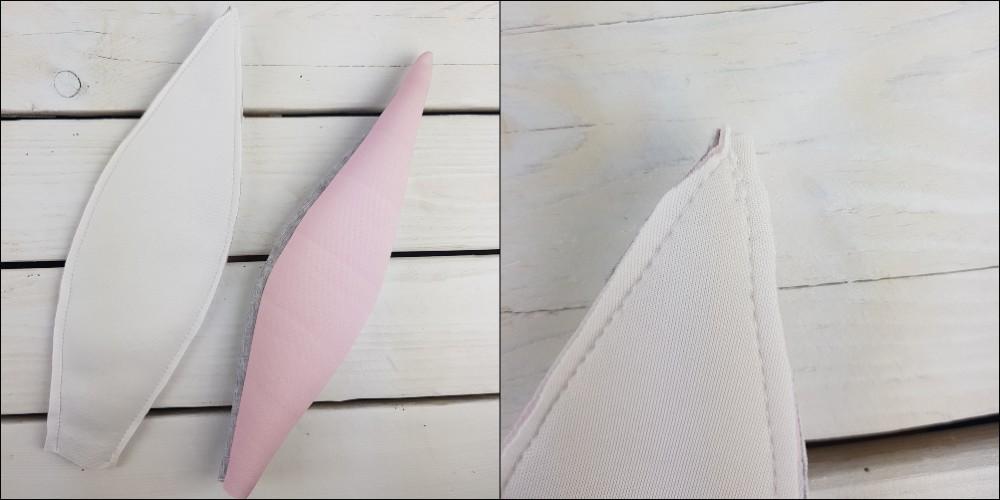
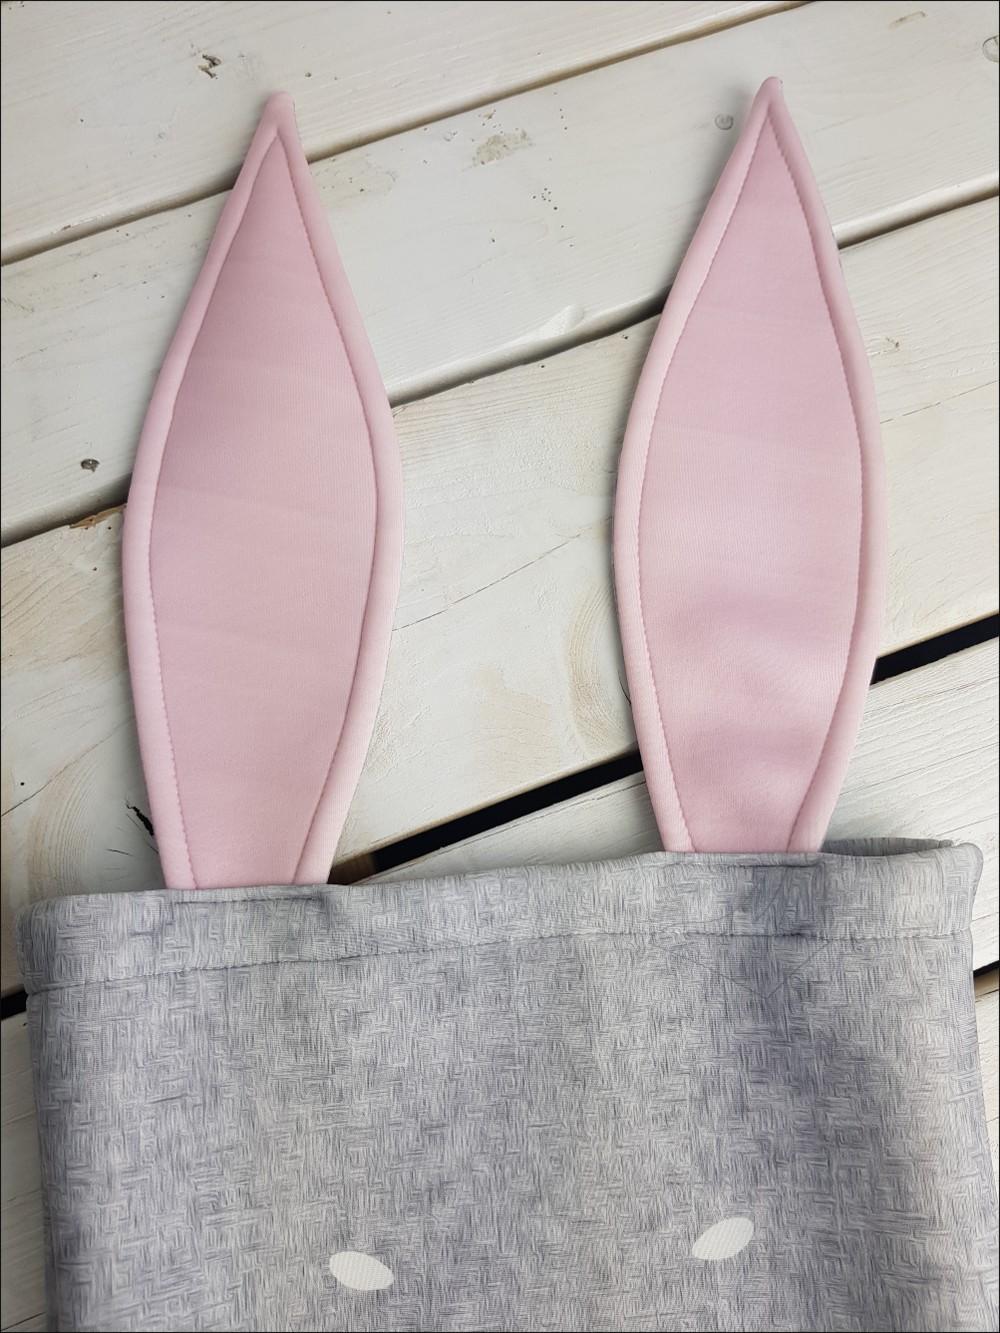
1. Cut out the ears. Fold them right sides together, pin, and sew. Trim the seam allowance. Snip the tips of the ears. Turn right side out, align the edges, and poke out the corners/tips.
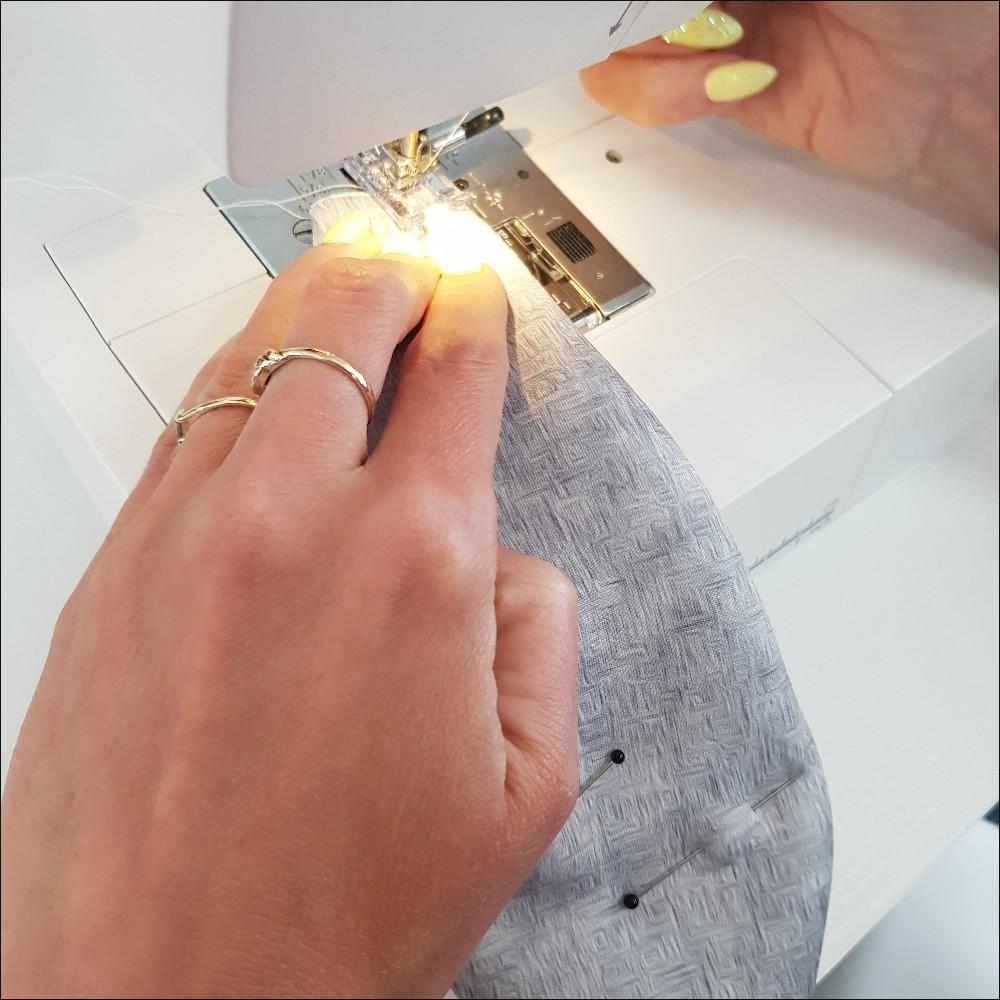
2. Topstitch the bunny ears on the right side a presser-foot width from the edge.
3. Mark the center of the front of the backpack, then mark the centers of the resulting sections. Pin the ears to these points.
4. Sew the ears in two places: 1. along the casing seam line, 2. at the top edge of the casing.
If you feel like adding a slight modification, you can give the bunny a pom-pom tail.
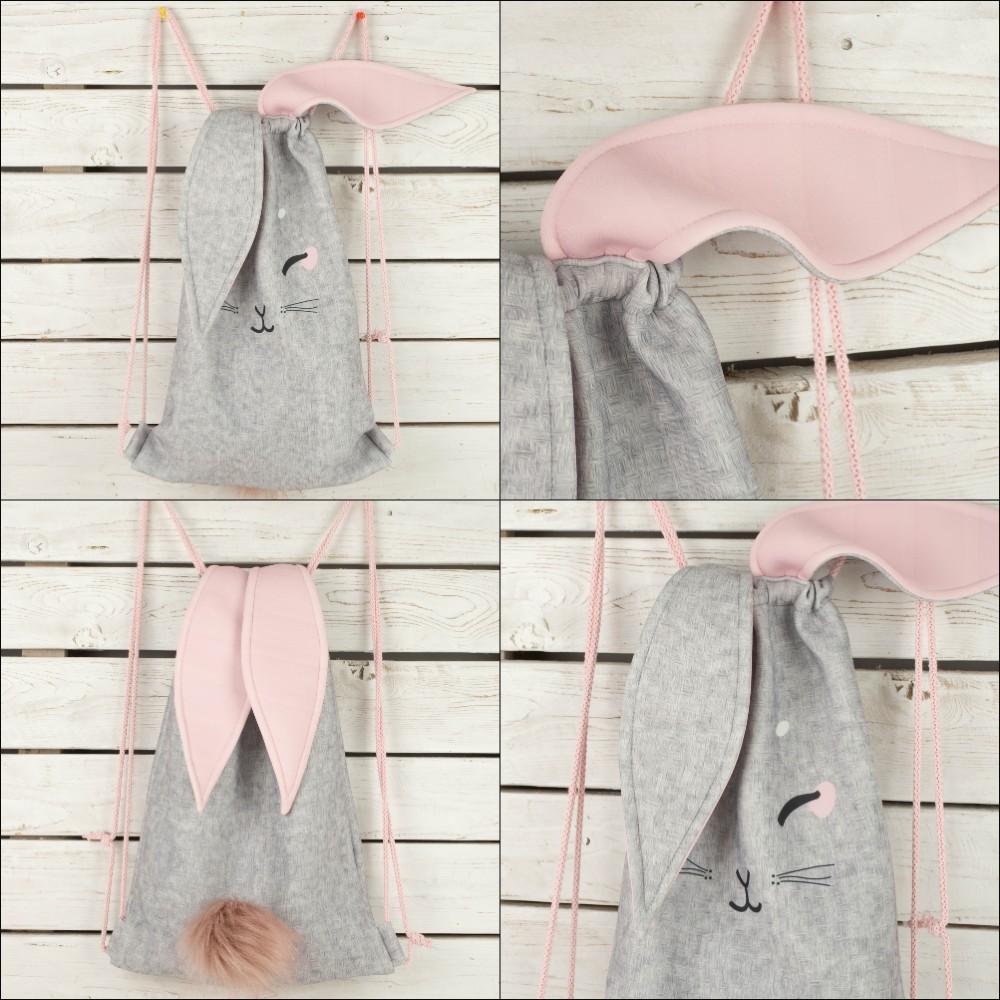
BAT WINGS AND EARS (and all animals with ears on the side of the head).
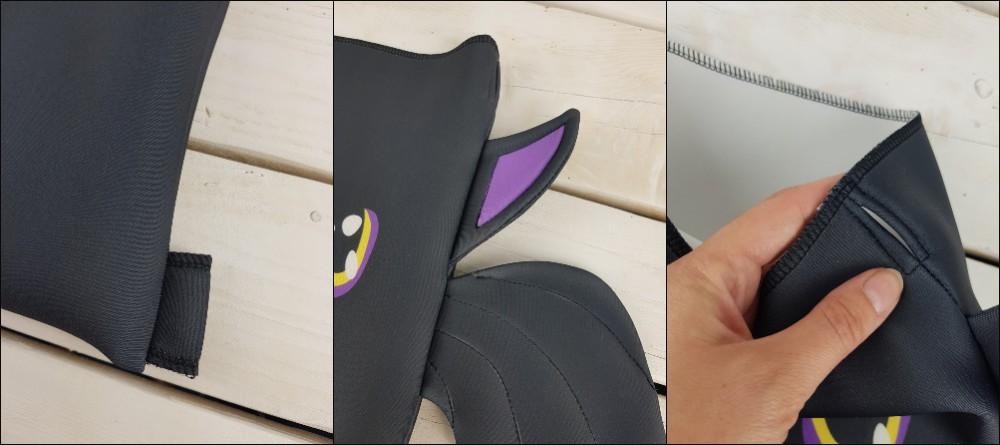
1. Cut out the wings. Fold them right sides together, pin, and sew. Trim the seam allowance. Clip the corners at the tips and make notches along the curves. Turn right side out, smooth out, and push out the points/corners.
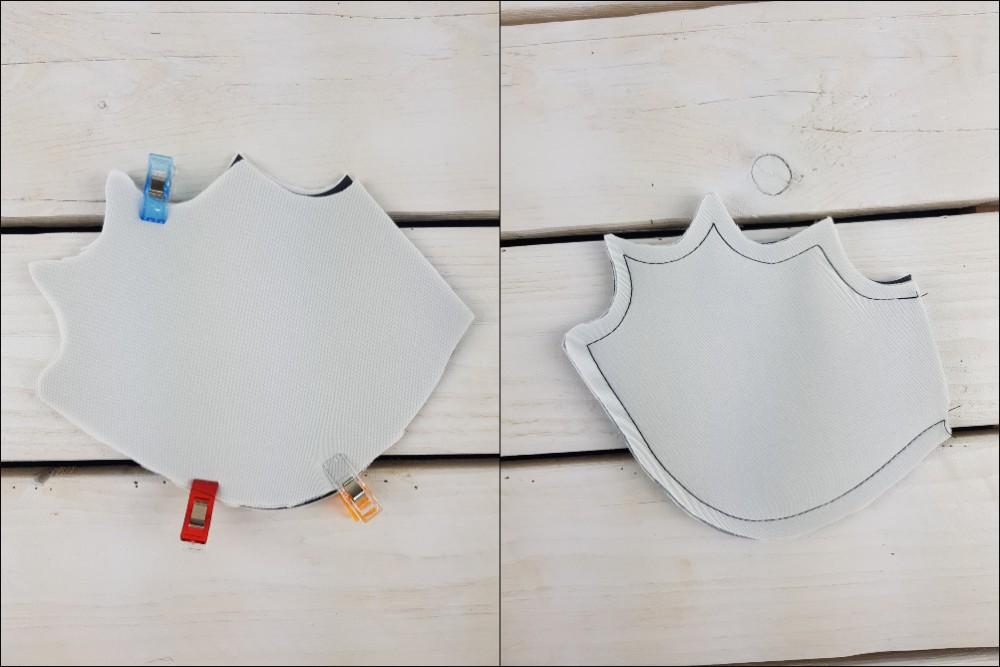
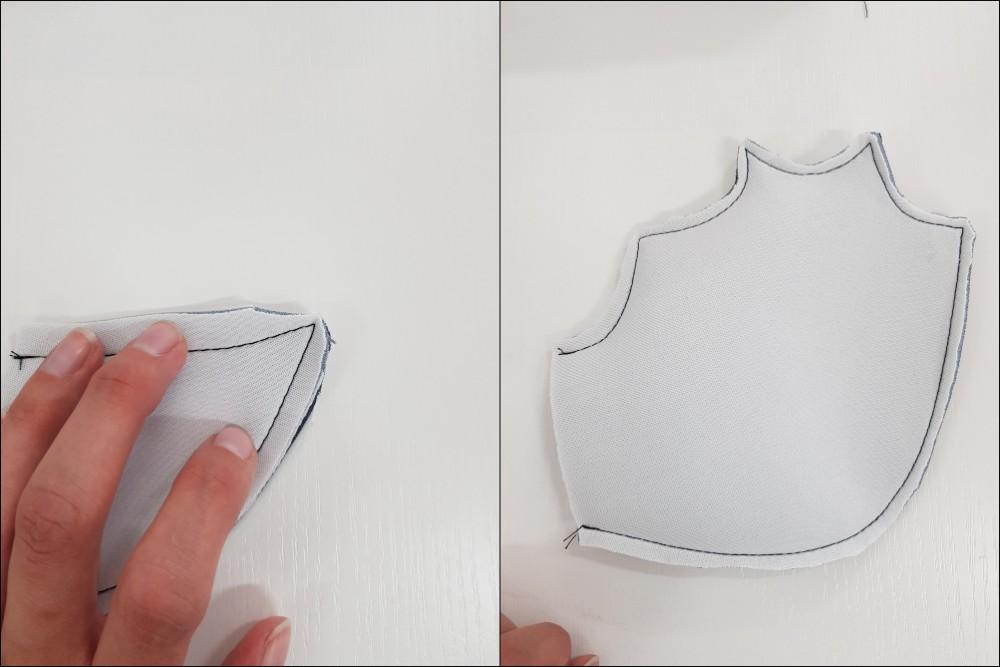
2. Turn the wings right side out, smooth them out, and topstitch along the marked lines.
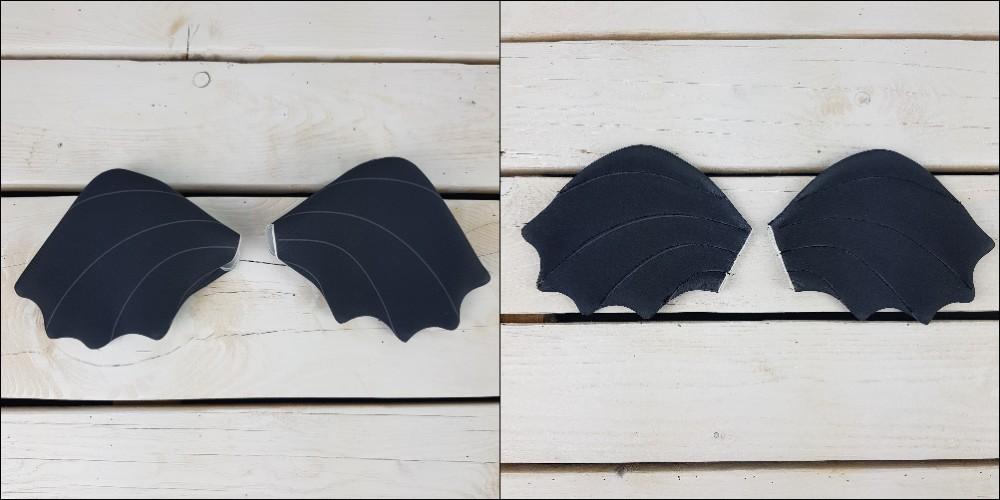
3. Fold the ears right sides together, pin, and sew. Cut off the tips of the corners. Turn right side out, smooth out, and push out the corners. Topstitch along the lines.
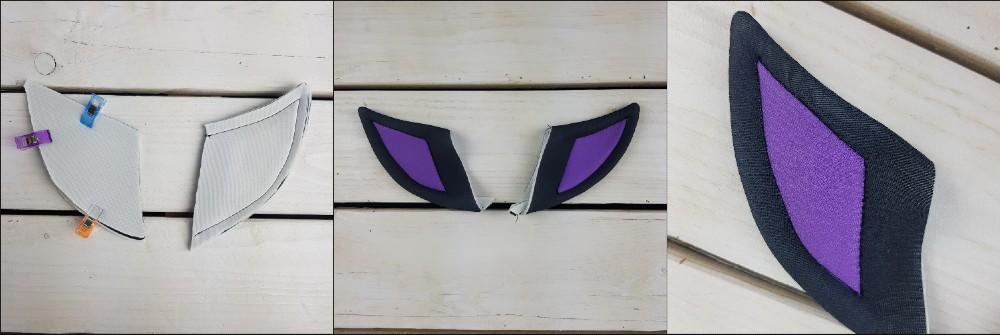
4. Pin the ears and wings to the sides of the backpack. Don't forget about the cord attachment pieces.
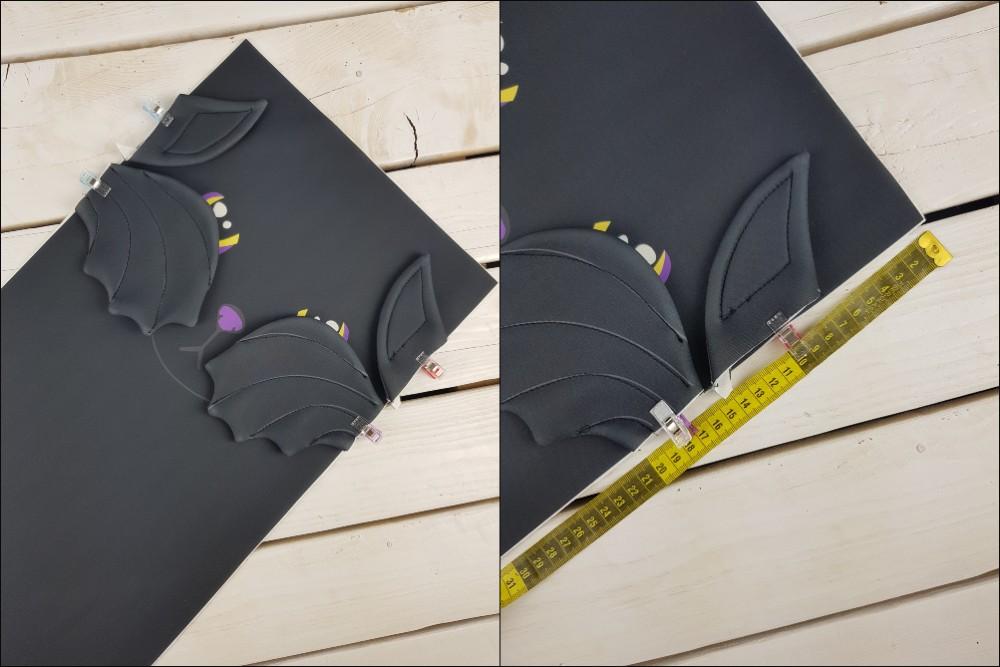
5. Sew the side seams, keeping in mind the opening for the drawstring.

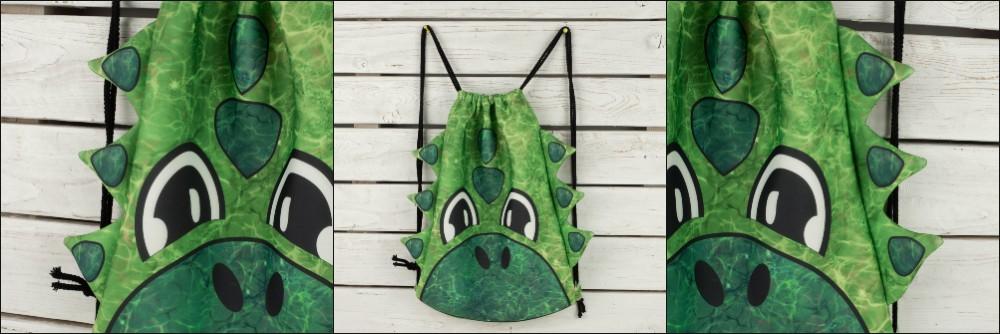
DRAGON – Spikes
1. Cut out the spike panels, fold them right sides together, pin, and sew. Trim the seam allowance. Cut off the tips of the corners and make notches in the curves/inner angles. Turn right side out, smooth out, and push out the points.
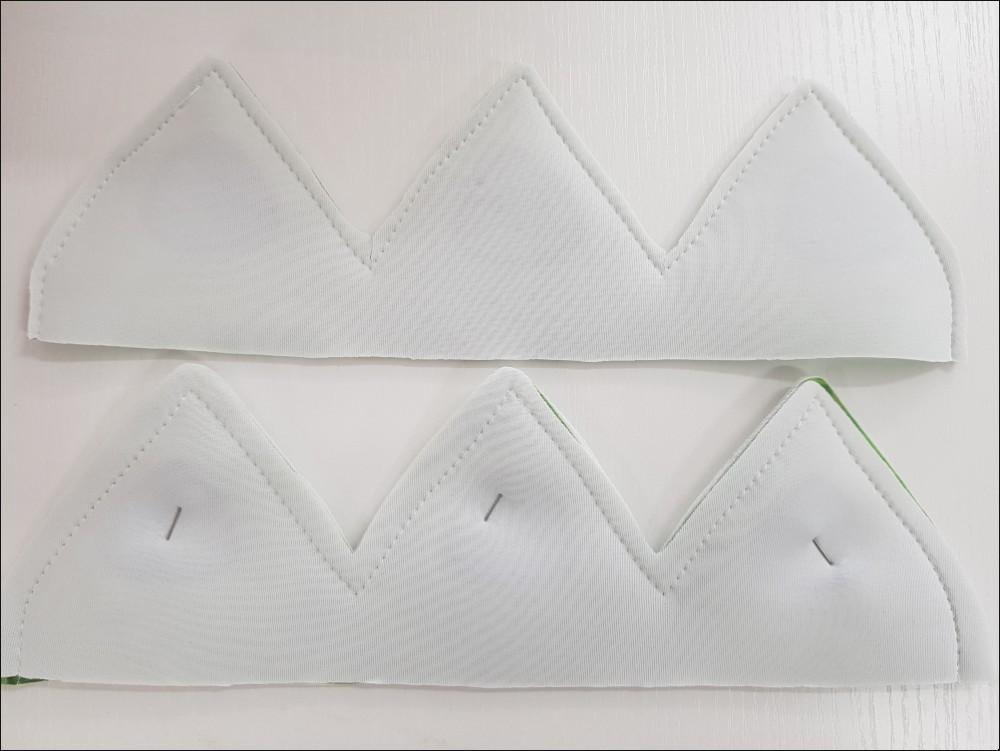
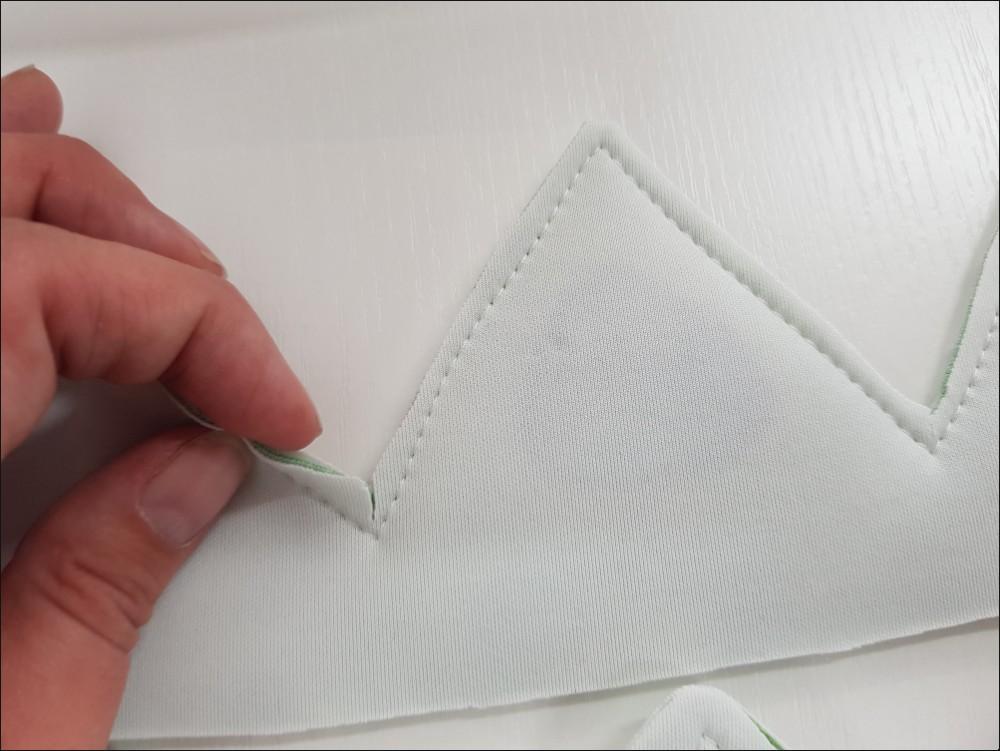
2. Pin the spikes to the sides of the backpack and sew in place. Remember to include the cord attachment loop.

SIDE EARS – Tiger
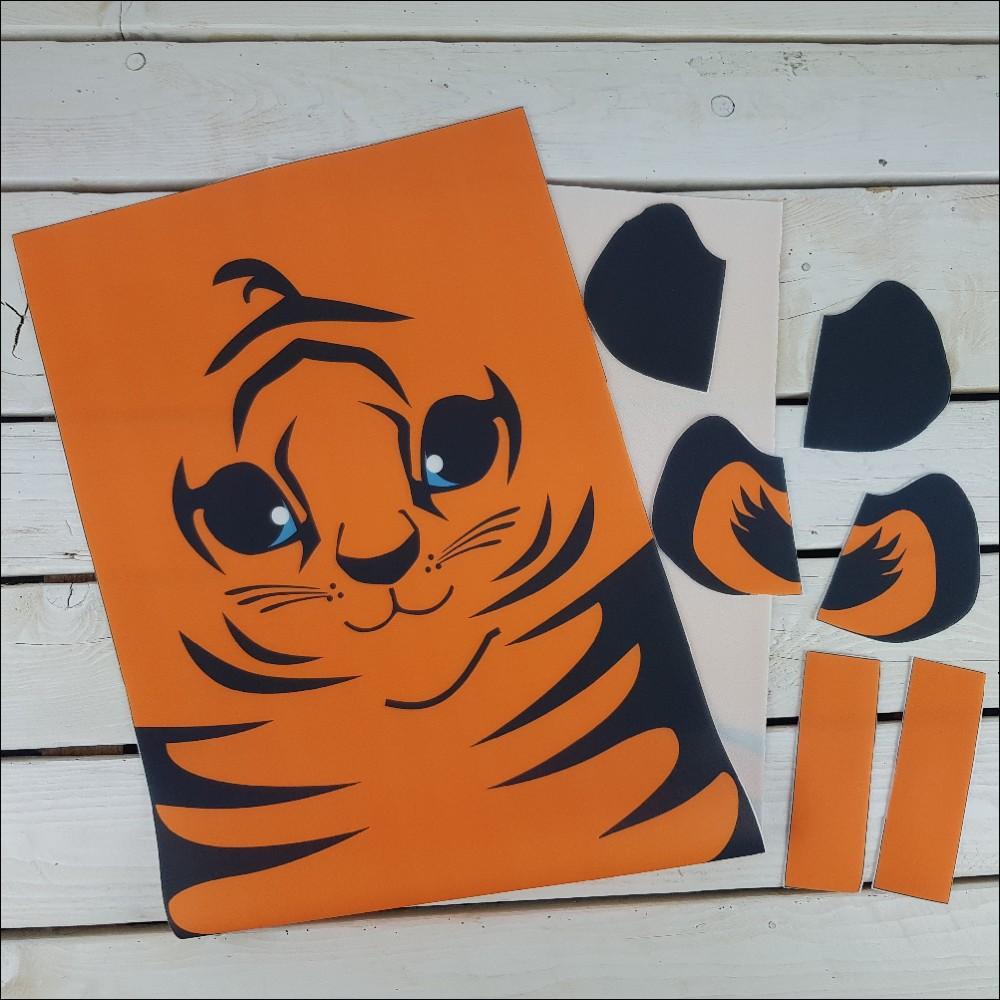
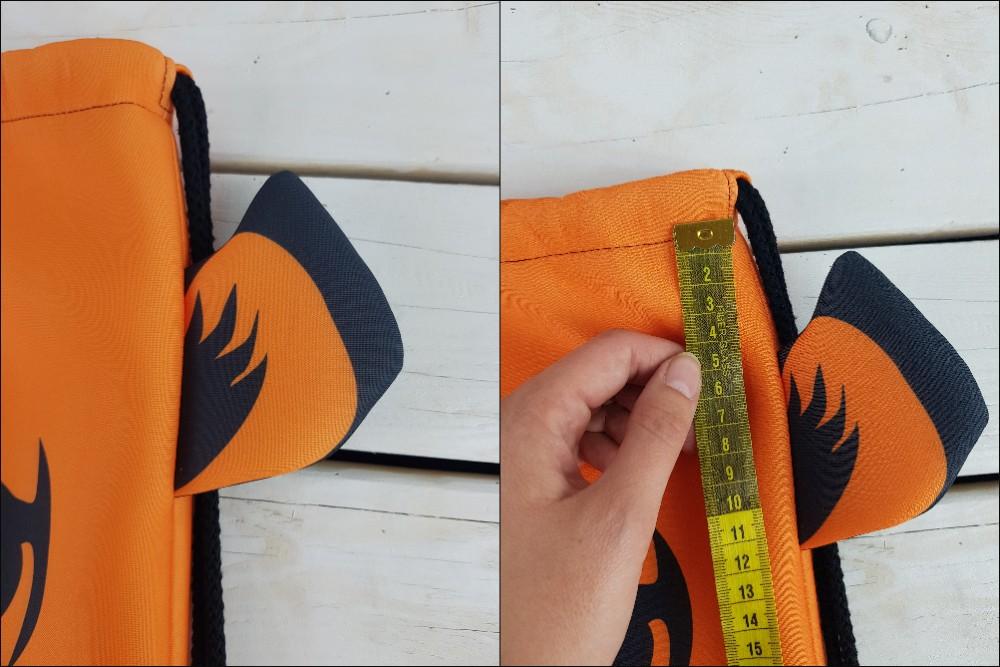
We recommend sewing the tiger ears 10 cm from the top of the backpack. After sewing the side seams, they will end up positioned as shown in the picture.