13/02/2020
| in category:How to sew a hoodie from a ready-made set
Buying a set for a sweatshirt in the store dresówka.pl you will receive a ready-made pattern PRINTED on the fabric. Thanks to this, you don't have to waste your time tracing the pattern on paper (or gluing dozens of A4 sheets together) and painstakingly transferring it to the material. The consumption of the textile has been planned in such a way as to achieve the lowest possible waste, while at the same time, perfectly matching the patterns.
The material DOES NOT need to be decatized before sewing / cutting out the elements. The die-cut includes a seam allowance (0,7 cm).
For sewing the sweatshirt I used:
- multifunction machine
- serger Janome My Lock 744D
NOTE: To sew a sweatshirt, all you need is a multifunction machine or a serger, so this is a project for everyone!
- nożyczek, noża krążkowego (znacznie przyspiesza wycinanie, również po łukach), szpilek, klamerek oraz długopisu- Scissors, a rotary cutter (greatly speeds up cutting, especially on curves), pins, clothespins and a pen.
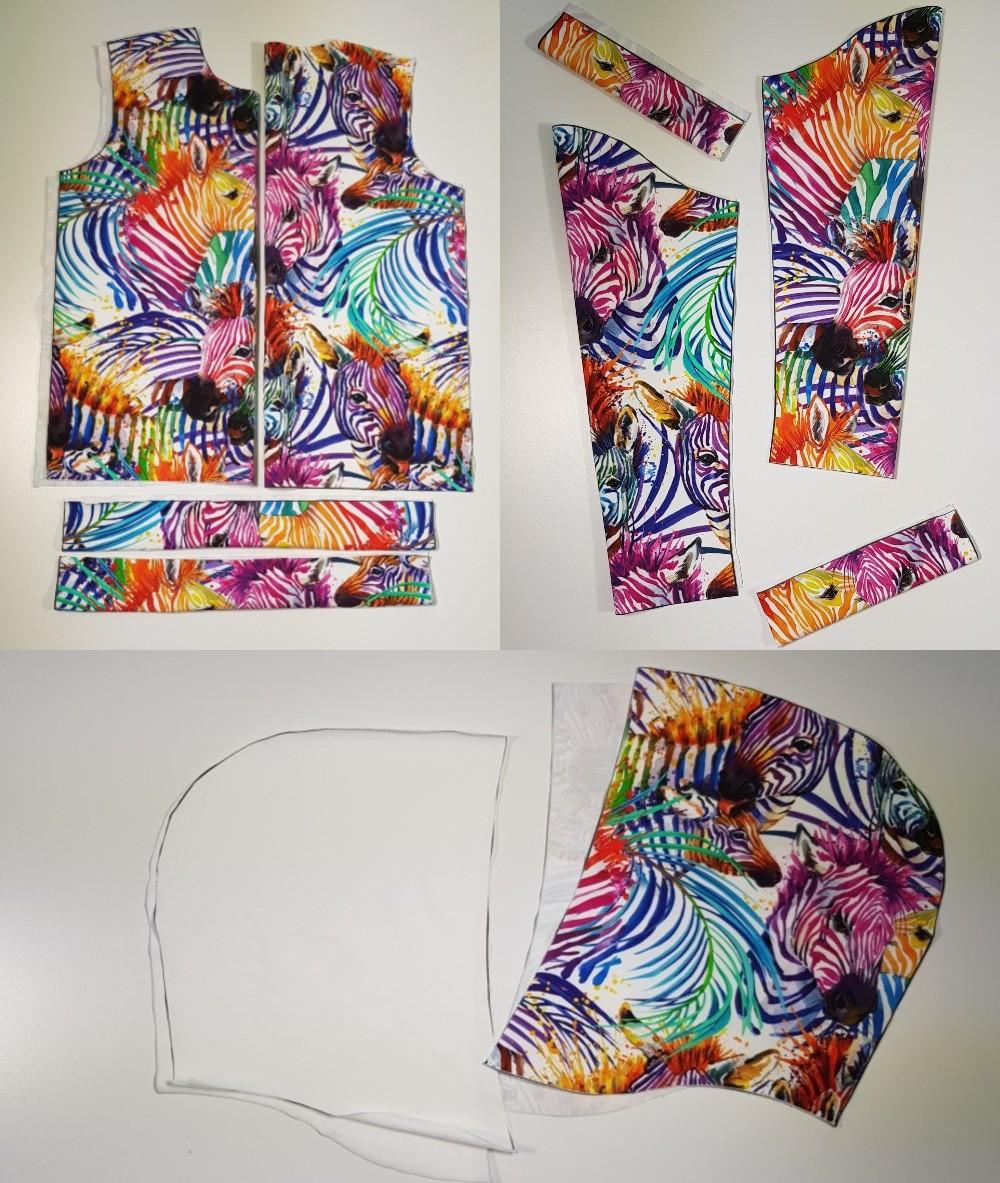
The CHILDREN'S sweatshirt consists of:
- 1 front
- 1 back
- 2 pieces of trimming at the bottom of the sweatshirt (acting as a welt)
- 2 sleeves (symmetrical)
- 2 sleeve trim pieces (acting as a welt)
- 4 hood elements (2x outer layer, 2x inner layer)
These elements should be cut from the panel included in the set.
Before you start sewing, mark the center of the neckline of the back of the sweatshirt (you will need it when sewing the hood).
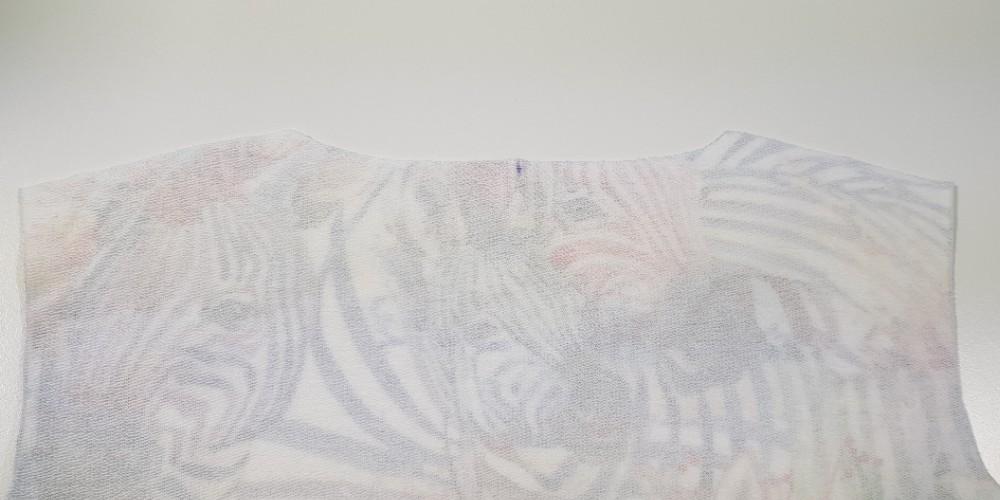
Pin the front and back of the blouse together at the shoulders. Sew.

Mark the center of the sleeve (the sleeve is symmetrical) and start attaching it to the blouse from this point to one side and the other. Sew the whole thing slowly and carefully, remembering that you are sewing in arcs.
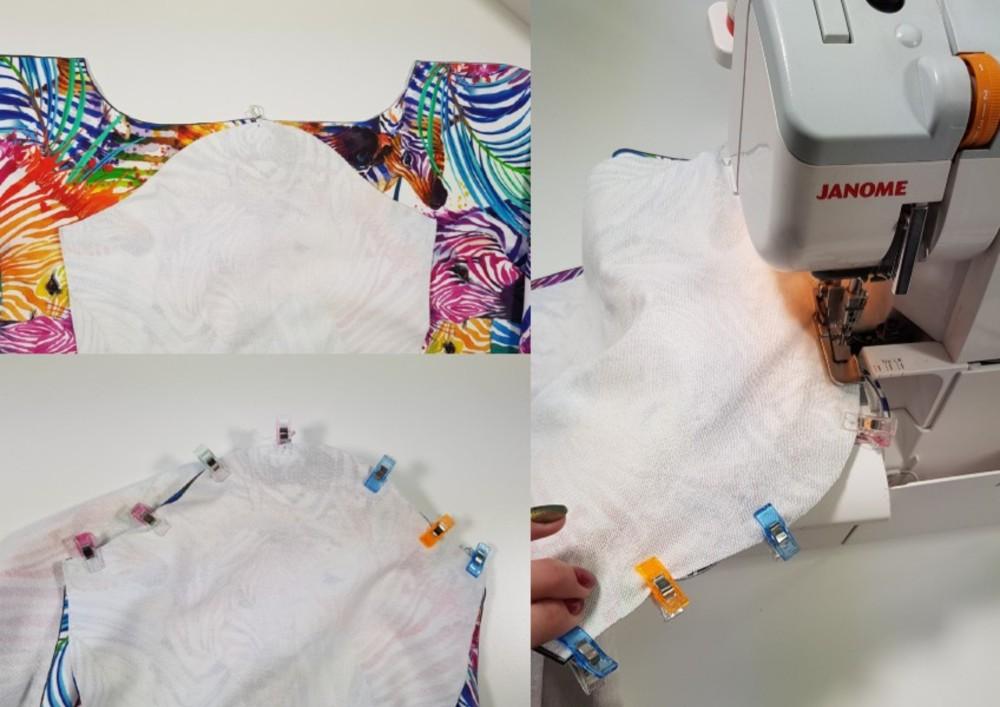
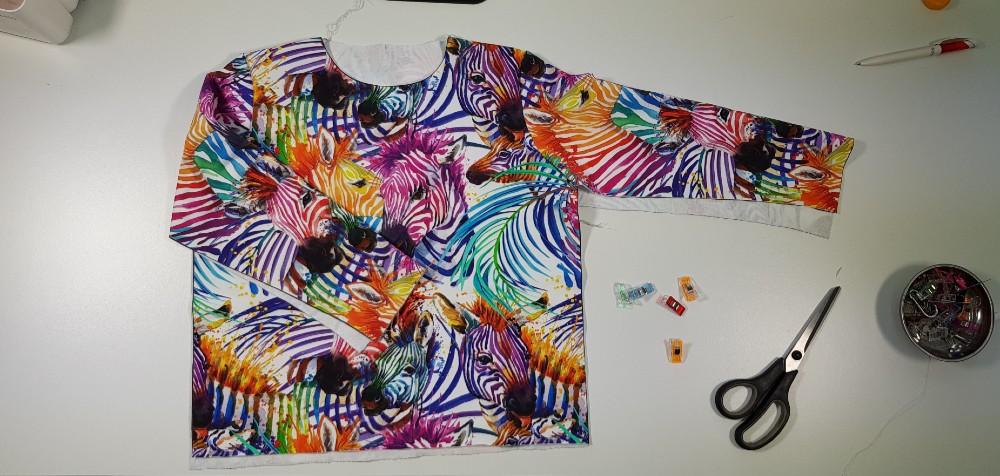
Fold the sweatshirt with the sewn sleeves right side to right side.
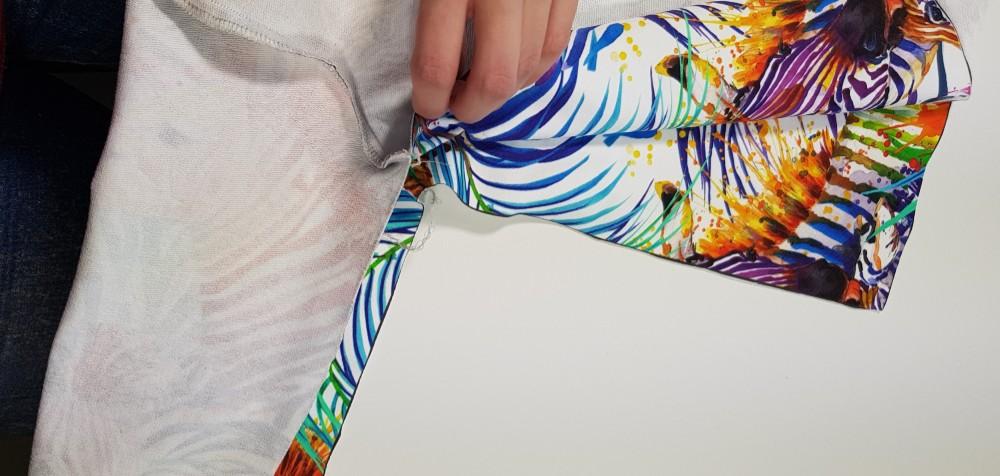
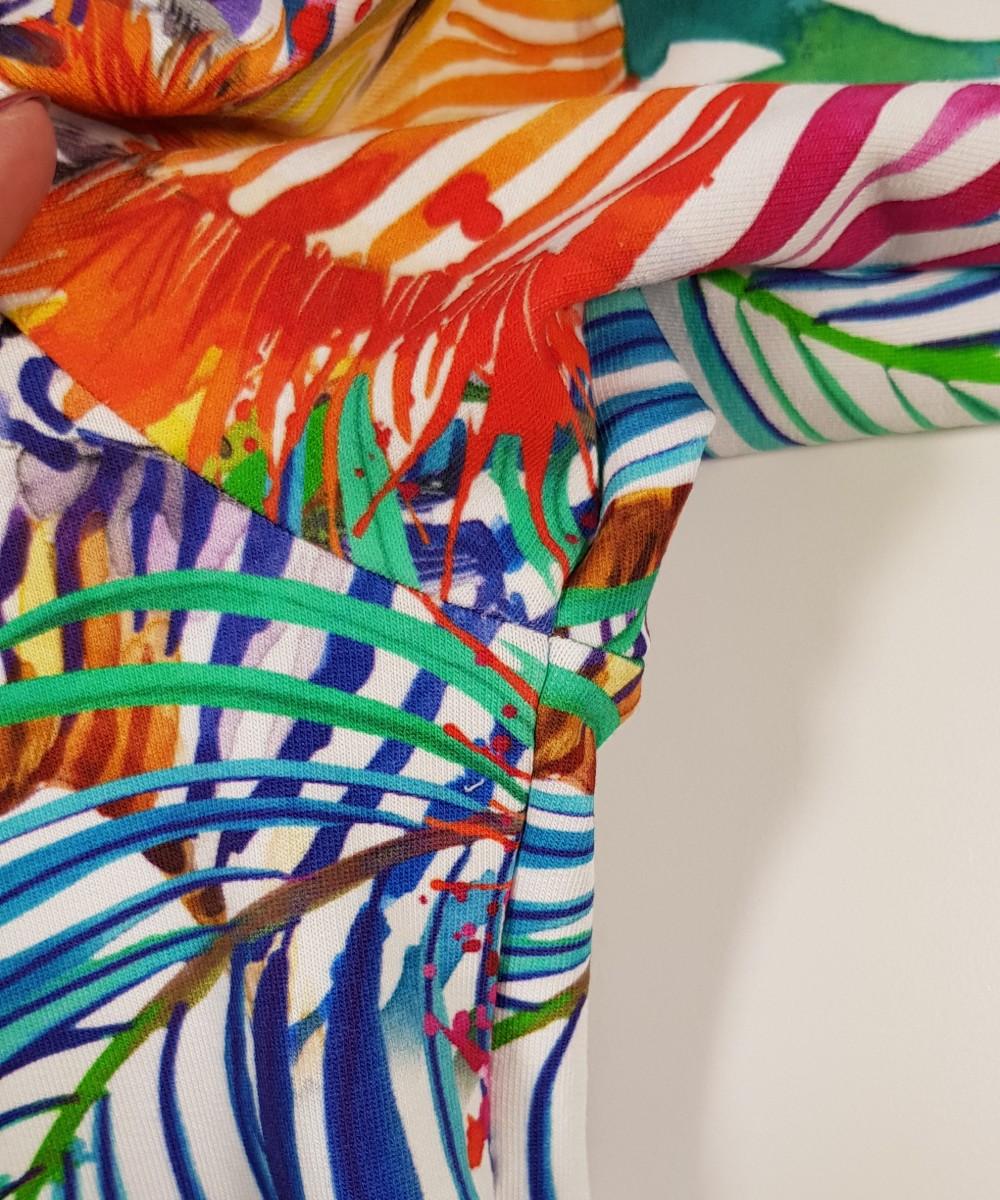
When joining the front and back of the sweatshirt, I recommend starting with the seam allowance under the armpit. At the point where the seams of the already sewn pieces meet, the seam allowances should be unfolded in the opposite directions.

Pin the front and back of the blouse together. Start sewing from the beginning of the sleeve and finish at the bottom of the blouse.
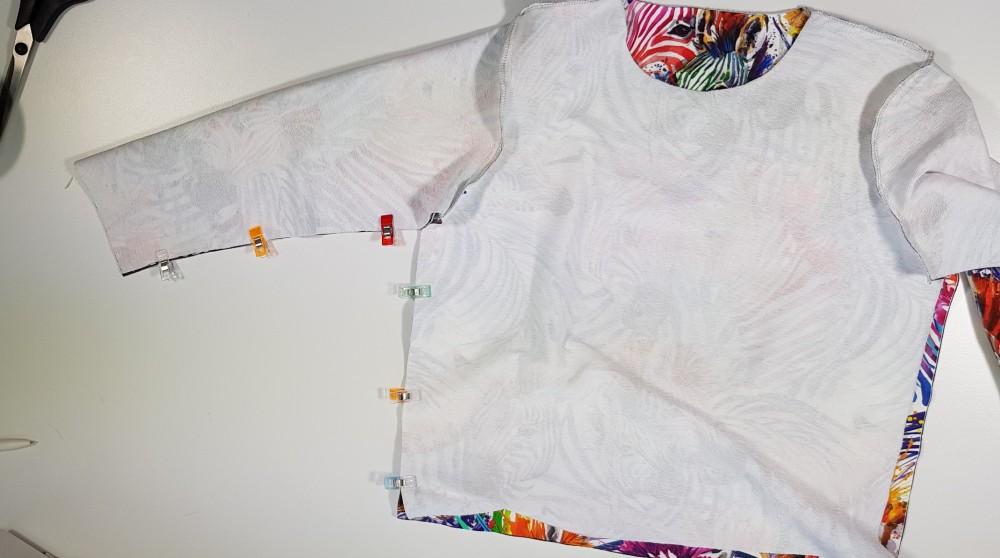
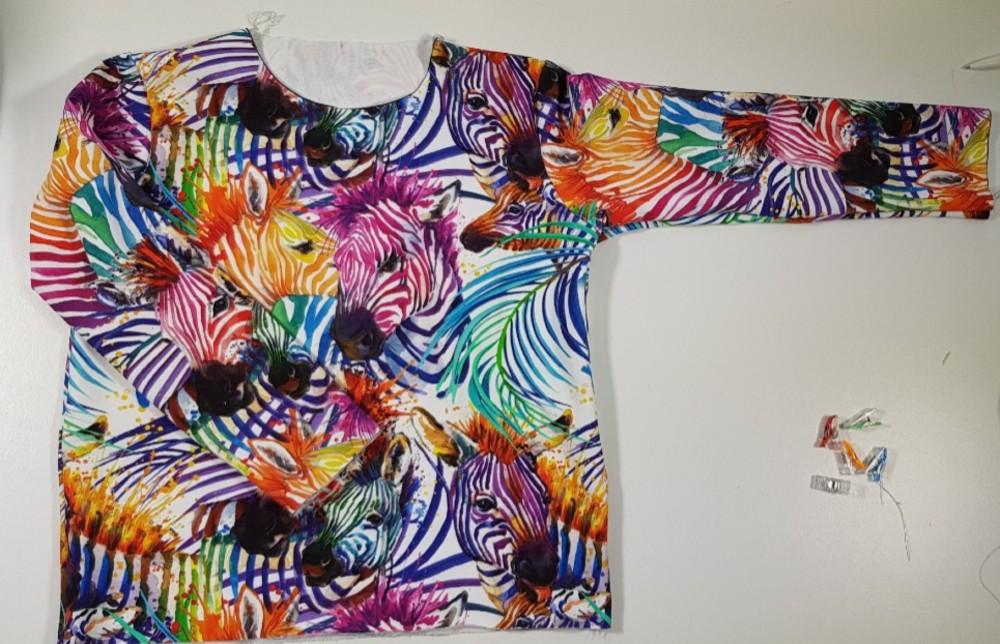
Flip the blouse right side out
The underarm seam should present itself like this (if something has shifted, don't worry, only you know about it)
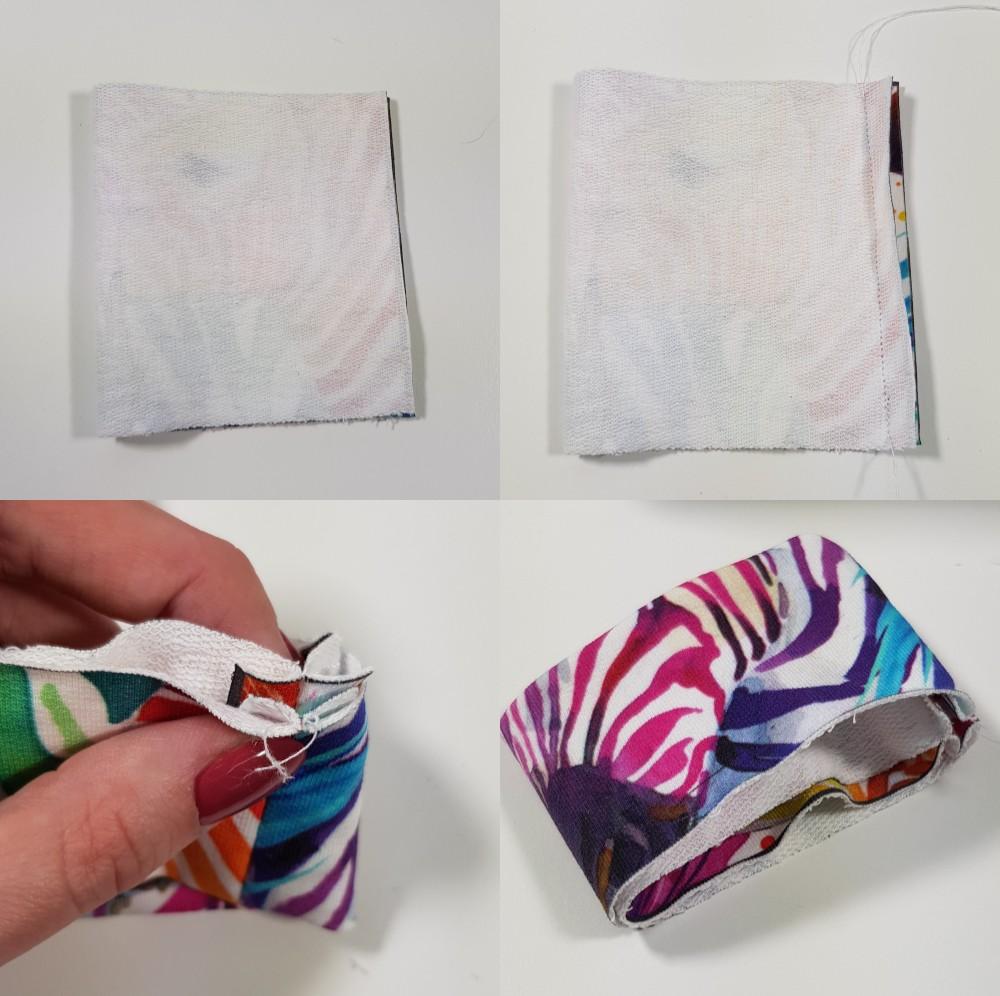
As a finishing touch to the sleeves and bottom of the sweatshirt we'll use a "welt" made of the same material as the rest of the sweatshirt. I recommend sewing the pieces together on a multifunctional machine, ironing the reserves, so it will be easier to assemble the whole thing and sew it together.
Put the finished, folded piece on the sleeve (right side to right side), gently stretch and fasten with pins or clothespins. Pay special attention to where the seams are joined.
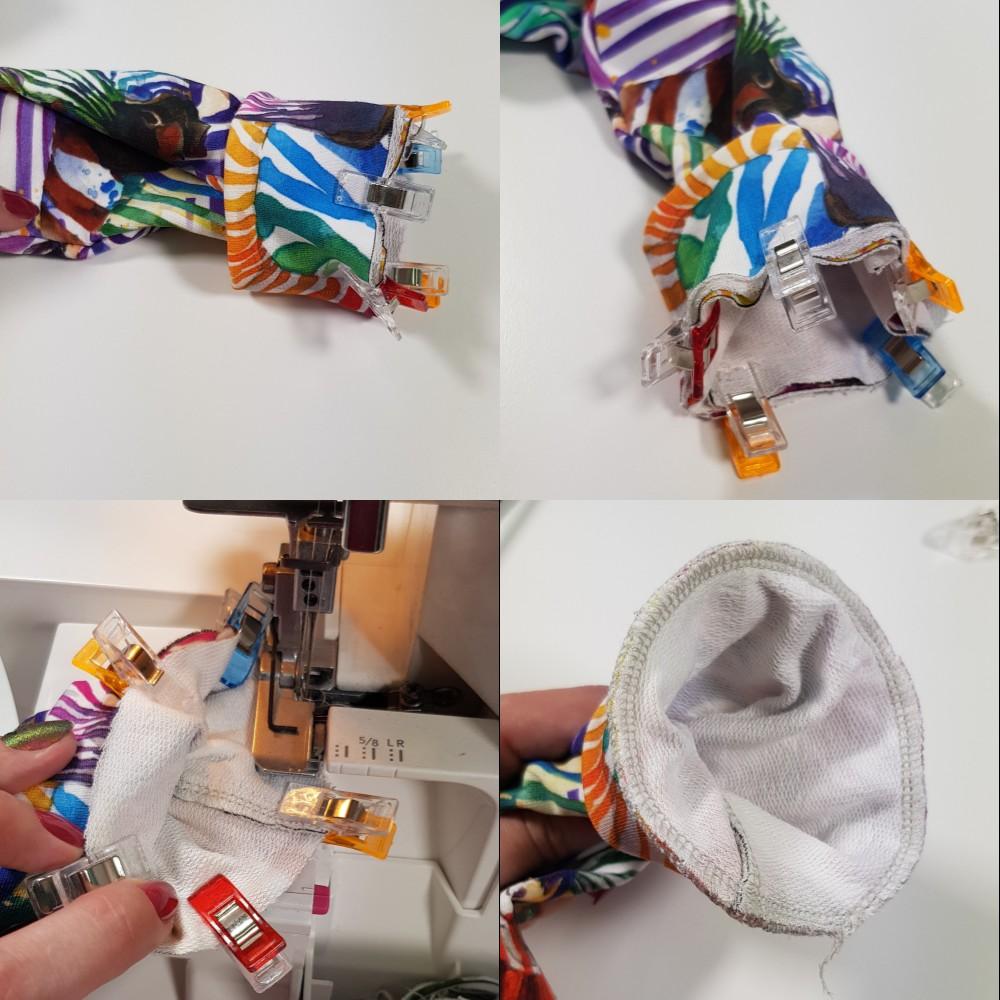
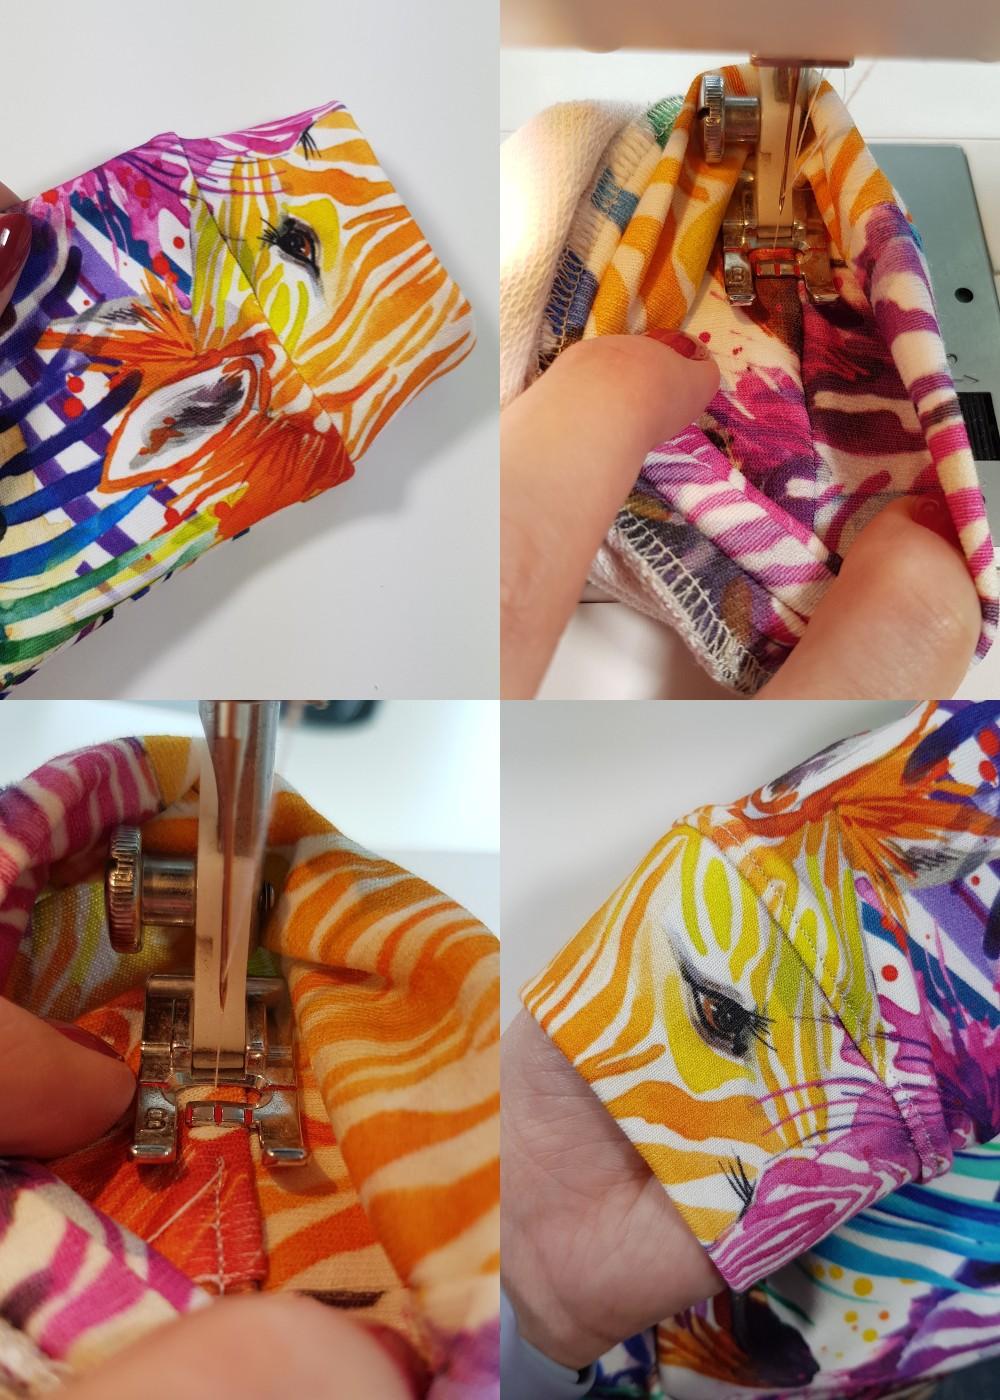
The sleeve is already finished. For those who are ambitious, I recommend doing a topstitching on the top, about 2 mm from the seam between our "welt" and the sleeve, so as to catch with it the reserve created during stitching.
Finish of the bottom of the sweatshirt. Fold the two pieces of the bottom "welt" (right side to right side). Pay attention to the direction of the pattern. Sew the shorter edges together. I recommend doing it with a straight stitch, too.
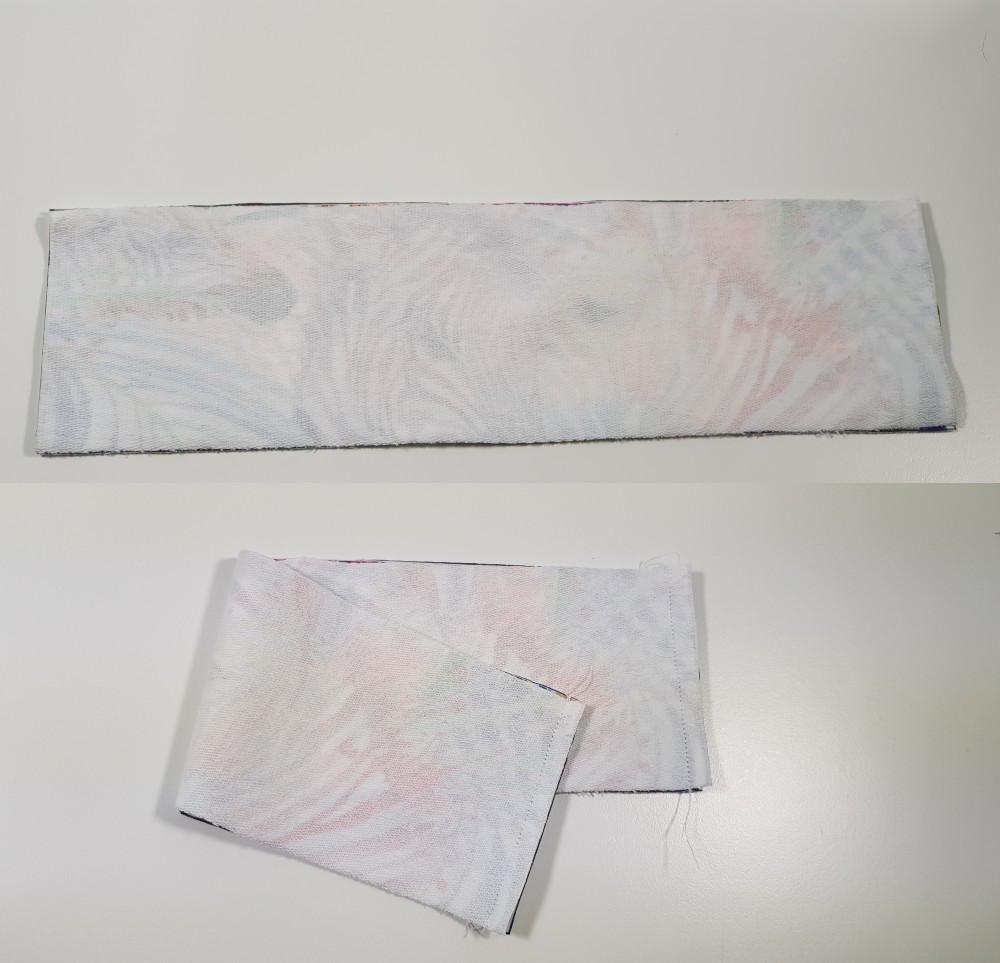
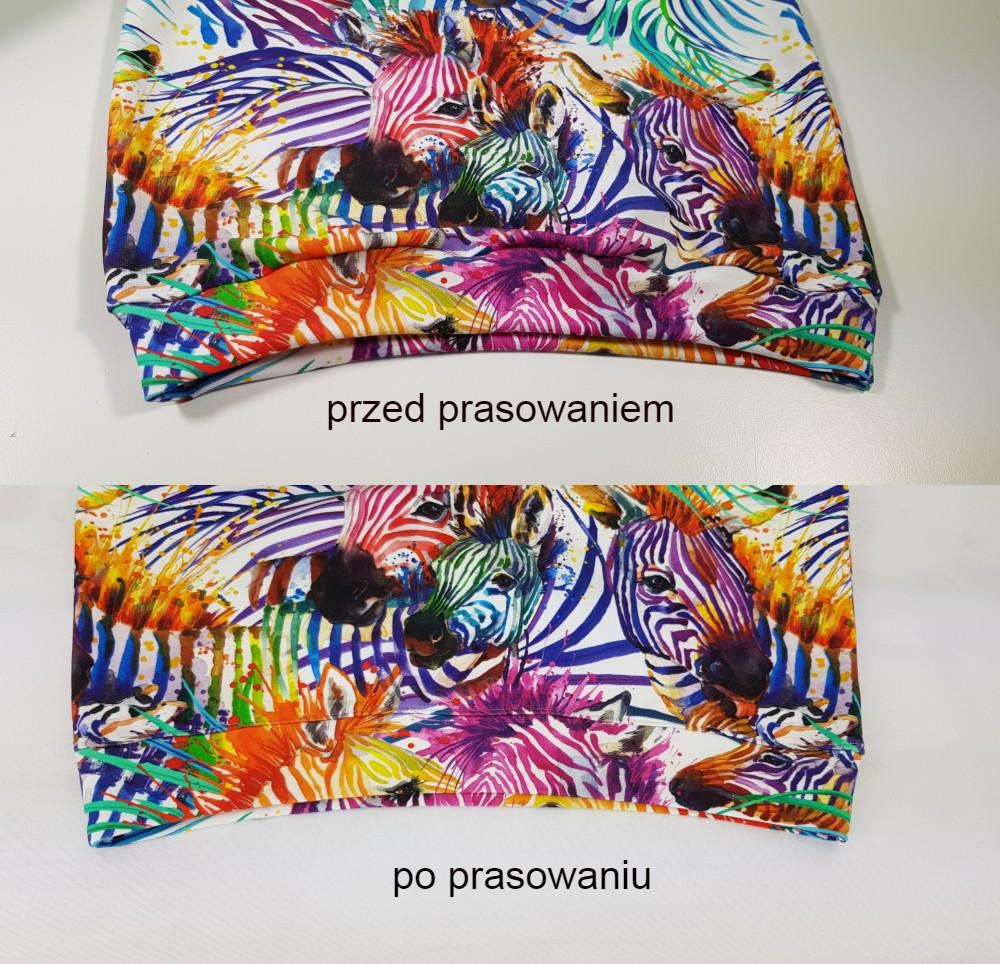
Iron out / unfold the seam allowances and fold the resulting piece left sides together.
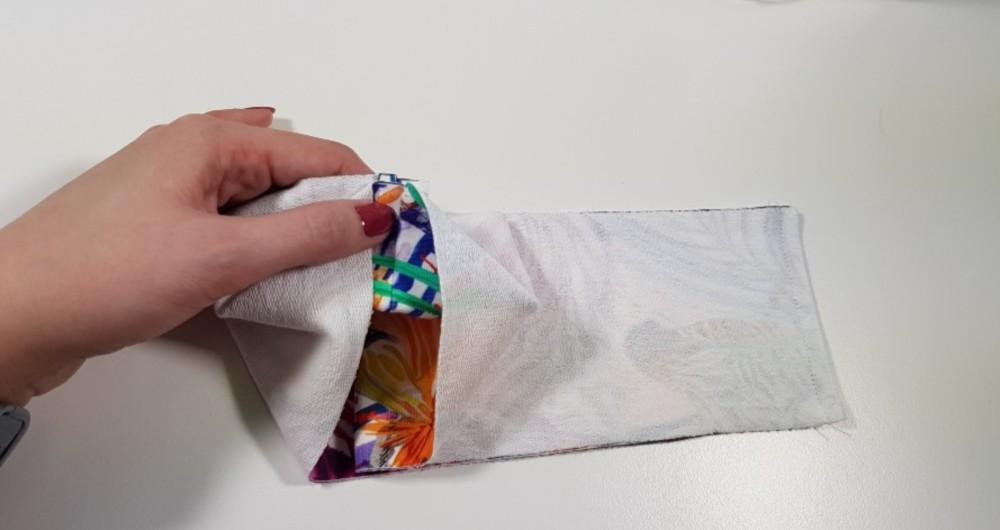
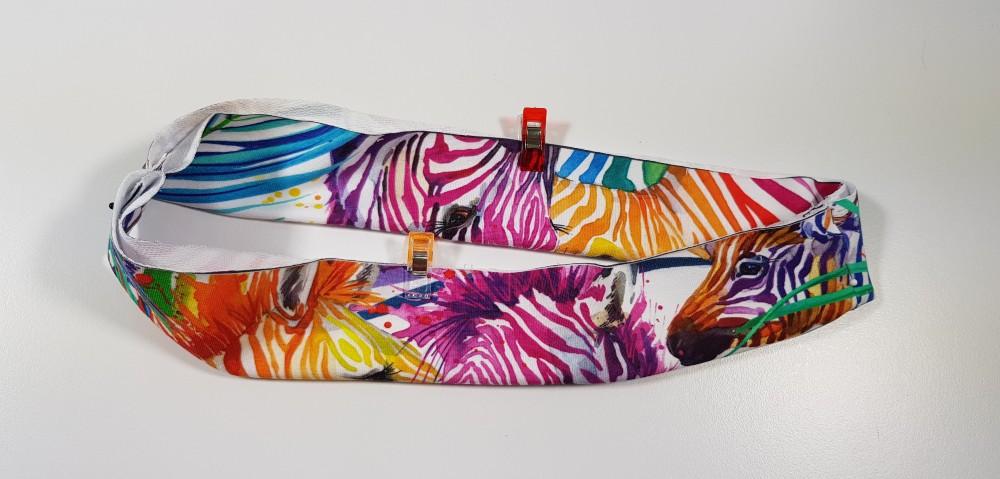
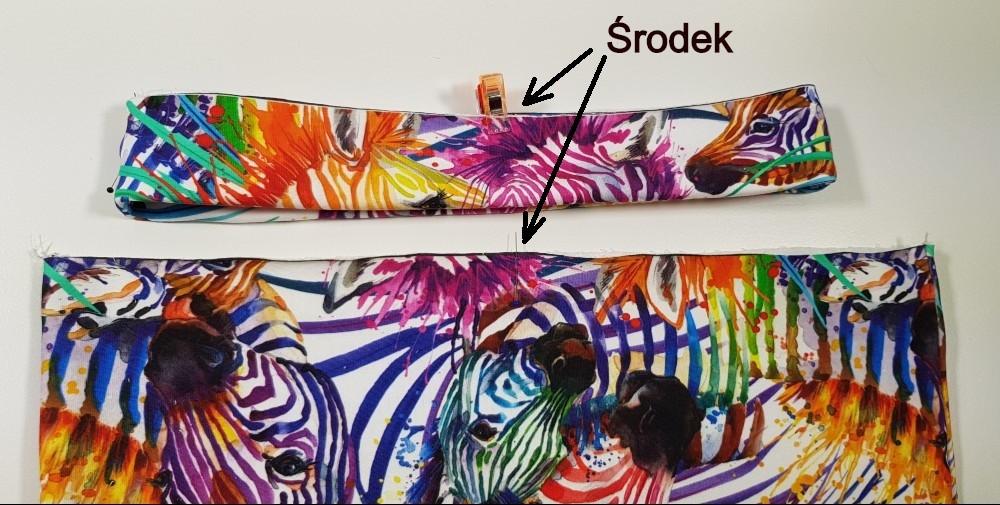
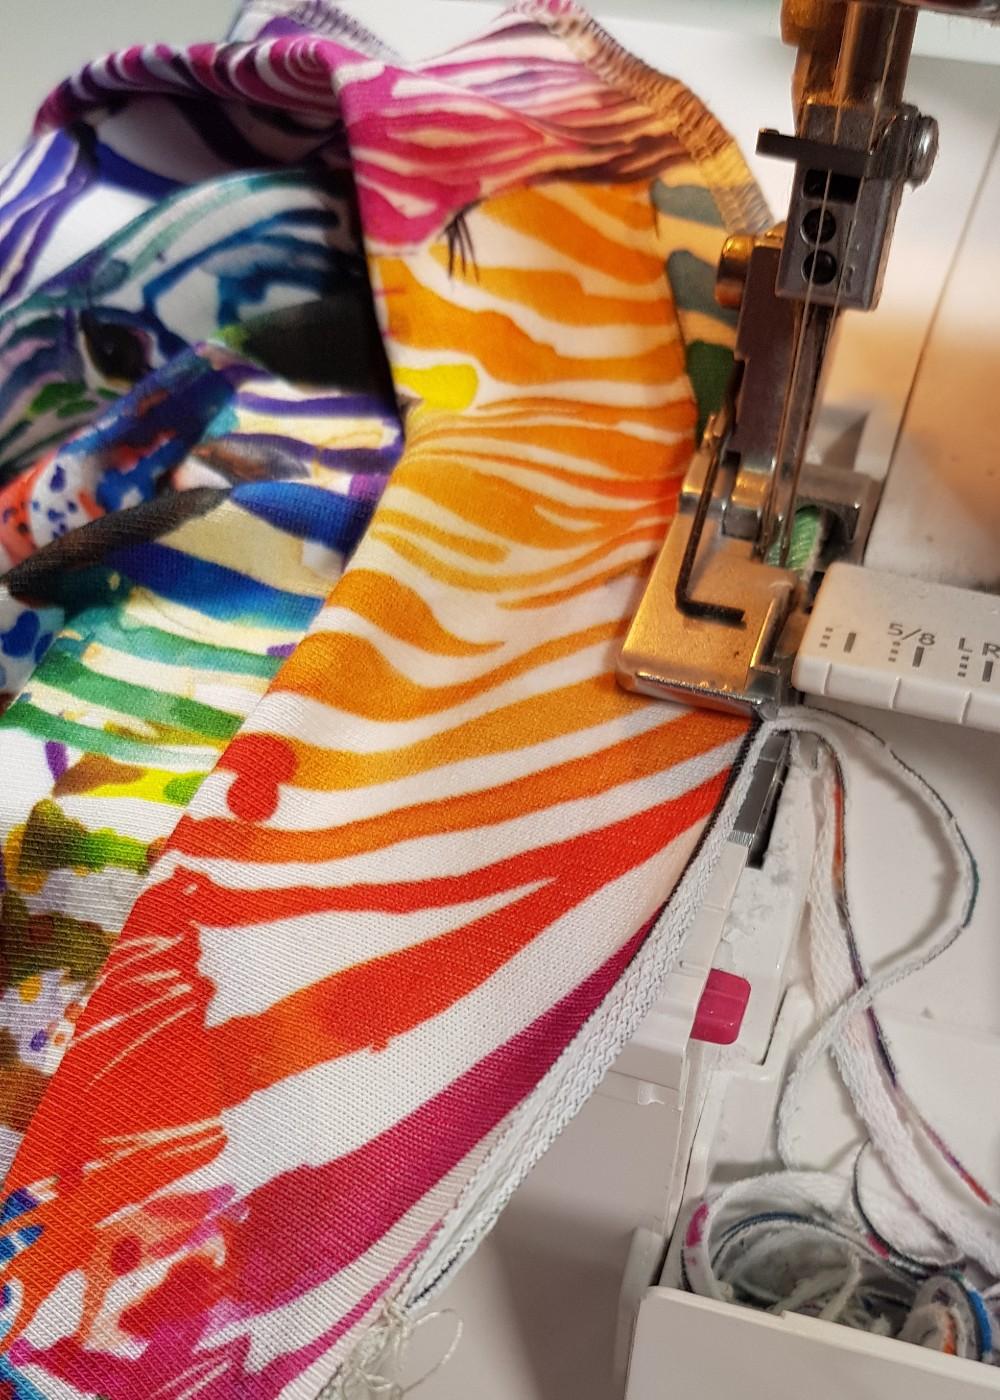
With the help of clothespins or pins, clip together the bottom of the sweatshirt and the "welt" - rely on the tangent points. "Welt" is shorter, you need to gently stretch it while connecting it to the sweatshirt.
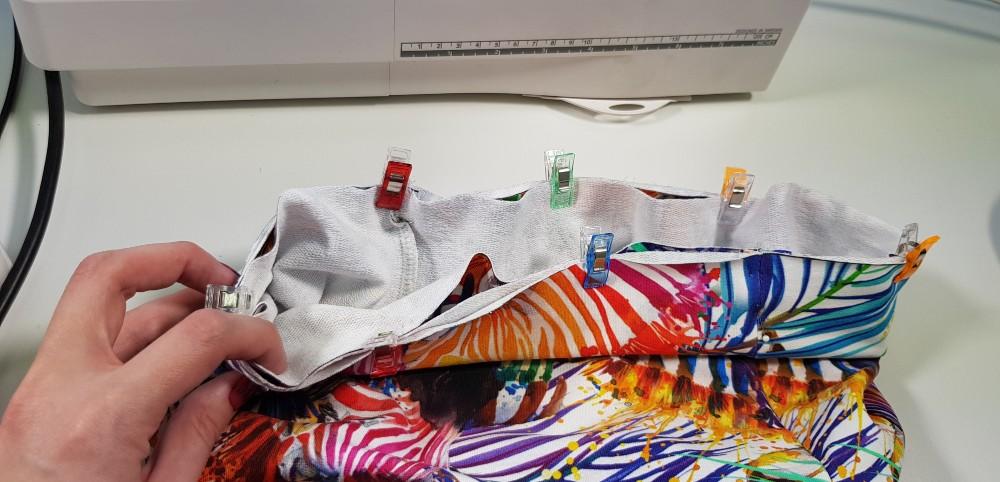
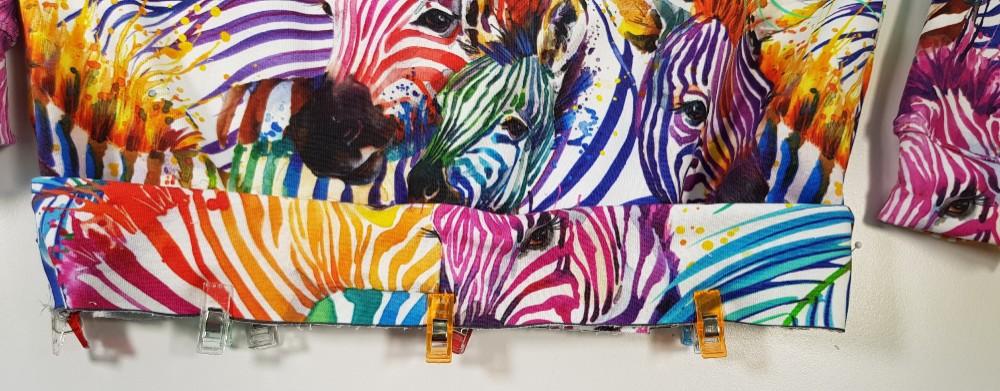
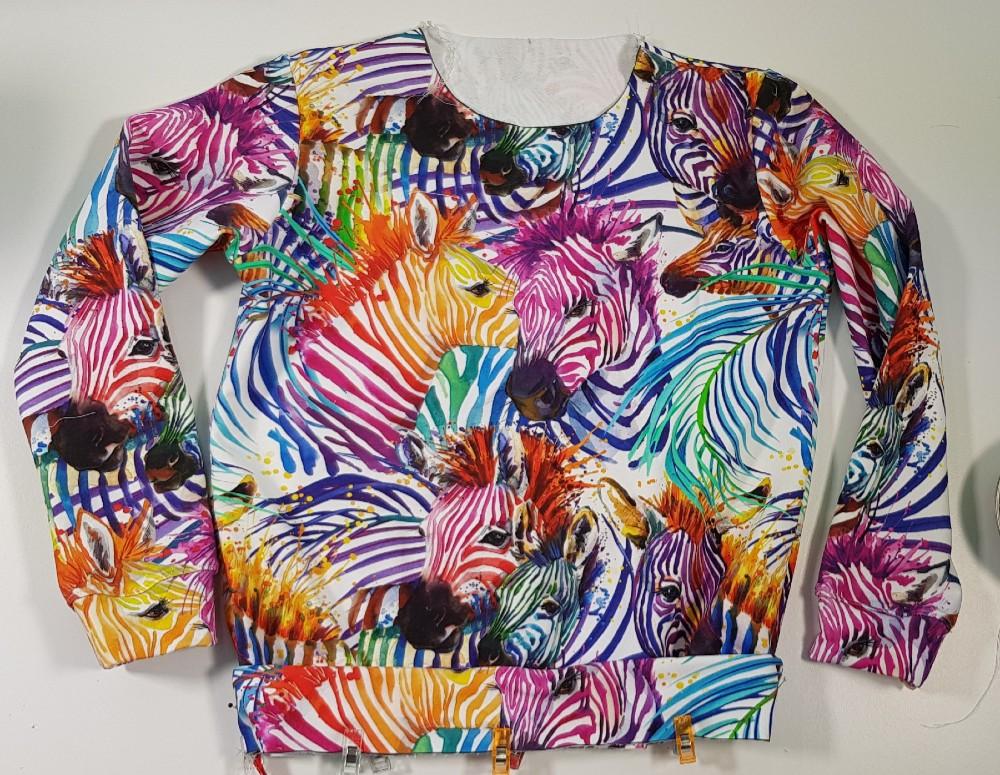
Sew the whole thing together slowly, gently stretching. Don't let the "welt" layers escape from under the machine.
The hood in the sweatshirt is made up of 4 elements - 2 surface layer elements and 2 inner layer elements.
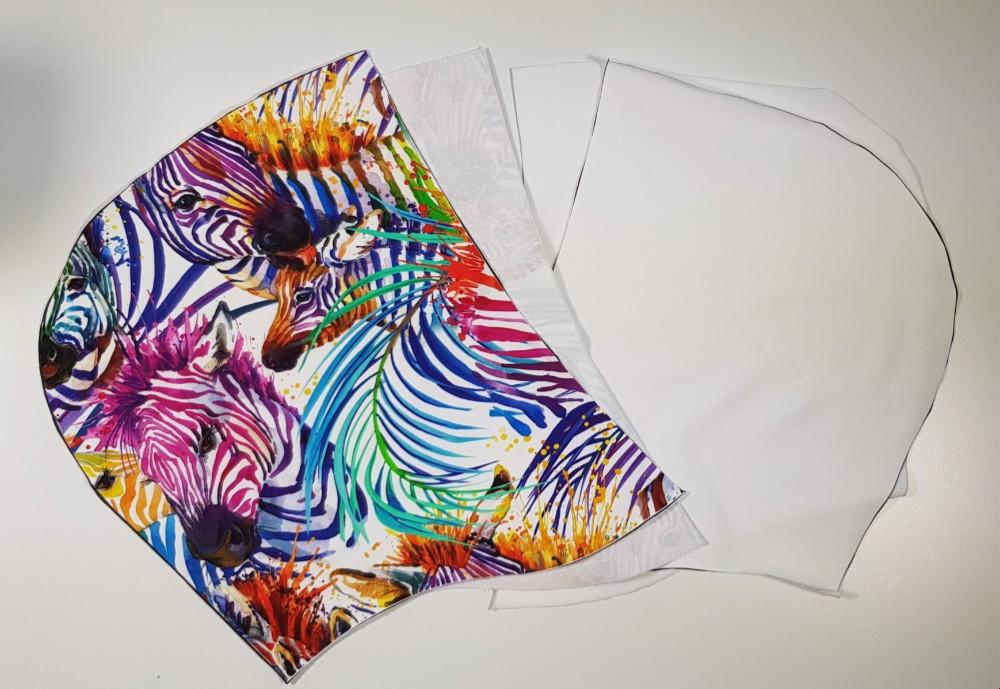
Fold the top layers of the hood with each other (right side to right side). Sew the layers together, sewing in a curve. I recommend doing this on a multifunction machine, it will be easier to arrange the seam allowance when joining the top and inner layers.
Sew the inner layer in the same way.
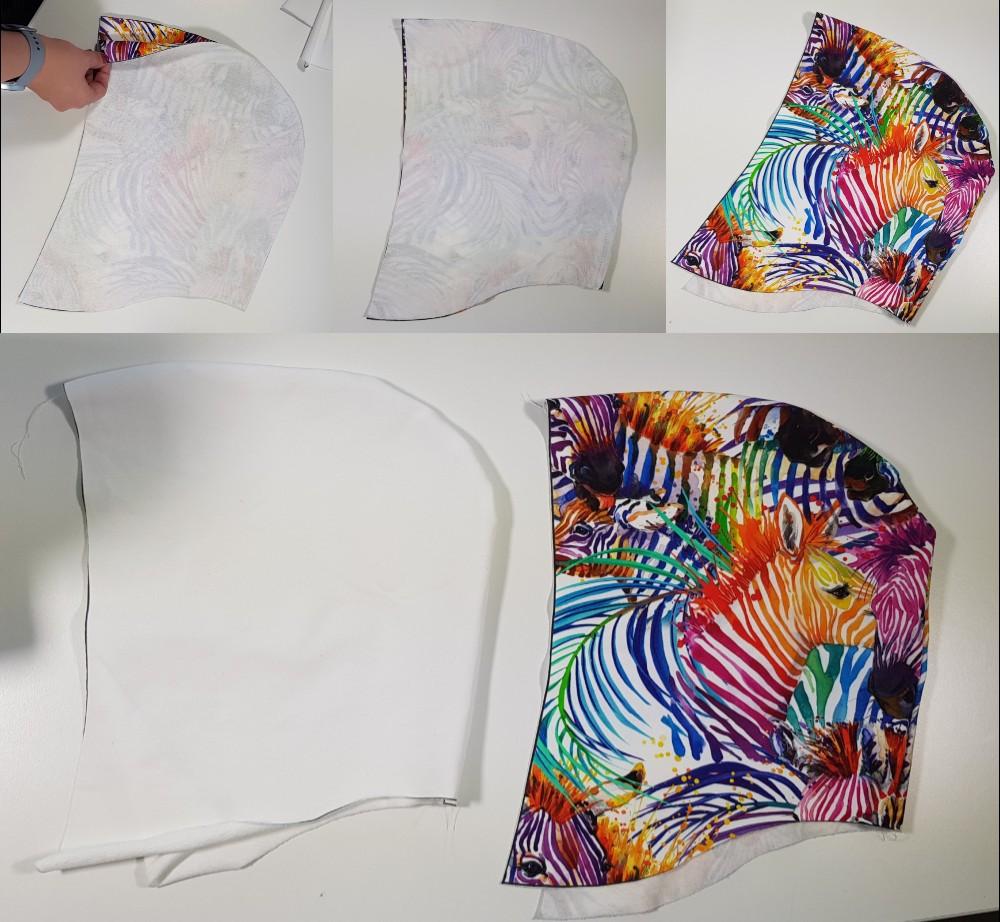
Turn the outer layer to the left side, leave the inner layer on the right side.
Insert the inner layer of the hood into the outer layer.
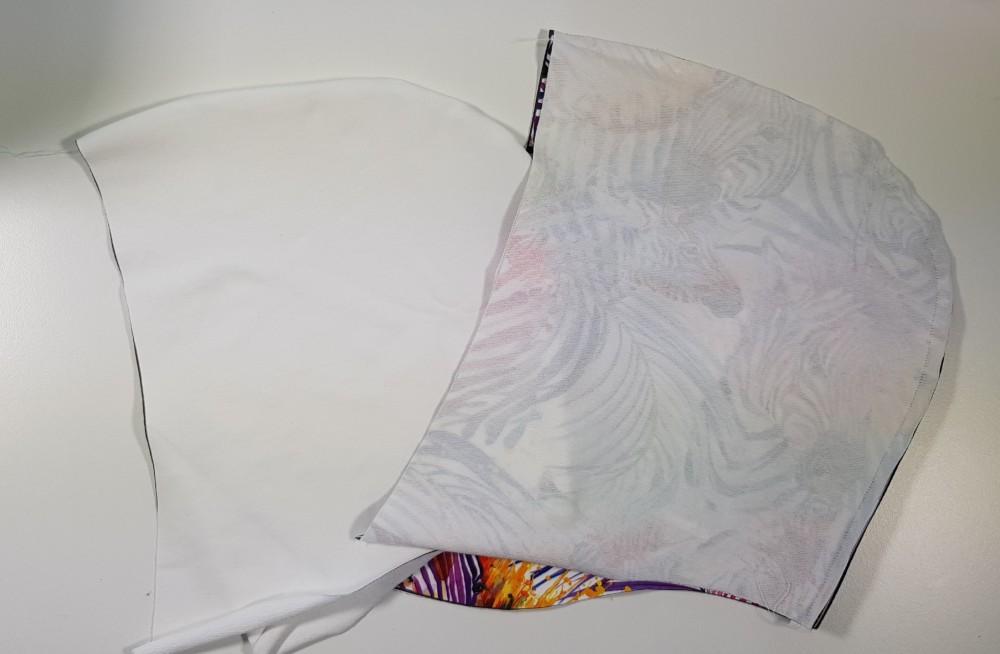
Using clothespins or pins, join the top and inner layers of the hood together. Pay special attention to the cross seams at the very top of the hood.
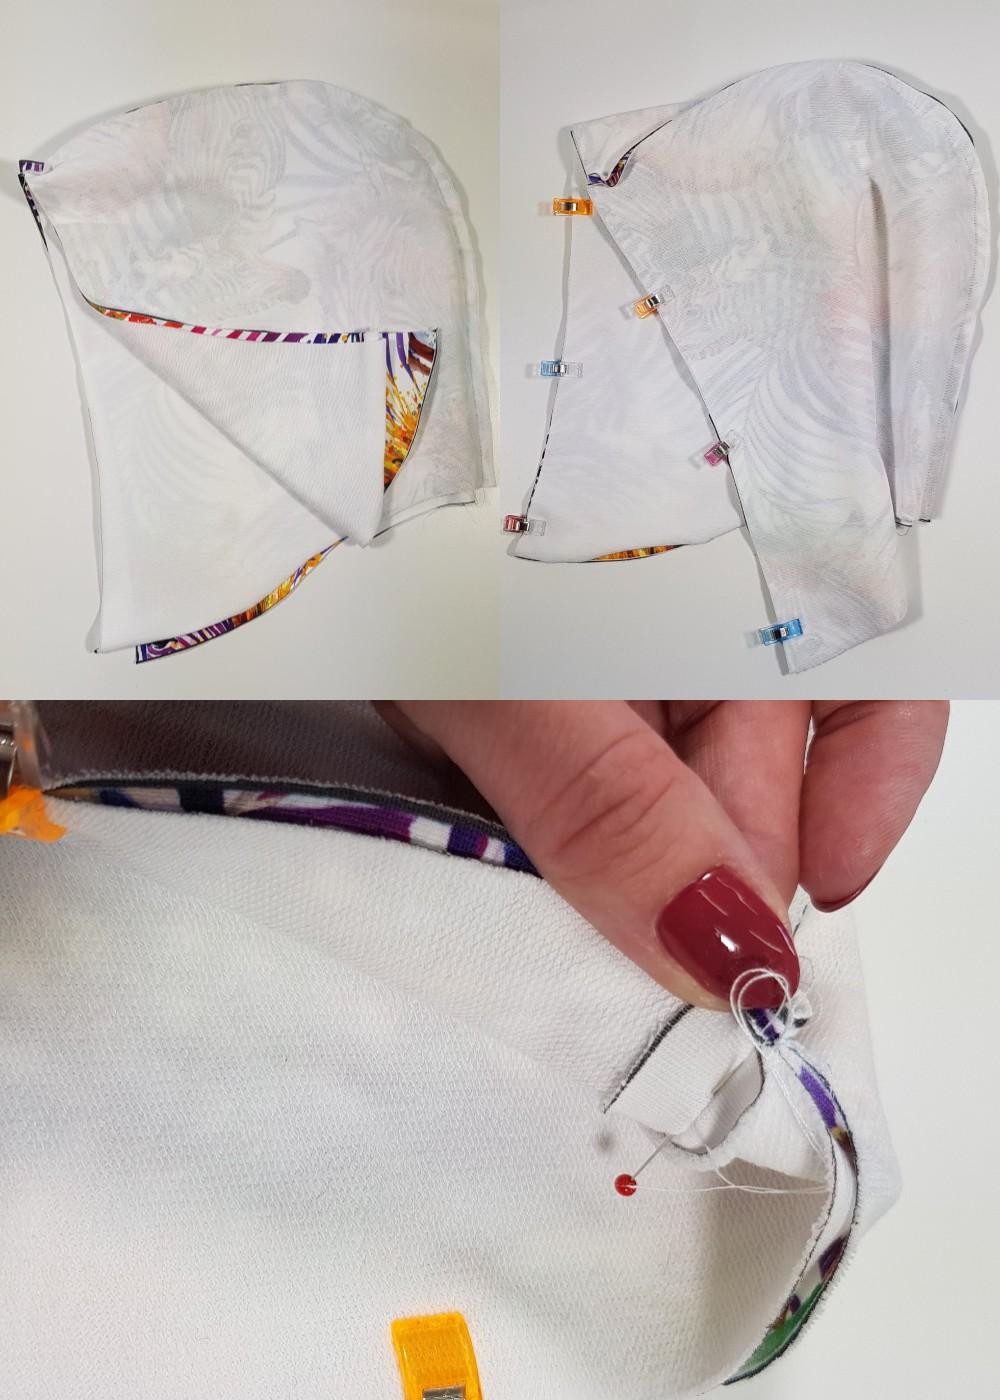
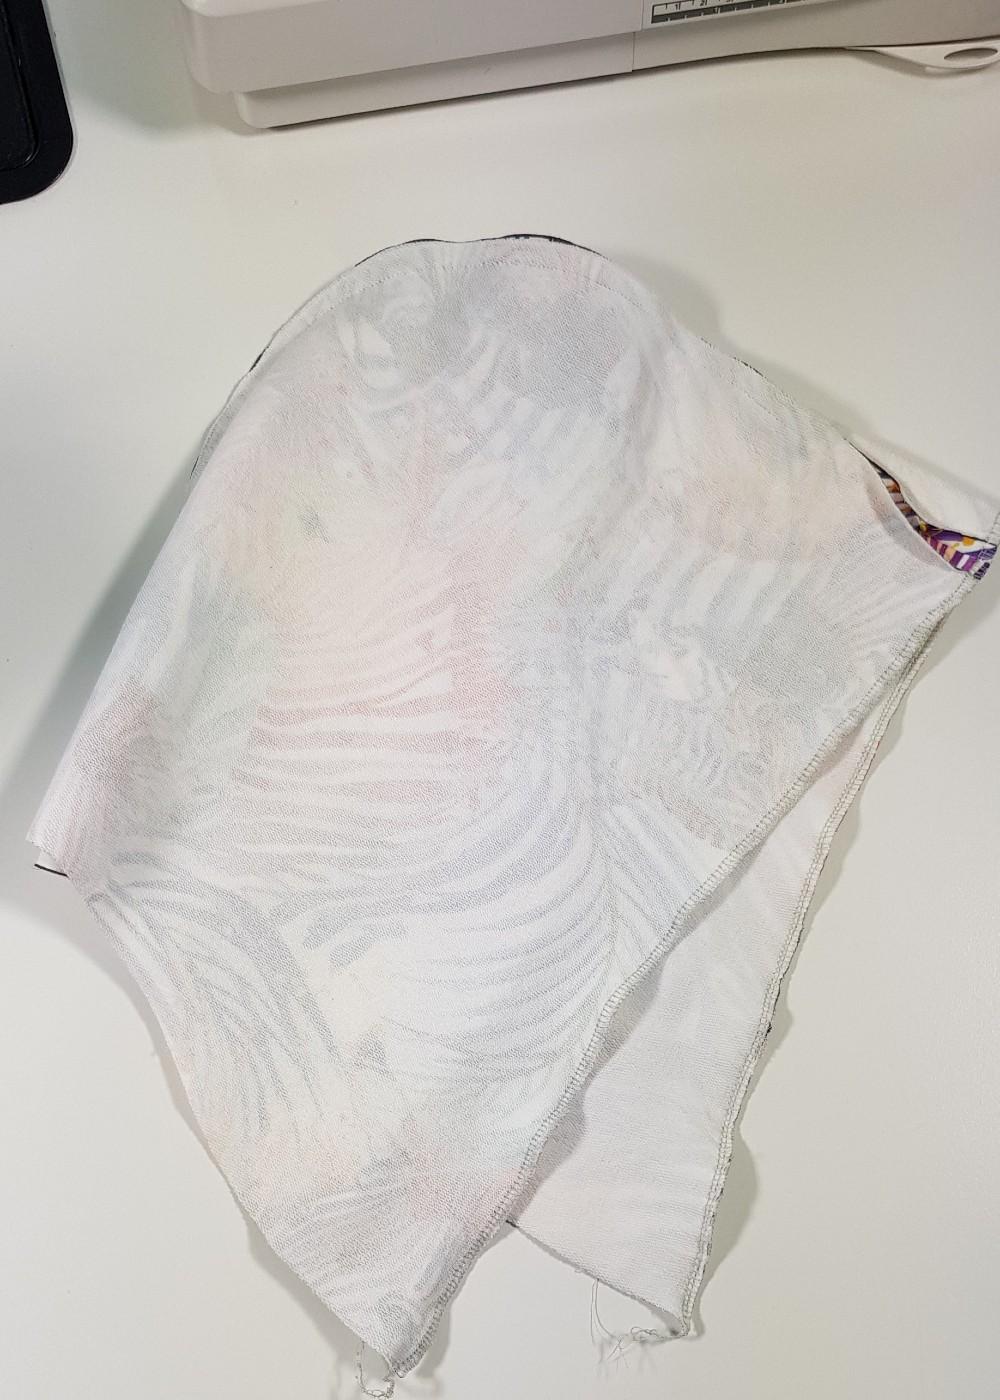
Turn the hood right side out, align the layers. If you can - iron it. At the edge, pin the top and bottom layers together.
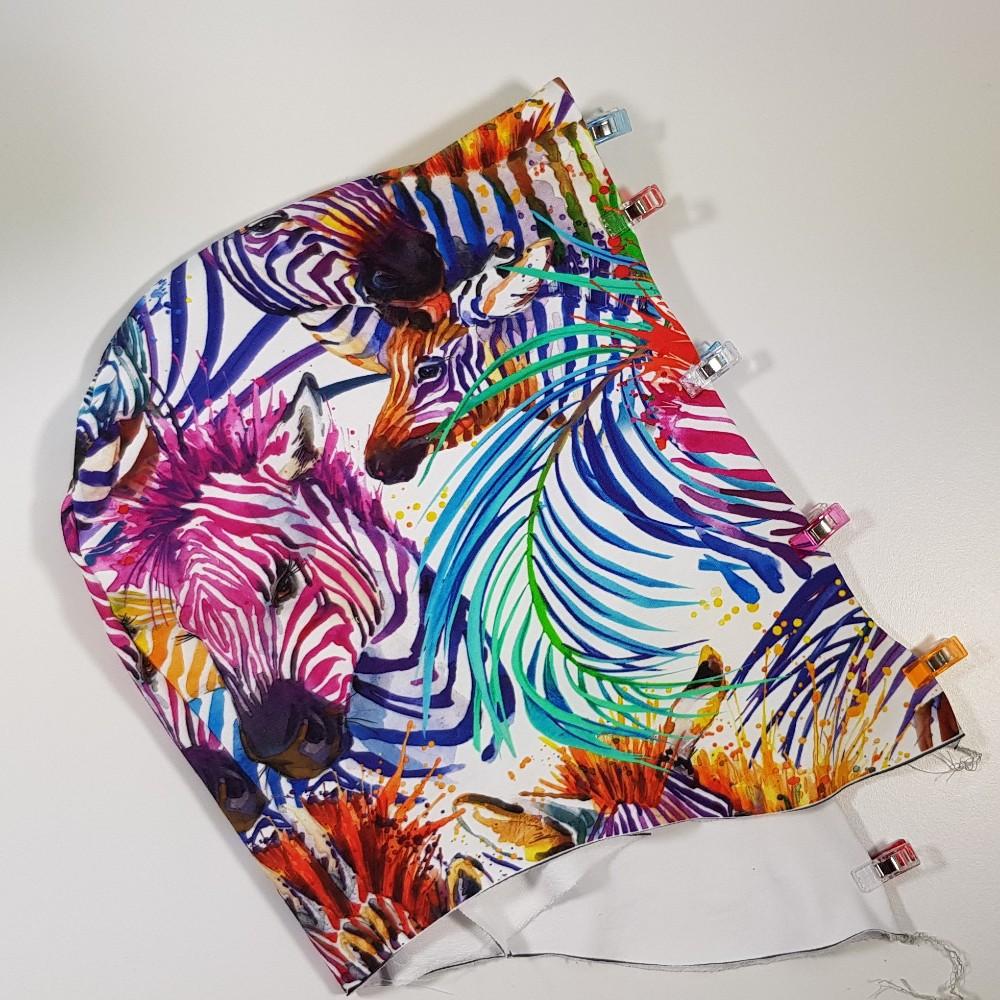
Sew the hood around, sewing at approximately 1.5-2 cm from the edge.
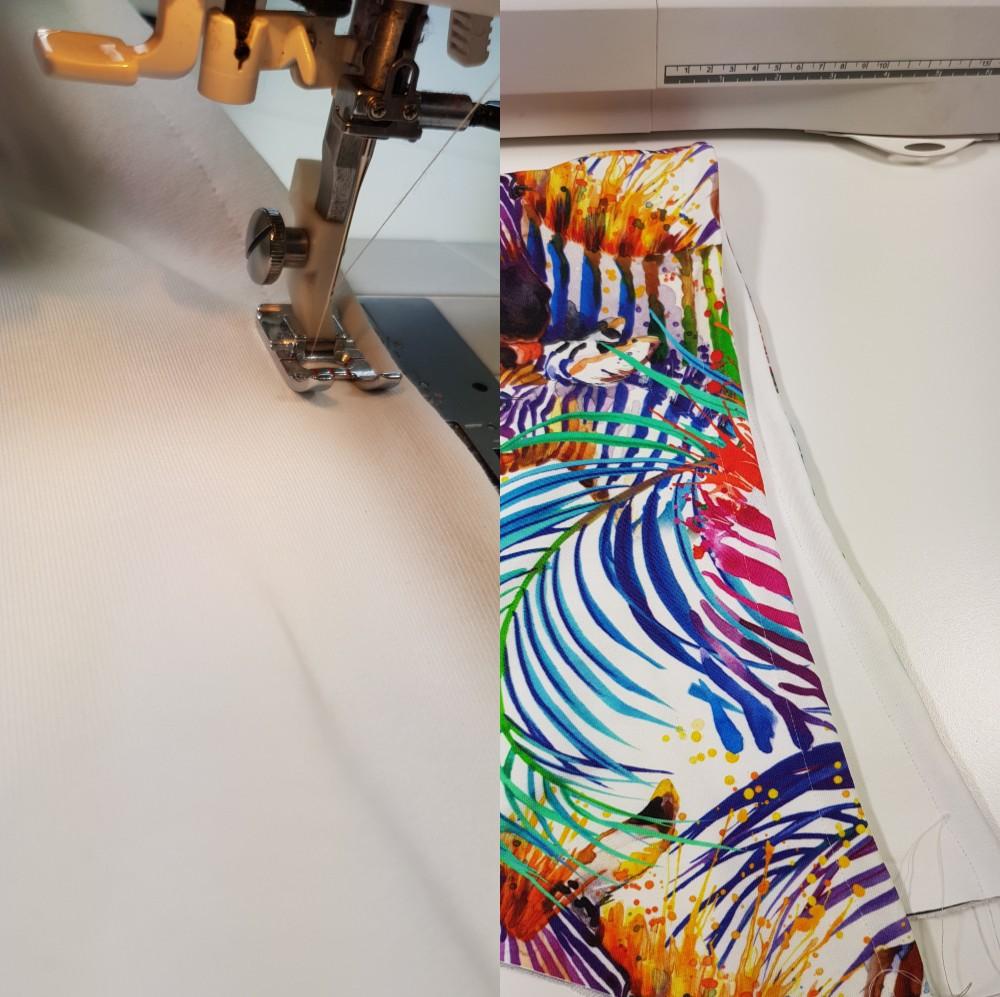
Join the bottom of the hood with pins or buckles. You can sew the two layers together, sewing close to the edge. This will make sure that neither layer will shift when sewing the hood into the hoodie.
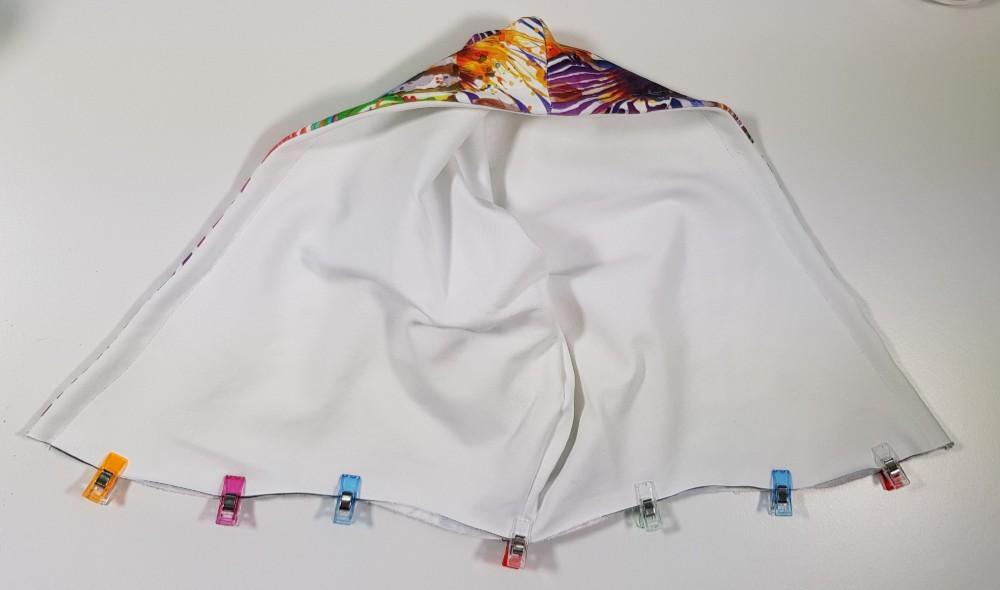
Attach the hood to the neckline of the sweatshirt. Start from the center of the back of the sweatshirt (the place marked at the very beginning of sewing) and pin ONE SIDE of the hood first.
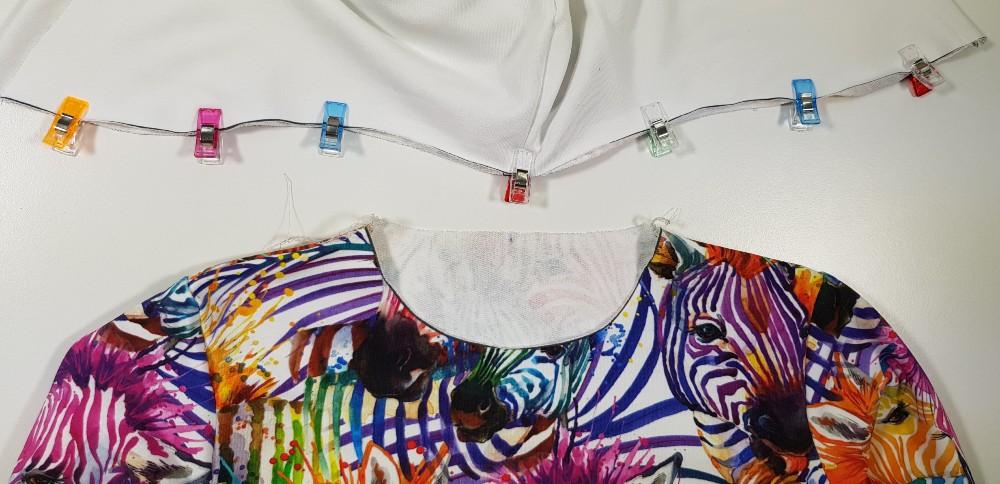
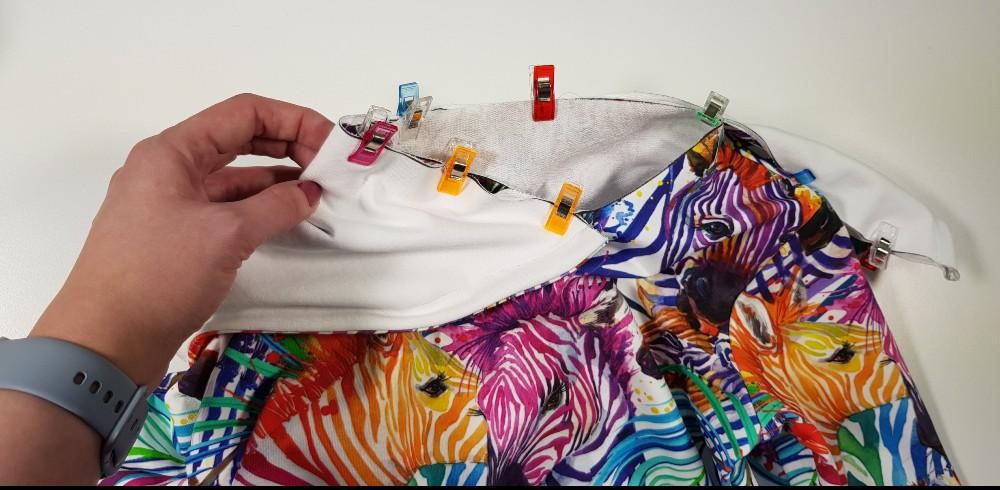
Now attach the SECOND SIDE of the hood with pins or buckles. An overlap has formed at the front. Check that the materials are well connected to each other. You can add additional pins at the places where multiple layers of material are joined..
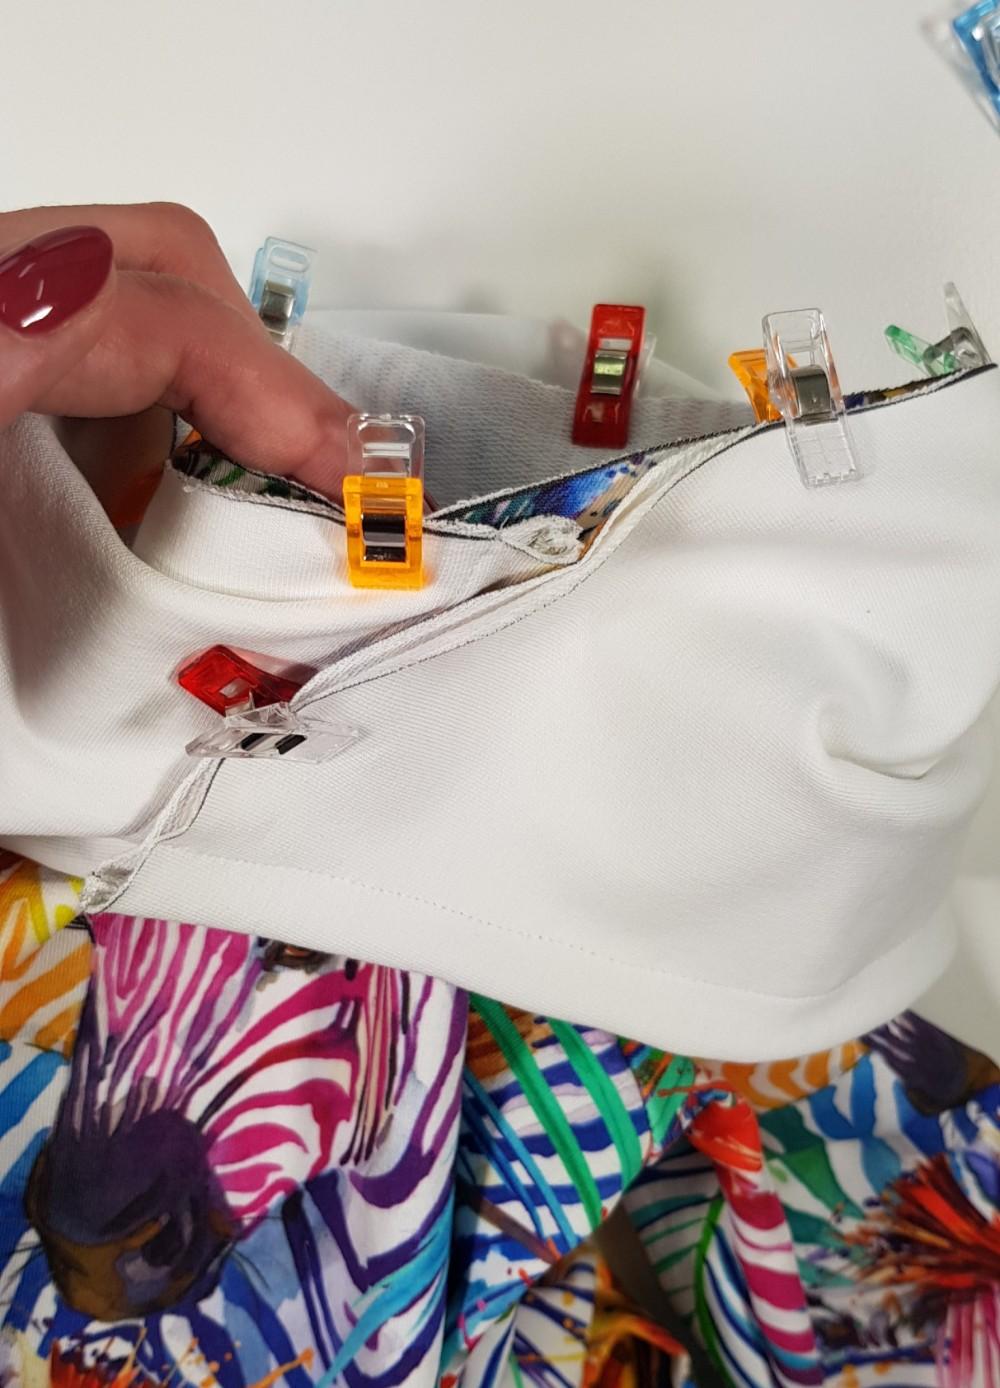
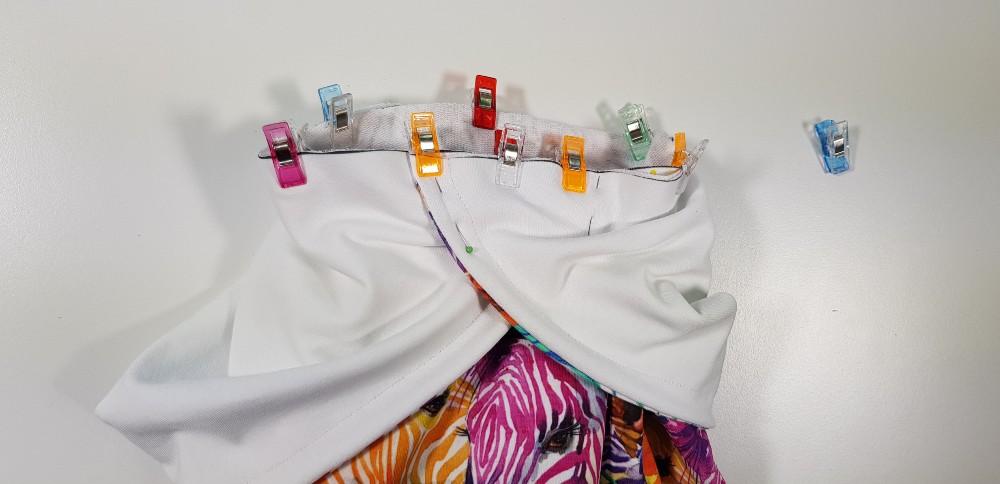
Sew the hood to the sweatshirt. Sew it slowly, keeping in mind that you are stitching a lot of layers that like to shift.
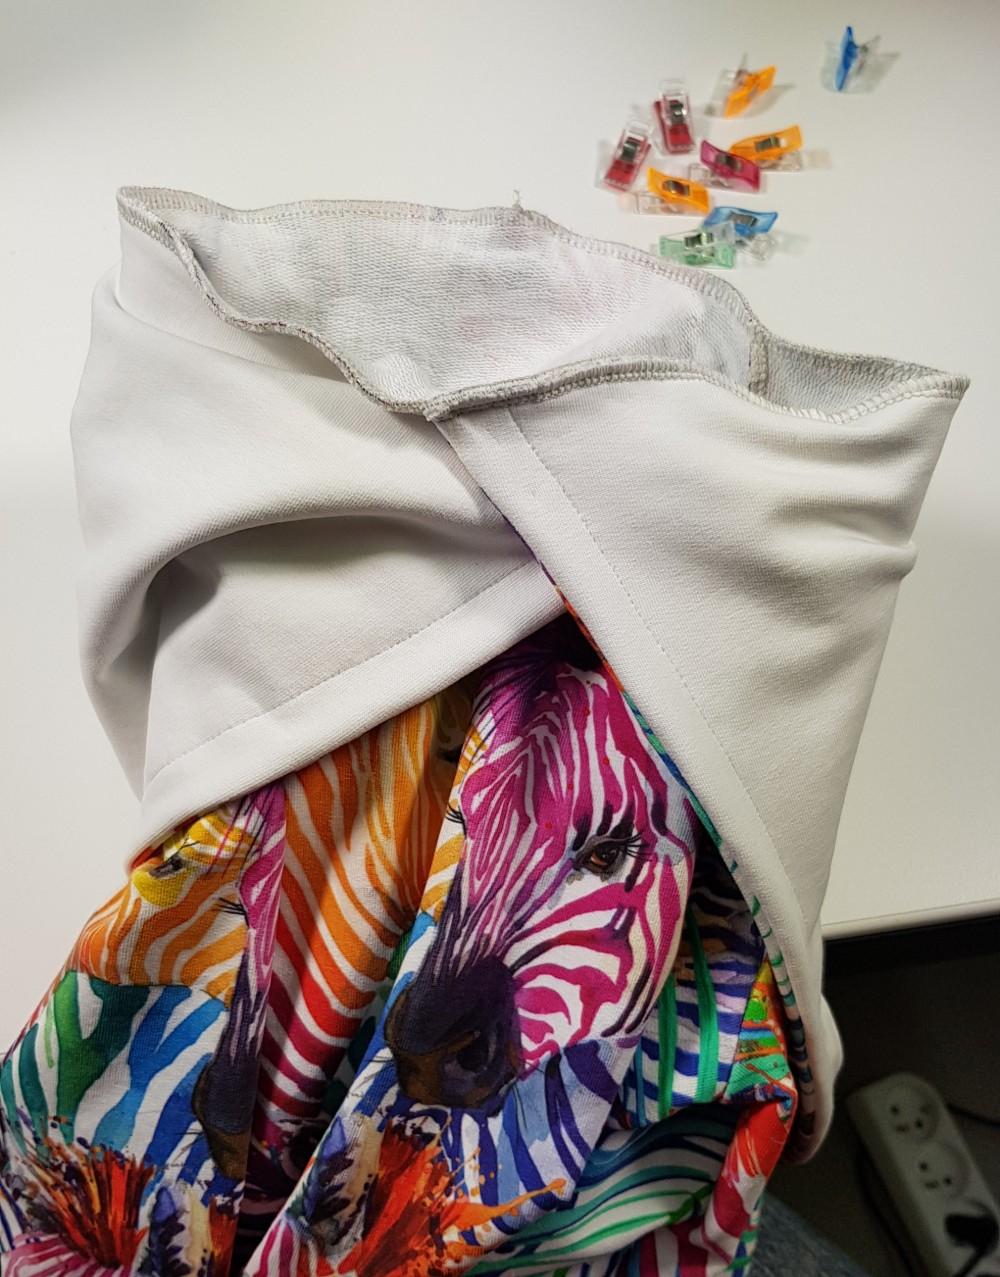
Iron the sweatshirt. Sew on the tag " MOMMY MADE IT" and enjoy the well deserved applause :)
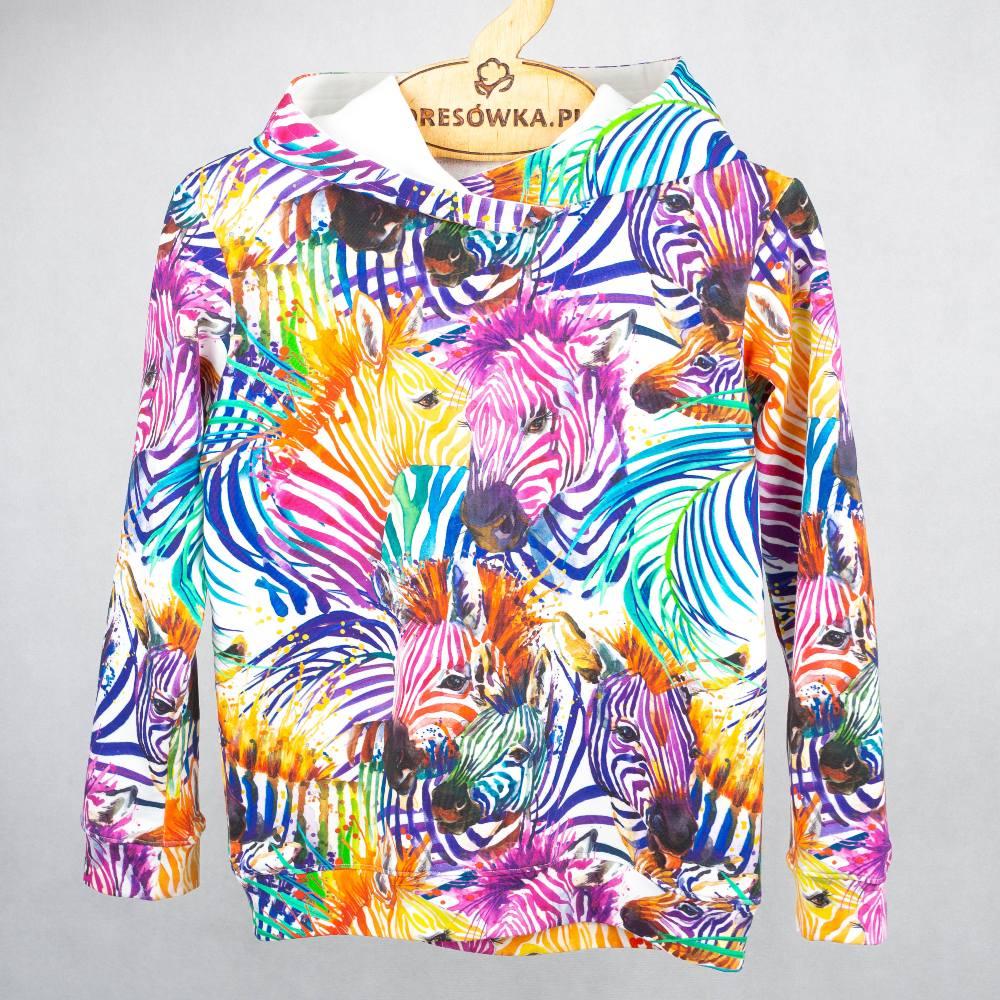
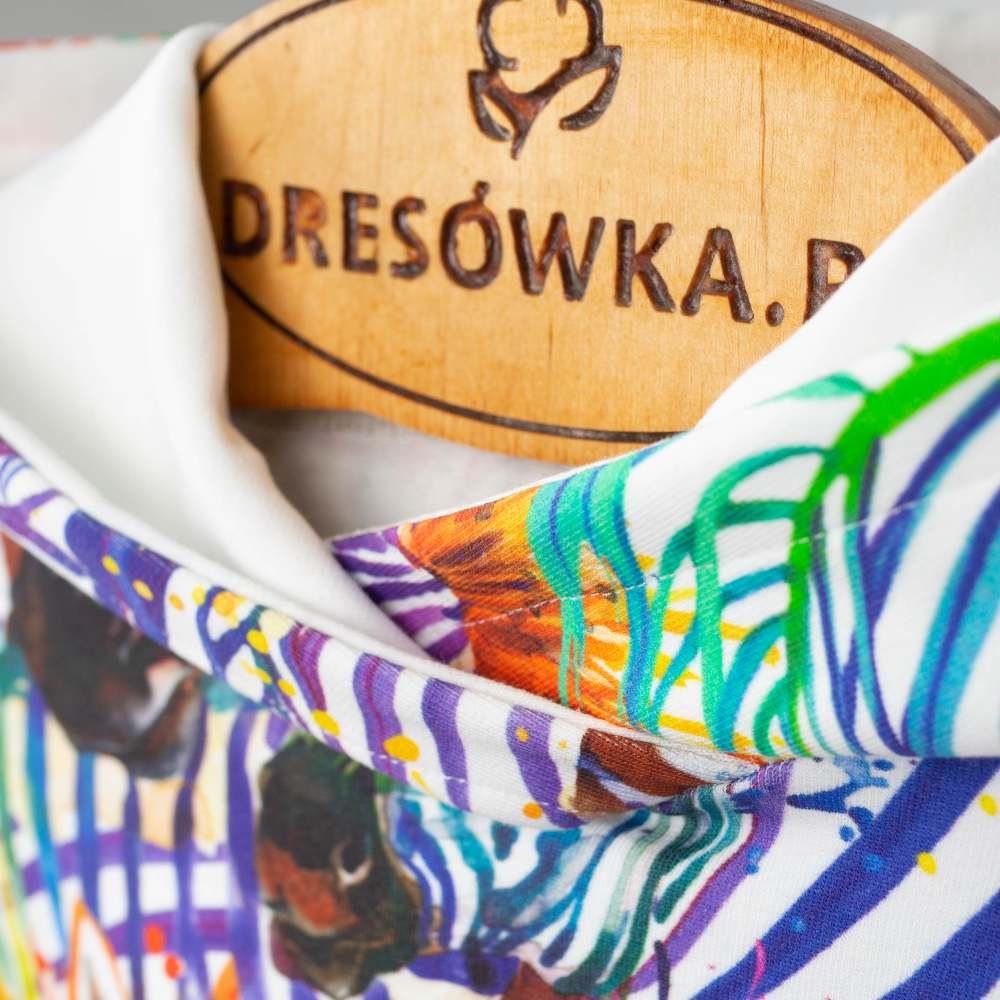
Have a successful sewing!
Małgorzata Michalewska
Post Comments (0)
To add a comment, you must be a registered customer.
click here to log in


