13/10/2022
| in category:Sweatpants with pockets
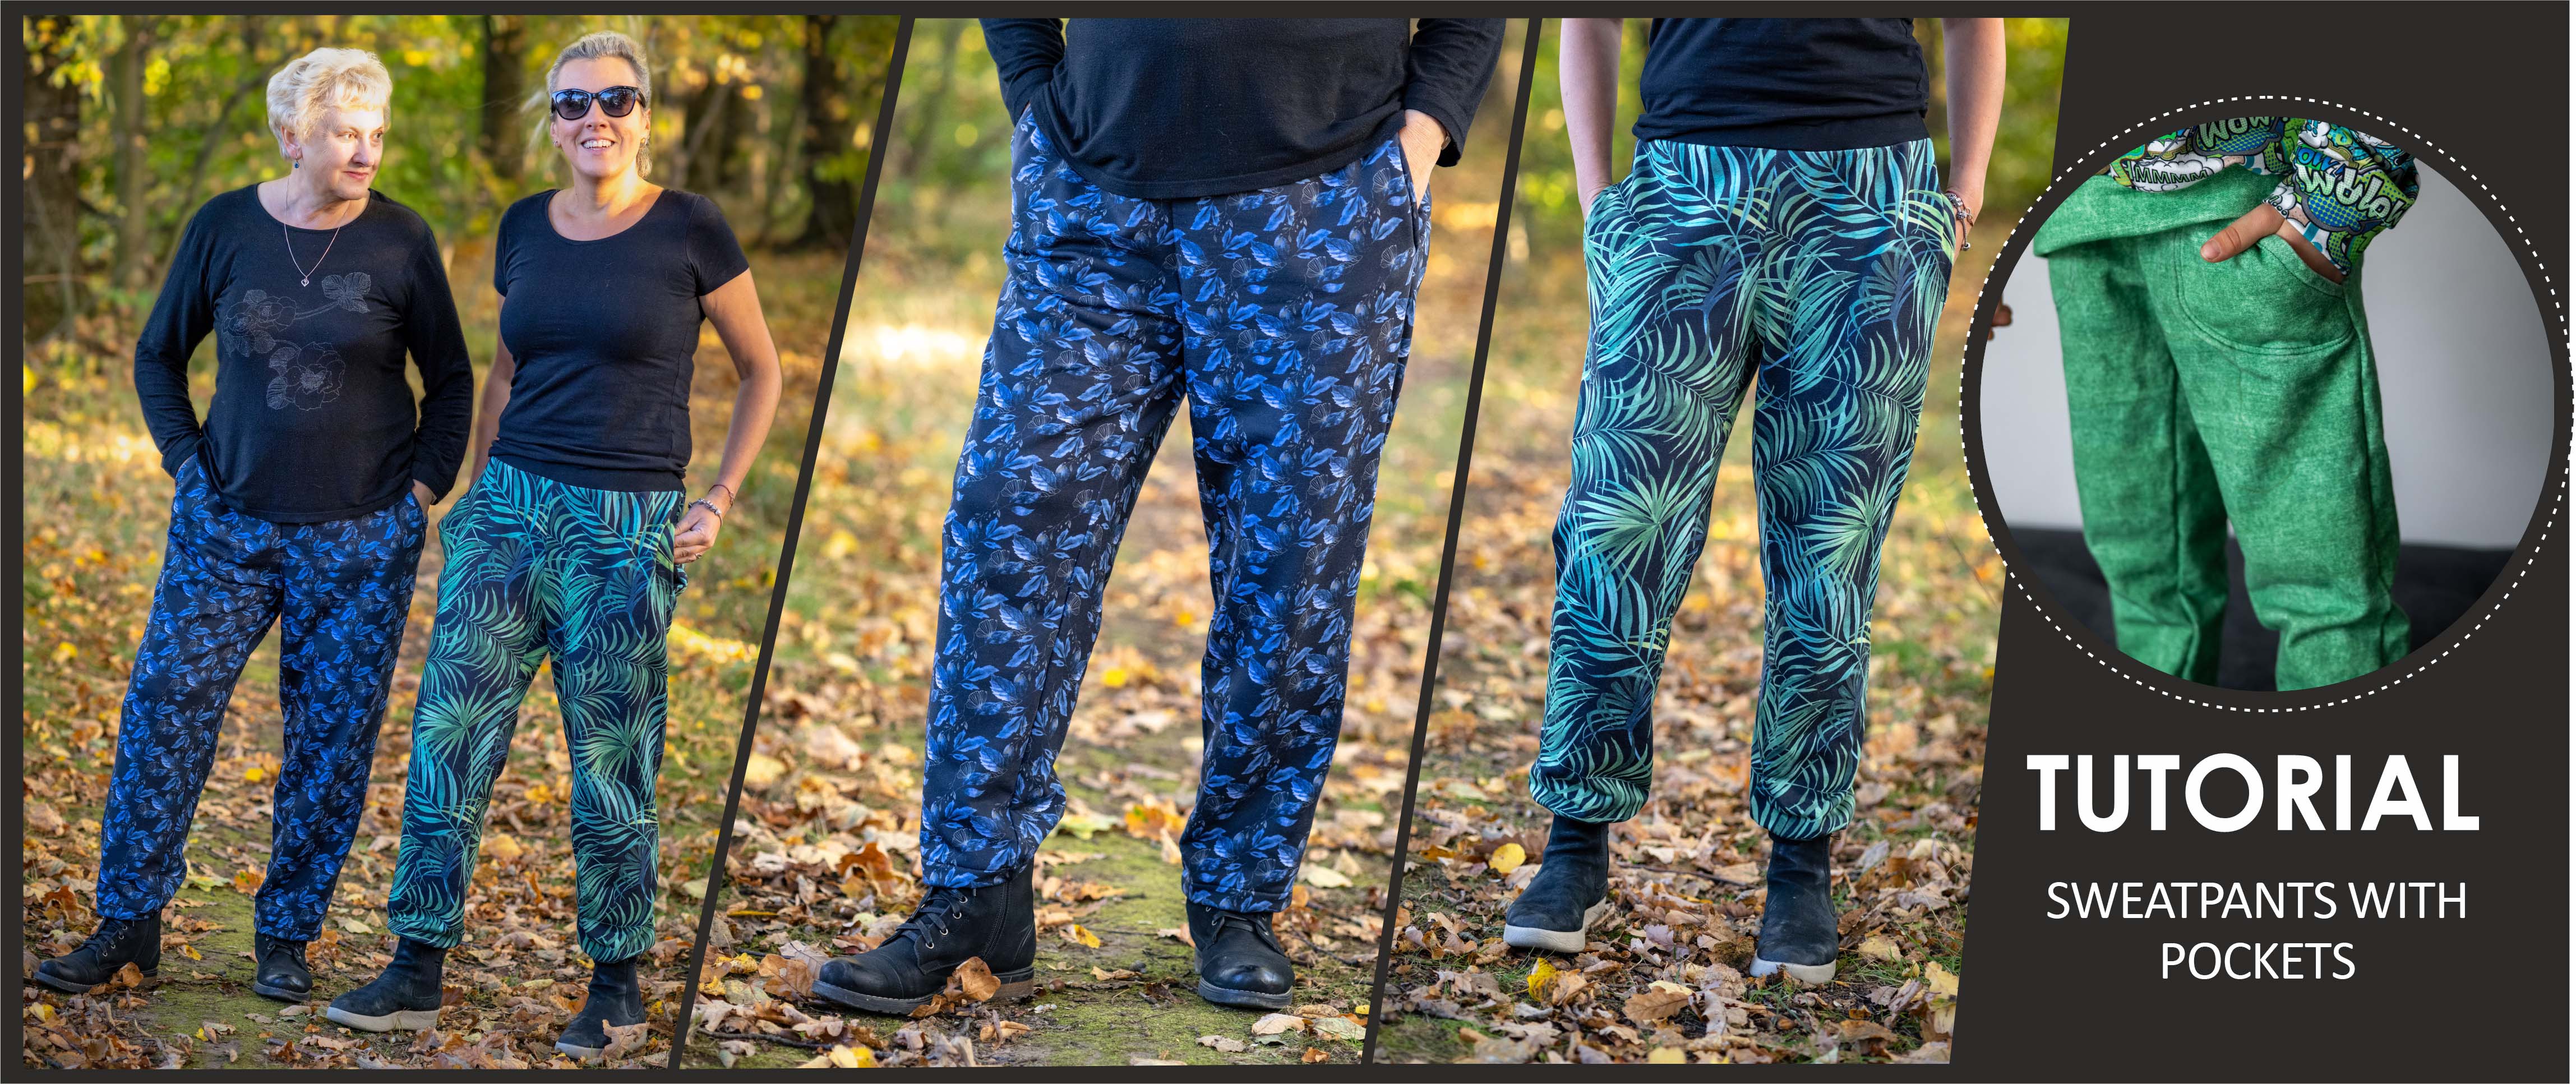
We've got it! A set for children's and women's sweatpants with pockets has been added to our fantastic clothing sets! They are extremely easy to sew and very comfortable to wear! The style of the children's pants is universal and thus will work great for both boys and girls! Women's pants are very comfortable and work well in many styles: they look amazing both in combination with ballet shoes and sports shoes, and with stilettos or heavy boots. See for yourself!
The set includes:
or
- a paper die-cut along with the respective amount of material
- a multifunctional machine
- a serger (but it's not essential, using it is largely dictated only by aesthetics. You can easily use an overlock stitch or zigzag stitch on your multifunction machine),
- pins or clothespins
- scissors
- iron
- tailor's chalk
- 40mm elastic (you can use narrower elastic, then remember to adjust the width of the belt puller). If you have rubber in pieces, you can sew them together. In this case, I recommend that you unstitch the resulting seam allowance. NOTE - The material of the belt (and the whole pants) is elastic, so you can adjust it to any size and body shape!
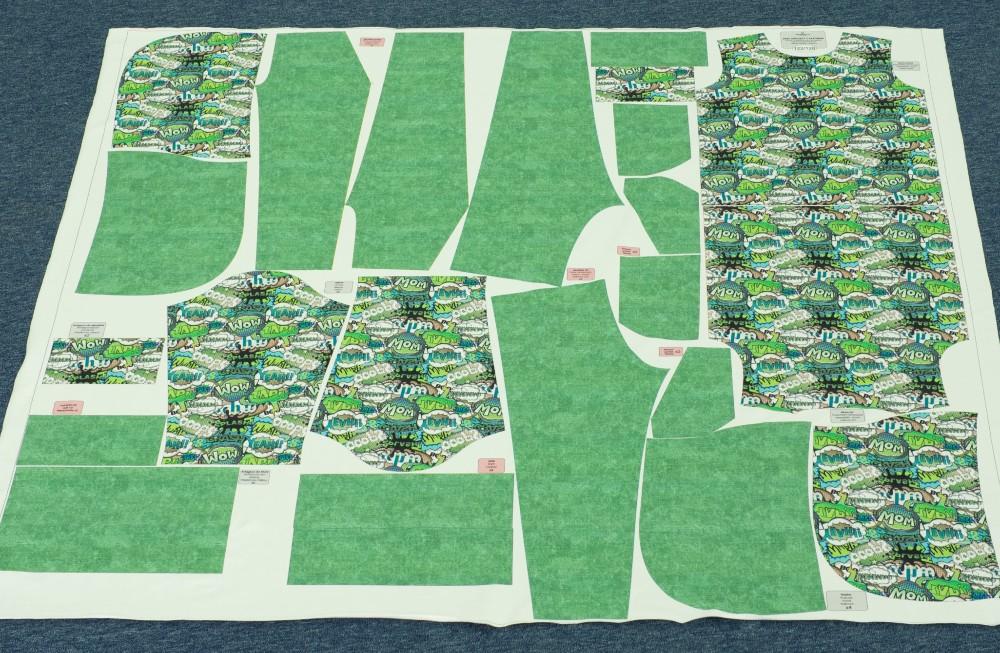
Important note: Before proceeding, remember - DO NOT wash the panel before sewing! Washing such a set before sewing can cause that after cutting the individual elements will not fit together, they will be crooked. Therefore, wash only after sewing the set.
Remember also that when you iron the elements do it always on the left side or through another fabric.
PREPARATION
1. Cut out the elements of the pants:
2x back leg
2x front leg
2x waistband
2x leg cuff
4x pocket element (two elements per right pocket and per left pocket)


SEWING SLASH POCKET
2. Assemble the elements of the pocket bag according to the photo - the pocket consists of two elements. Pin the first part of the bag to the front part of the leg (right side to right side) and sew.


4. Quilt the pocket at the edge. I recommend sewing at the width of the foot (needle - centre position).

5. I suggest sewing the pocket to the leg with a double stitch. You can do this with a double needle, but if you don't have one, I'll show you how to 'get around' this and be happy with the result. Therefore, at this point it is a good idea to draw on the right side of the leg where the seams will be going. The second part of the pocket bag will help you with this.

6. Turn the fabric left side out, attach the second part of the pocket bag to the first, sew it on and carefully iron the seam.

7. The pocket is now ready. Now it is time to sew it to the front of the leg. Using the line you have already drawn, make two stitches. These not only have a decorative role, but also hold the pocket in place.
Sew slowly, precisely, and take your time. The line drawn is the base line. Do not sew along it! Position your foot parallel to it (or like me, when sewing, try to make the line run at the inside edge of the foot). After you've done the first stitch, do a second parallel stitch - this time the baseline is the first stitch.

8. Do the same with the other leg. The effect is impressive, isn't it?

SEWING THE POCKET IN THE SIDE SEAM
9. Pin the pocket bag pieces to the sides of the legs as marked on the fabric. Pin them with the right side of the bag to the right side of the legs and sew. Note - leave about 1cm unstitched at the beginning and end of the seam.


10. Turn the pocket bag pieces sewn to the front of the trousers so that the left side of the bag meets the left side of the trousers, and quilt the side by sewing across the top. Leave about 1cm unstitched at the beginning and end of the seam.


11. Lay the front and back of the leg on top of each other. Lay out the pocket bags as shown in the photo. Pin the sides of the legs and pocket bags together.

12. Sew the sides of the legs together. NOTE: When you get to the pocket bag, lay out the fabric so that you sew as straight as possible. This is extremely important especially when you are sewing on a serger with the knife on. Forget for a moment that you have angles at the pockets, position the fabric so that you have a straight line to sew.

13. Turn the legs right side out. Orient the pocket bags and seam allowances towards the front of the legs and quilt the sides briefly, perpendicular to the top and bottom of the pocket stitching. This should prevent the pocket from slipping away to the back of the leg.

JOINING THE LEGS
14. Assemble the back leg pieces right side to right side and sew at the crotch. Do the same with the front leg pieces.

15. Do another stitch on the top of the trousers - on the middle seam: from the waist to the crotch. It will give you additional reinforcement of the seam and an interesting visual accent. Put the seam allowance to one side and sew on the right side of the leg. NOTE: Remember, for example, that when sewing the seam on the front to the right side, on the back you must do it to the left side. Make sure it is the same distance from the middle seam on both sides. This will ensure that when you sew the front to the back of the trousers at the crotch, you will create one even seam.


16. Pin the front and back of the trousers together, sew.

BELT AND BOTTOM ELASTICS
Fold and sew the leg cuffs together. I recommend using a straight stitch here on a multifunctional machine. This will ensure that the seam allowance is evenly distributed when the piece is folded.
Turn the sewn waistband and cuffs right side out and fold in half left to left.
The bottom of the legs can also be tucked in without sewing the cuff.


18. While gently stretching, fasten the belt to your trousers. Make sure the opening in the belt is on the inside of the belt.
Sew the cuffs into the trouser legs.

19. Pull the rubber band through the hole in the belt. Check that it is even, stitch the elastic and unstitch its reserve. Sew the opening in the belt manually with an overlapping stitch.


Done!


I hope you enjoyed sewing as much as I did! Be sure to share the results of your work on our Facebook contact group!
Małgorzata Michalewska
Post Comments (0)
To add a comment, you must be a registered customer.
click here to log in


