24/08/2021
| in category:HOW TO SEW A PARKA FROM A DIY SET
HOW TO SEW A PARKA FROM A DIY KIT
We've got it! Kits for children's and women's parkas made of functional softshell are waiting for you in the store! With the following tutorial you will see that sewing this kind of jacket is within your capabilities! So get to work!
YOU NEED:
- Sewing accessories (soap, pins, scissors, ruffle, centimeter, hand sewing needle), zipper sewing foot
- Universal needle for the machine (max 90), universal thread (you may also be tempted to use monofilament thread and seam sealing tapes)
Before proceeding, remember - (it is very important!) DON'T wash the panel before sewing! Washing such a set before sewing can cause that after cutting the individual elements will not fit together, they will be crooked. Therefore, wash only after sewing the kit. NOTE: Softshell is washed in liquids dedicated to materials with membrane.
IT IS VERY IMPORTANT TO HAVE IDENTICAL SEAM ALLOWANCES THROUGHOUT THE PROJECT. PAY SPECIAL ATTENTION TO THIS. WE SEW WITH A RESERVE OF 0.7 CM.
YELLOW POINTS ON THE PATTERN ARE TANGENTS THAT SHOULD CONNECT DURING SEWING.
START TO CUT PARKA ELEMENTS FROM SOFTSHELL:
- 2x front
- 2x back
- Hood - 2x side, 1x middle part, 1x bottom part of the hood (sewing the hood lining)
- 2x sleeve
- 2x wristbands for the sleeve
- 2x front draping
- 2x front stitching element
- 2x back stitching element
- 1x neck stitching element
- 2x pocket patch (back of pocket bag)
- 1x drawstring tunnel

CUT OUT THE PAPER DIE-CUT AND TRANSFER IT TO THE FABRIC:
- 2x the front of the pocket bag
- 2x the back of the pocket bag (the smaller part)
- 2x sides of the hood
- 1x the middle part of the hood


REMEMBER TO TRANSFER THE MARKINGS FROM THE DIE-CUT TO THE FABRIC.
1. POCKETS
Each pocket pouch consists of:
- front (composed entirely of knitted fabric)
- The back ( made up of knitted fabric and a softshell patch)
Join the pieces of the back of the pocket together. Quilt along the top so that the seam allowance is fixed towards the softshell part.


2. HOOD
Join the three parts of the hood lining (knitted) with pins and sew it together.

Prepare the hood sewing element, pin it together with the hood lining and sew the elements together from the softshell side to fit in the lining.


Quilt the seam allowance across the top toward the hood stitching.

Prepare the elements of the top part of the hood.

Pin it and sew the pieces together.

Quilt the seam allowance across the top of the hood.

SET ASIDE THE ELEMENTS OF THE HOOD. DO NOT CONNECT THEM TOGETHER AT THIS STAGE.
3. BACK OF THE PARKA

Spread the seam allowance to the sides and stitch.

4. POCKET BAGS
Using the markings, attach the pocket pieces to the front and back of the parka.


Using the serger, secure the edges of the parka and sew the pocket elements.

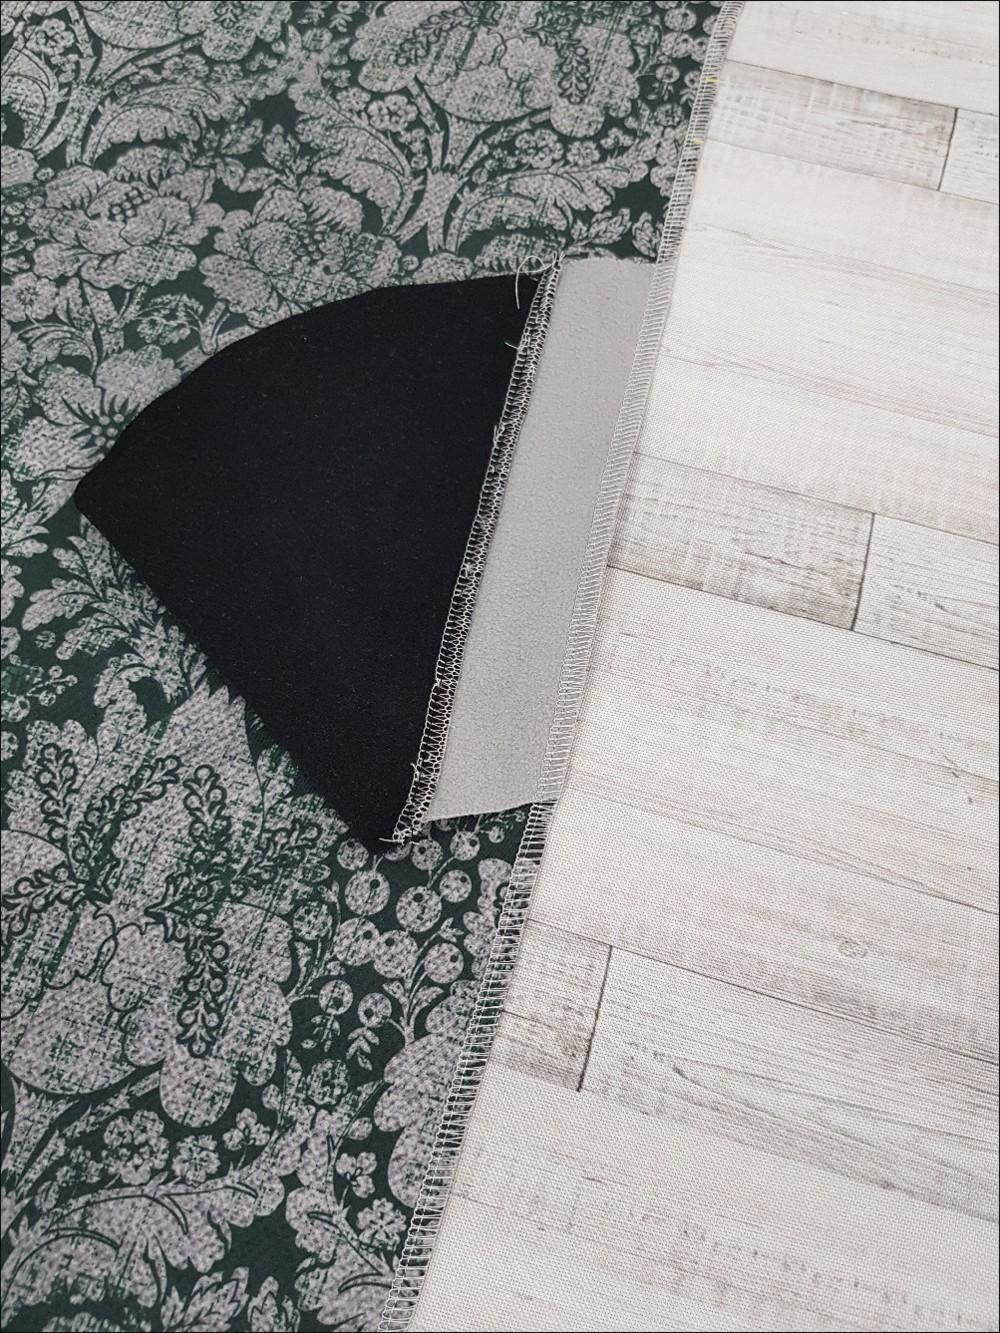
Quilt the pockets on the front of the parka.
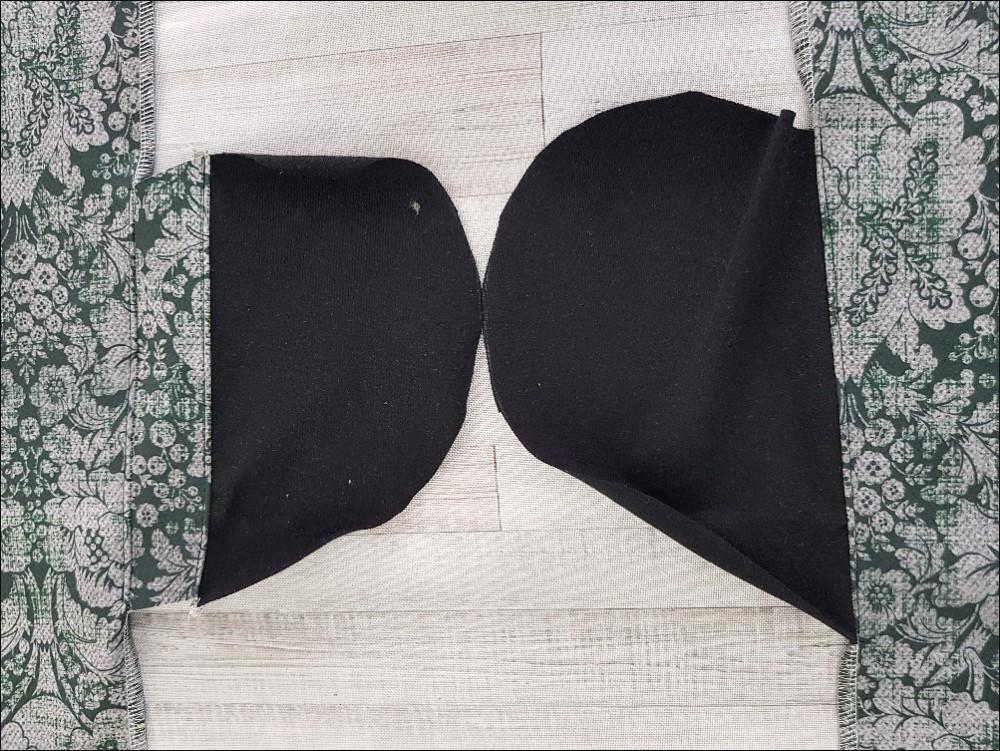
Sew the front and back of the parka together. Sew from the top of the side of the parka, through the turned up pocket bags on the left side, to the bottom.
Secure the sides of the pockets with a serger overlock.

5. SHOULDERS
Secure the softshell sections on the shoulders with a serger and sew them together with a straight stitch. Sew the seam allowances to the sides.
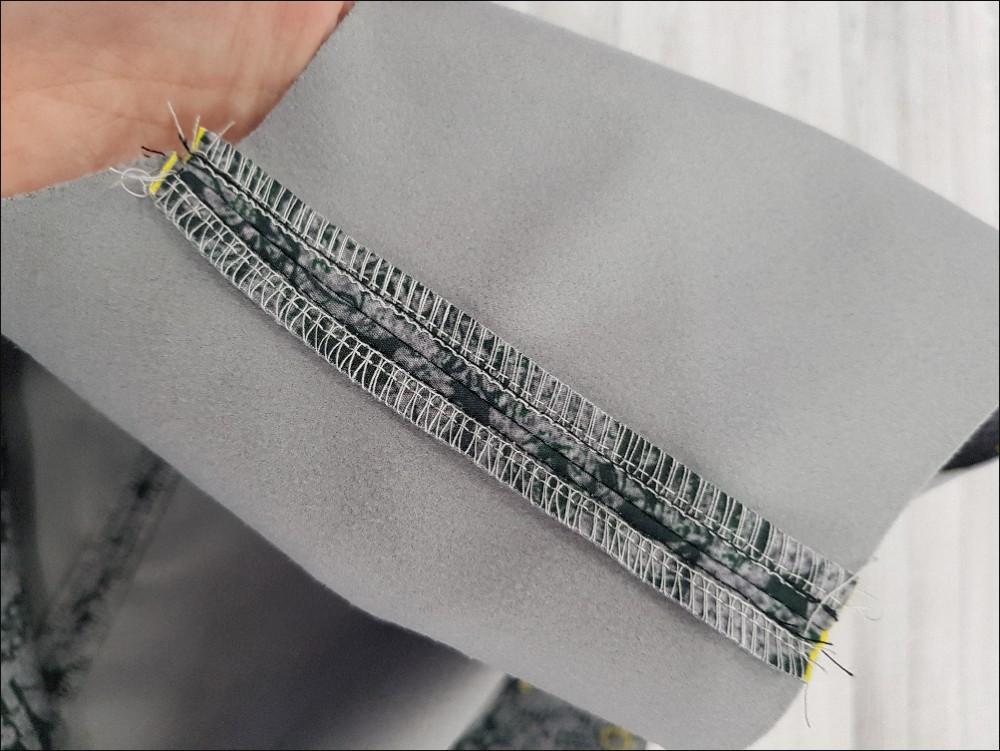

6. SLEEVES
Secure the sides of the sleeves on the serger, fold and stitch.

Turn the sleeve right side out. Insert into the sleeve opening in the parka (right side to right side), as marked. Spread the seam allowances.


Pin the sleeve together with a parka.


7. CUFF
Fold and stitch the cuff on the multifunction machine.

Put the cuff on the sleeve, lay out the seam allowances, sew.

8. CONNECTING THE HOOD TO THE PARKA
Attach the top part of the hood precisely and pin it to the parka. Sew.

Unfold the resulting seam allowance, spread it both directions and sew.


9. EYELETS
The set includes two eyelets. However, you can buy additional eyelets and nab them in the hood and/or make a tunnel in the bottom of the parka. We will show you how you can do this at the sewing stage. This is OPTIONAL.
Determine the places where you want the eyelet on the hood, trace a circle using the inner circumference of the eyelet, cut a hole in the fabric and punch the eyelet.

Using the markings on the parka, nab the eyelets for the waist tunnel.

10. FRONT STITCHING AND DRAPING
Prepare all the stitchings and drapings, pin them together and sew them with a straight stitch. Secure the outer edge of the sewing on the serger. Remember to spread the seams allowances.


Attach the top of the stitched sections to the lining of the hood. Pin and sew together.

11. ZIPPER
Unzip the zipper into two parts. Adjust the length of the zipper to fit the parka. Turn the excess ribbon inside out. Attach the zipper to the parka with pins.


Using a zipper sewing foot, sew on both pieces of the zipper.

12. DRAPING THE PARKA
Prepared ready inner part of the parka, pin it with pins or buckles to the top.


Sew.

Cut the seam allowances at the corners at an angle. Carefully turn out the corners.

Fasten the zipper and check if it is even. If it isn't, unstitch the zipper stitching, pin it together evenly and sew again.

13. DRAWSTRING AT THE BOTTOM OF THE PARKA - OPTIONAL.
If you want to have an additional drawstring at the bottom of the parka it is time to punch the eyelets with which the string will come out.
Determine the places where you want the eyelet, trace a circle using the inner circumference of the eyelet, cut a hole in the fabric and punch the eyelet.

Sew the cord by hand to the seam allowance at the bottom of the zipper. Guide it through to the bottom of the parka, under the stitching, so that you can take it out through the eyelet.


Sew the sewing to the parka, so as to create the cord tunnel.

14. WAIST TUNNEL
Secure the edges of the tunnel using serger.

Using the markings on the parka (on the seam allowances turned inward), pin the tunnel to the inside of the parka. Adjust its length.

Sew a tunnel to the parka.

15. QUILTING
Carefully pull out the corners, align all the seams and stitch the jacket around (the edge and possible tunnel of the hood, the edge of the zipper sewing, the slit of the back of the parka and the bottom of the parka).


Ready!
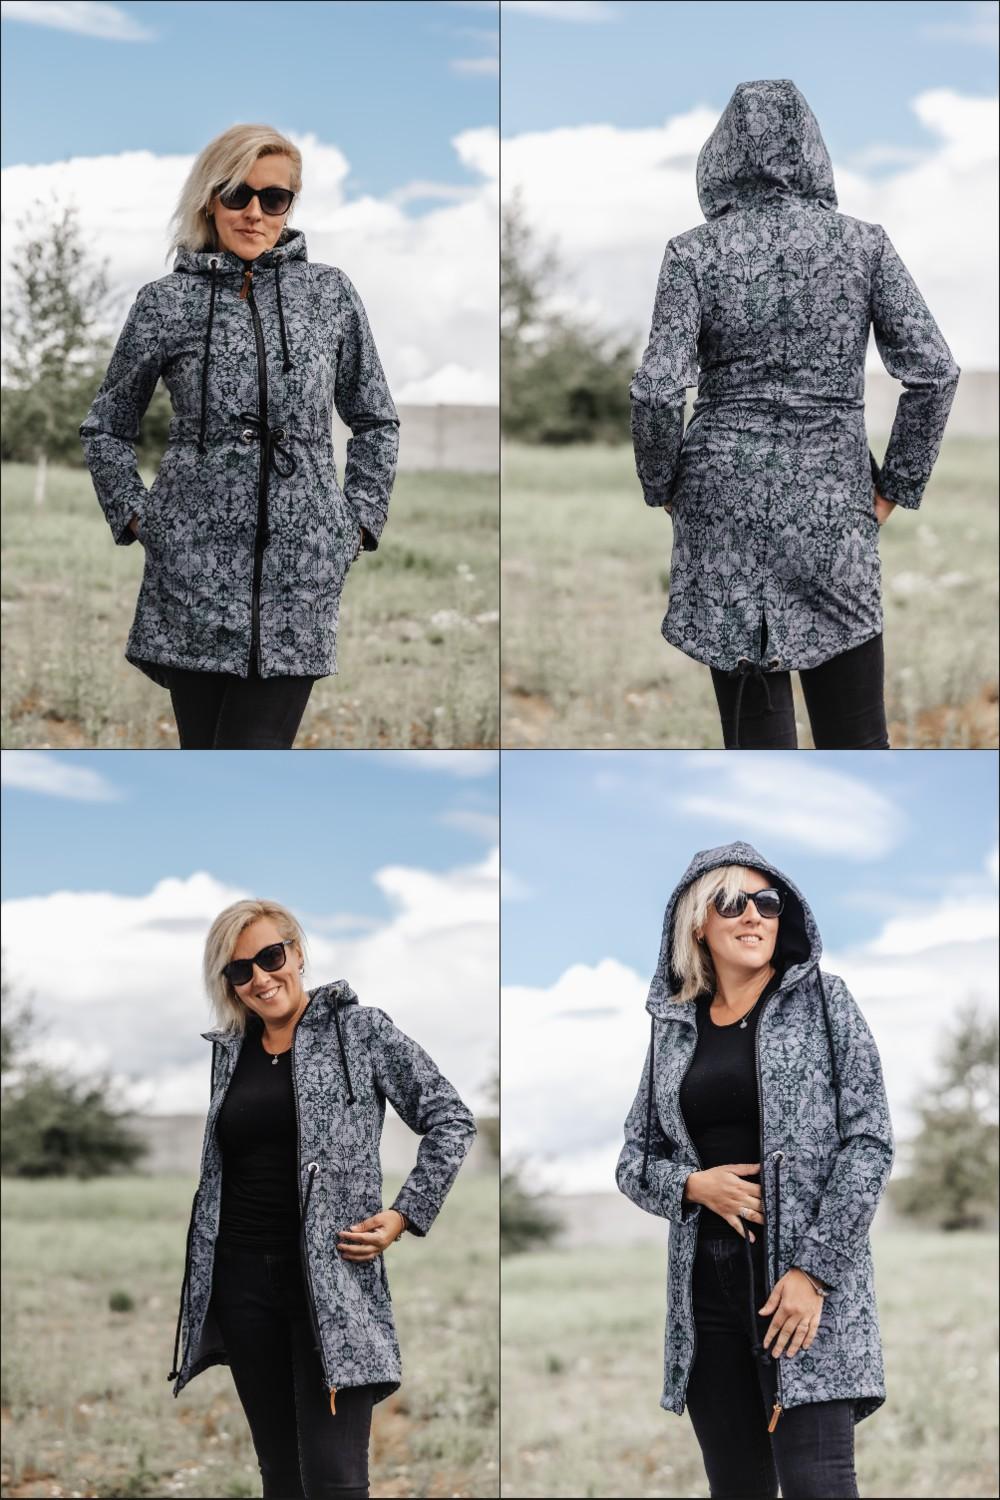
Thanks for sewing together!
Iwona Bartczak
Małgorzata Michalewska
Post Comments (0)
To add a comment, you must be a registered customer.
click here to log in


