14/12/2021
| in category:Spodnie z softshellu YETI
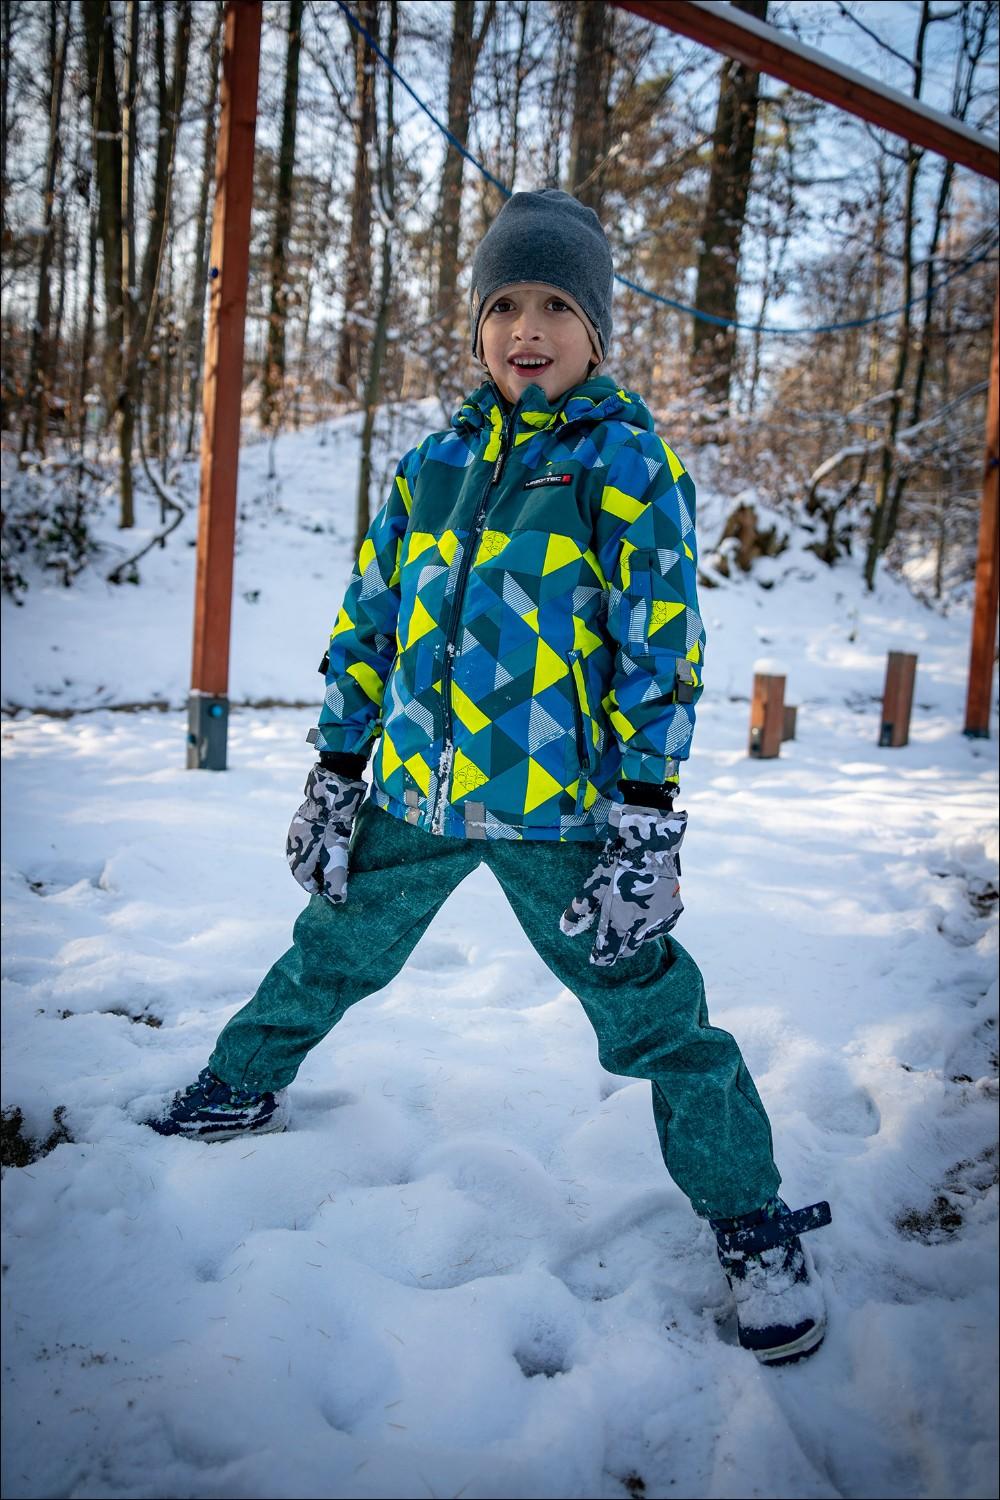
Would you like to sew your child a pair of pants perfect for playing in the snow, great for a trip to the woods, one that is not afraid of rain and mud? With our set you will do it in a moment! Meet the new design by Beata Napiontek for comfortable softshell pants! The pants have a universal fashion, so they will be great for both boys and girls!
The set includes:
- a panel on which all the elements of the pants are printed
- an elastic band for the waist and legs
Prepare:
- multifunction machine
- a serger (but it is not essential, using it is largely dictated only by aesthetics. You can calmly use an overlock stitch or zigzag stitch on your multifunction machine),
- pins or clothespins
- scissors
At the end of the blog you will also find our suggestion to modify the pants with an adjustable elastic in the leg and a drawstring at the waist - before sewing, take a look there to see if you want to use these additions in your design.
Before proceeding, remember this is very important - DO NOT wash the panel before sewing. Washing such a set before sewing can cause that after cutting the individual elements will not fit together, they will be crooked. Therefore, wash only after sewing the set.

1. Cut out the parts of the pants:
- 2x front of the leg
- 2x the back of the leg
- 2x waistband

2. Sew the front and back of the leg together (both legs).

3. Unfold the leg and quilt the seam allowance to the back of the leg.

4. Put the sewn legs on top of each other, right side to right side, and sew the crotch on both sides.


5. Quilt the seam allowance in the crotch.

6. Put the waistband pieces right side to right side, sew the shorter sides together, REMEMBER, leave a gap in the seam on one side to pull in the elastic.

7. Sew the inner part of the legs. Do it with a single seam, start at the bottom of one leg, finish at the bottom of the next leg. Unfold the crotch and sew in a straight line.

8. Hem the bottom of the legs using a serger.

9. Fold the belt in half and sew it into the waistband of the pants. Remember to make sure that the left seam opening is on the inner side of the pants.

10. Wrap the legs about 2.5cm inward. Sew the leg all the way around, creating a tunnel. Remember to leave an opening for pulling in the elastic. Pull in the elastic and sew the opening.


12. Quilt the belt with an elastic stretched. This will keep the elastic in place and give the pants an original look.

Done!
MODIFICATIONS
- round rubber band for stoppers
- 2x two-hole stoppers
- string (for example, 5mm round). The amount of string is about the waist circumference +50cm.

2. Sew the side of the leg, remember to leave a space for the elastic to be pulled in. Sew on the multifunctional machine.

3. Unfold the seam allowance sideways and quilt it.

4. When stitching the belt components together, leave room for the elastic and then the cord to be pulled in. Sew the belt elements together on the multifunction machine.

5. Unfold the seam allowance to the sides and quilt it. Do the quilting on one side only.

6. Fold the belt and fasten it to the trousers. NOTE: The connection between the belt and the cord hole is to be in the middle of the front of the pants.


7. Quilt the elastic and draw in the string.

8. Tuck the legs to create a tunnel and pull the round elastic through the opening. Put a stopper on it, tie/stitch and you're done!

Thanks for sewing with us!
Iwona Bartczak
Małgorzata Michalewska


Post Comments (0)
To add a comment, you must be a registered customer.
click here to log in


