15/03/2021
| in category:Sweatshirt BASIC
Do you want to sew a sweatshirt quickly and easily? No need to look for a pattern and perfectly matched materials? Do you want to get rid of scraps of fabric lying in the corner? Then our DIY kits are just right for you! They were designed in Poland, with special attention to detail, in line with the #lesswaste idea. When you buy a set, you get a product in which the entire design and pattern have been applied directly to the fabric and have already included seam inventories. Just cut and sew, the crème de la crème of the whole process!
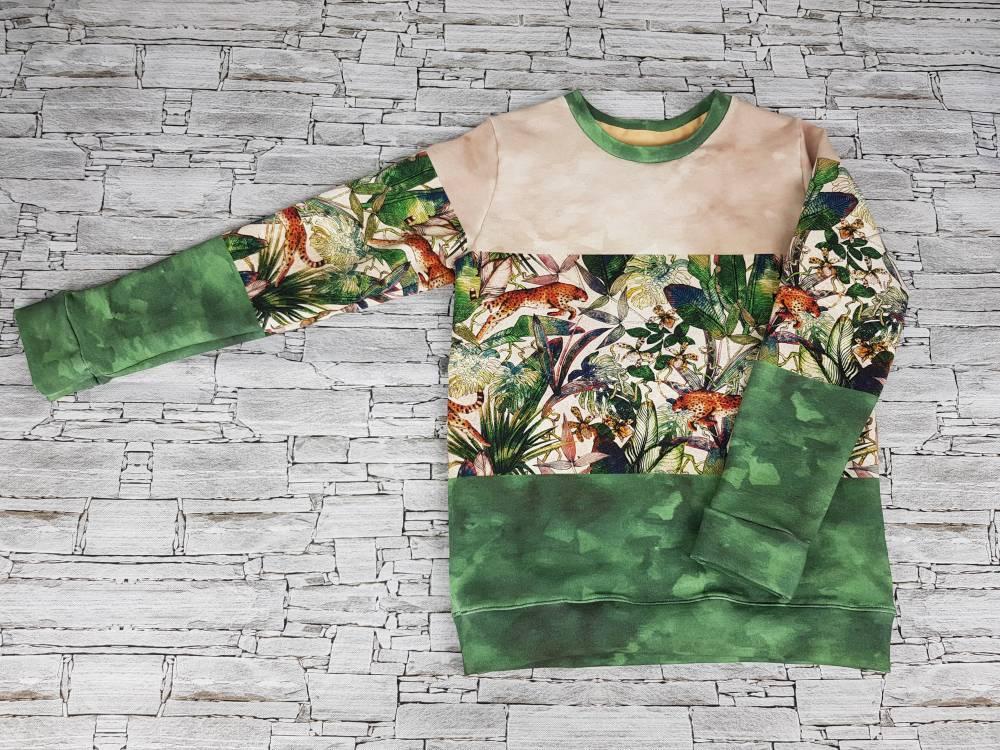
DIY kits for BASIC sweatshirts include a classic cut, with a semi-circular neckline, finished with a cuff made of the sweatshirt's base material. Such sweatshirts are an absolutely simple and minimalistic wardrobe basis.
The set is printed on high-quality knit fabric with a loop finish (95% organic cotton and 5% elastane). We use only the latest generation of certified BIO inks for printing. So you can sew it for yourself and your favorite person with a clear conscience.
In the set you will find:
- a panel with all the elements of the sweatshirt printed on it
Used materials and accessories with a direct link to the store can be found at the end of the article.
To sew a sweatshirt, you will need:
- multifunctional machine
- serger machine (but it is not necessary, using it is largely dictated by aesthetics only. You can easily use an coverstitch mashine or zigzag stitch in your multifunction machine),
- pins or clips
- scissors
- iron
- a piece of trimming and a label (optional)
Before starting work, remember - the panel MUST NOT BE WASHED before sewing, and it is very important. Washing such set before sewing may result in the individual elements becoming crooked when cut out. That is why we wash only after the set is sewn.
Also remember that when you iron the elements, always do it on the left side or through a different material.
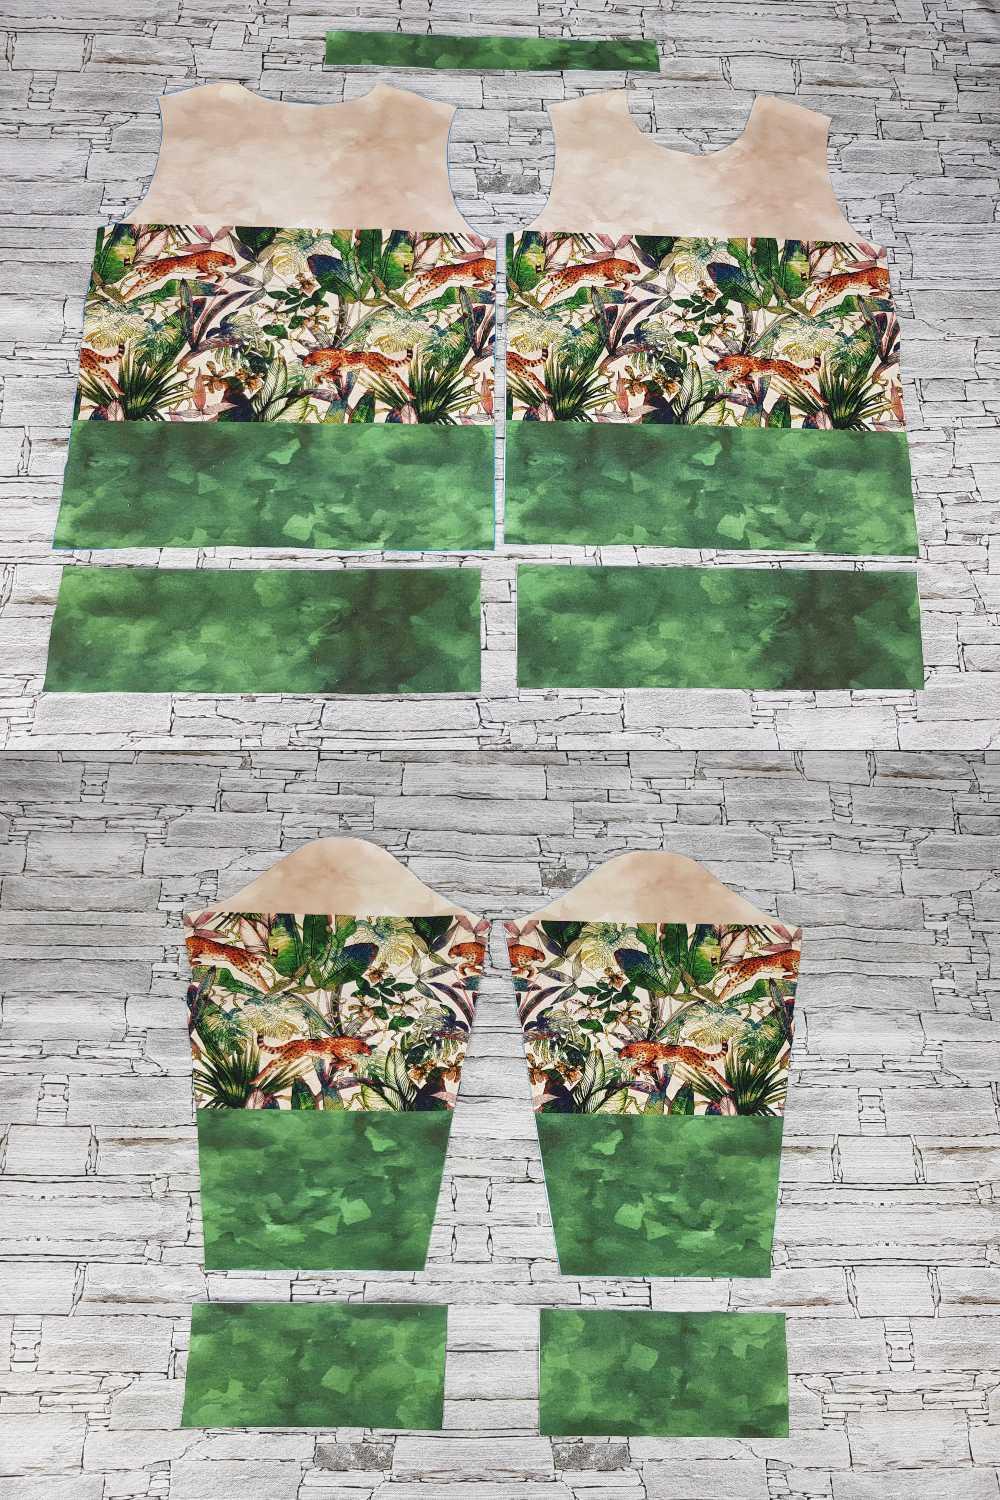
1. Cut out the sweatshirt elements:
- 1x front of the sweatshirt
- 1x back of the sweatshirt
- 2x sleeve cuff
- 2x sweatshirt belt
- 1x neckline pleat
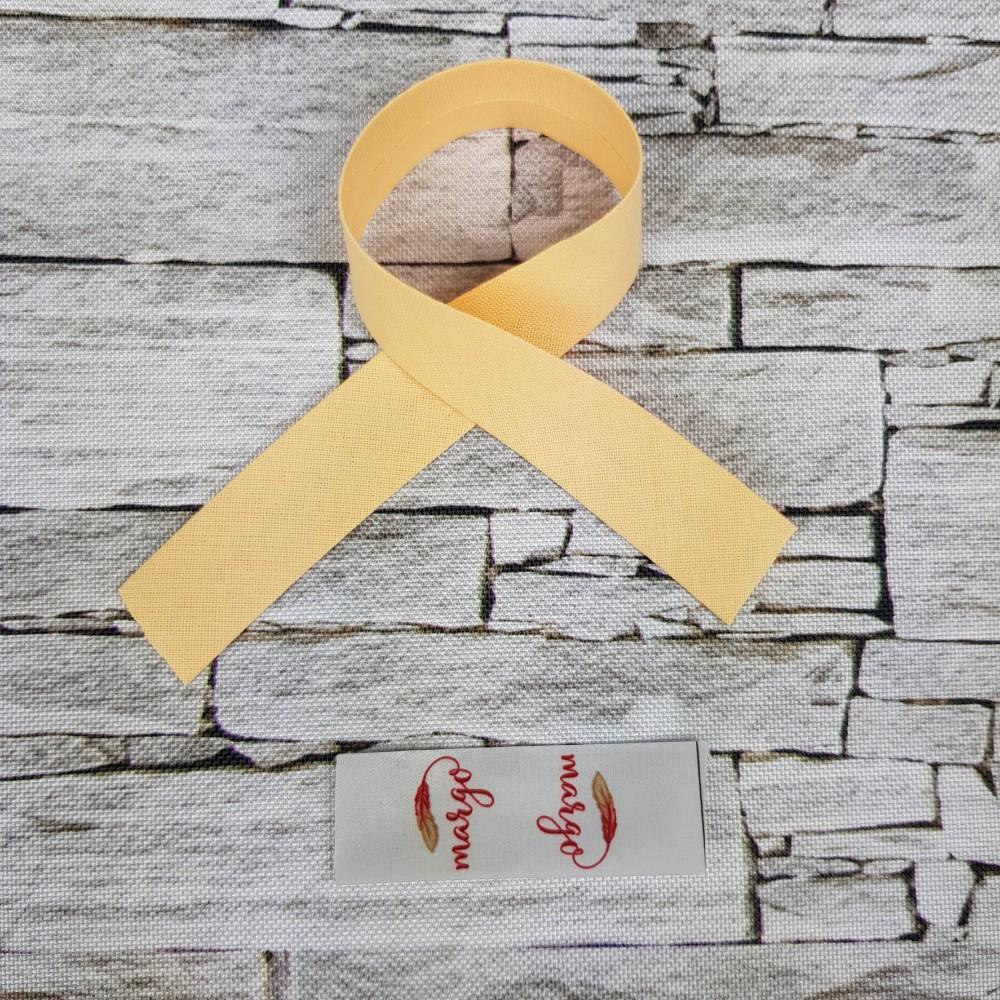
If you want to hide the neckline seam and sew a size tag or logo, prepare them as well. I used a piece of cotton trim.
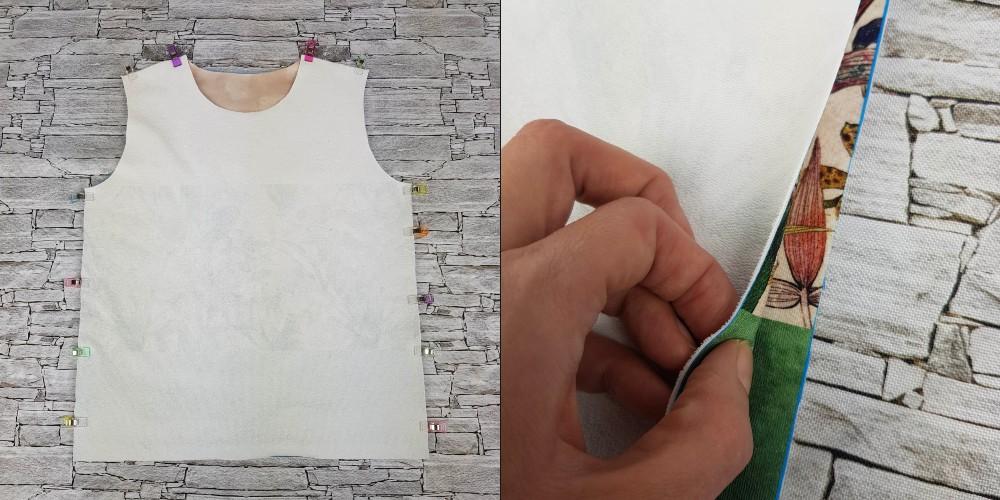
2. Fasten the front and back of the sweatshirt with pins or clasps. If you have decided on a striped sweatshirt, check if the lines of the stripes touch each other. Sew the elements together (shoulder seam and two side seams).
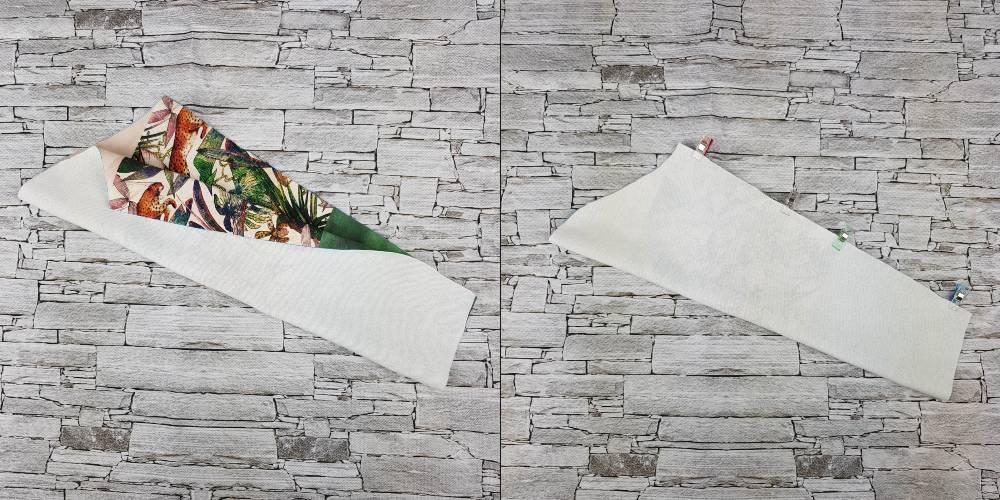
3. Fold the sleeve, fasten it, check if the stripes touch evenly, sew it. Do the same with the other sleeve.
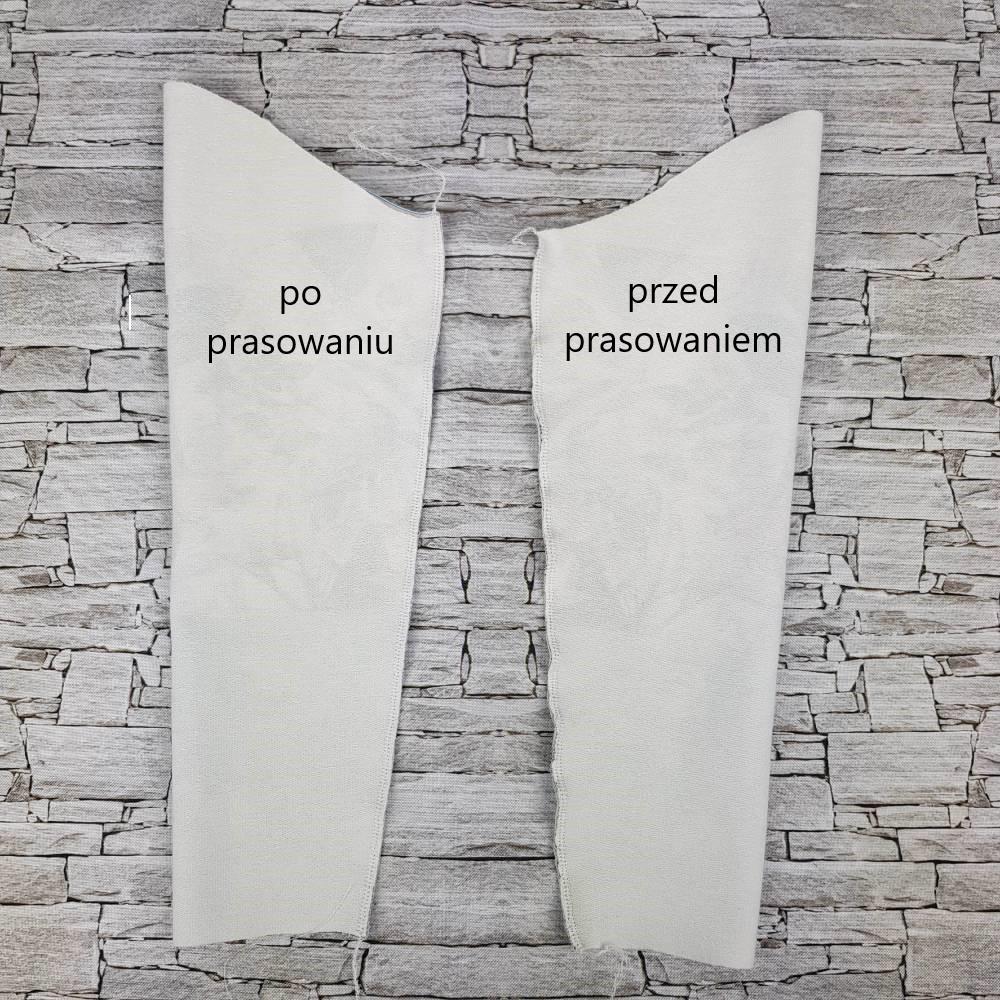
4. Iron the seams with steam. See how much difference it makes.
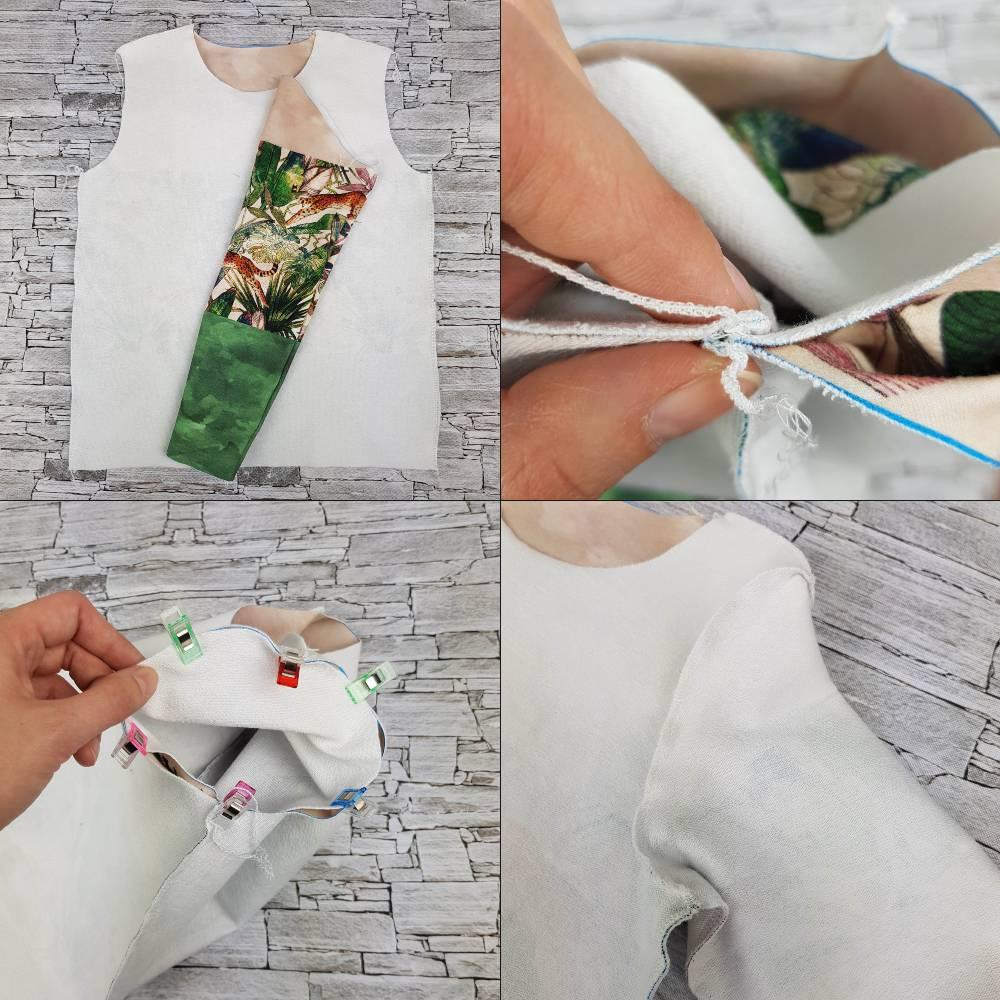
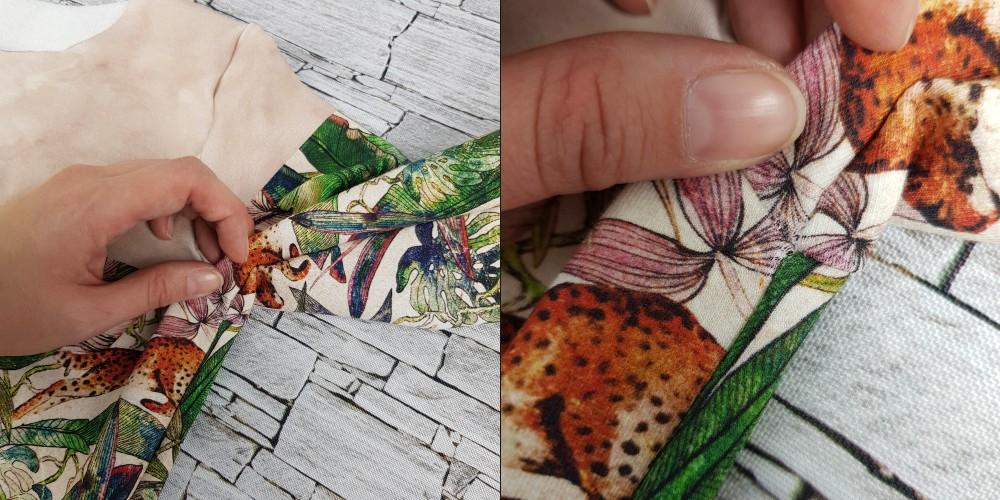
5. Turn the sleeve over to the right side. Bring the armhole to the armhole (right to right). Remember that in the place where the seams meet, you have to spread the spare fabric to the sides (in opposite directions). This is exactly what is shown here. Fasten the elements with clasps or pins and sew. Iron the seam.
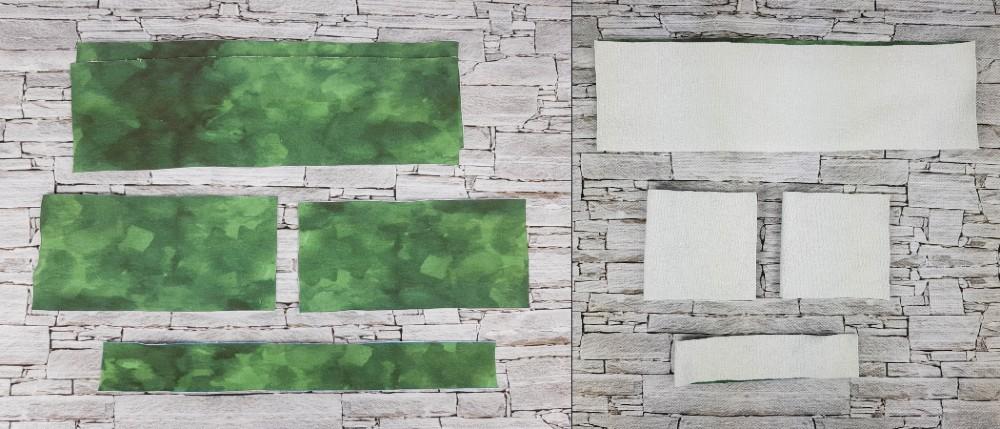
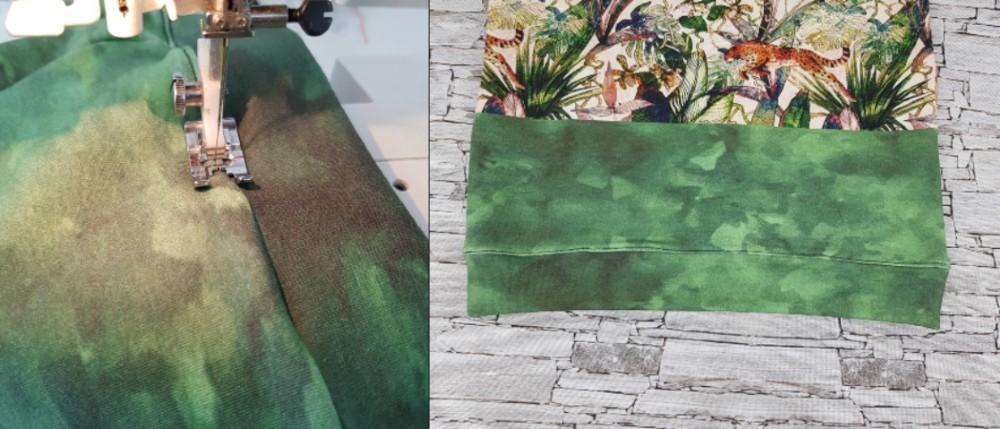
6. Fold the elements of the belt together and sew the short sides (I recommend a straight stitch on the multifunction machine).
Fold the cuffs in half and sew them together.
Fold the neckline pleat and sew the shorter side.
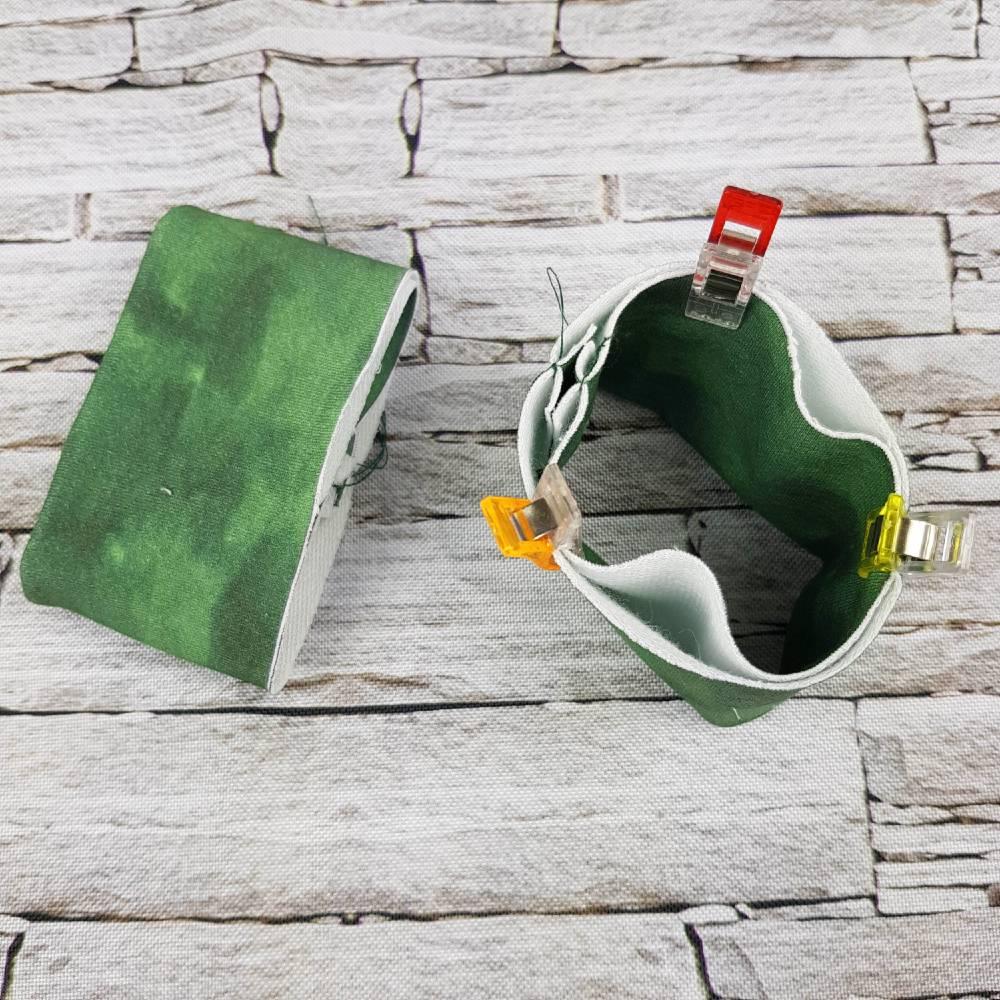
7. Fold the left of cuffs to side and distribute the seam allowance evenly.
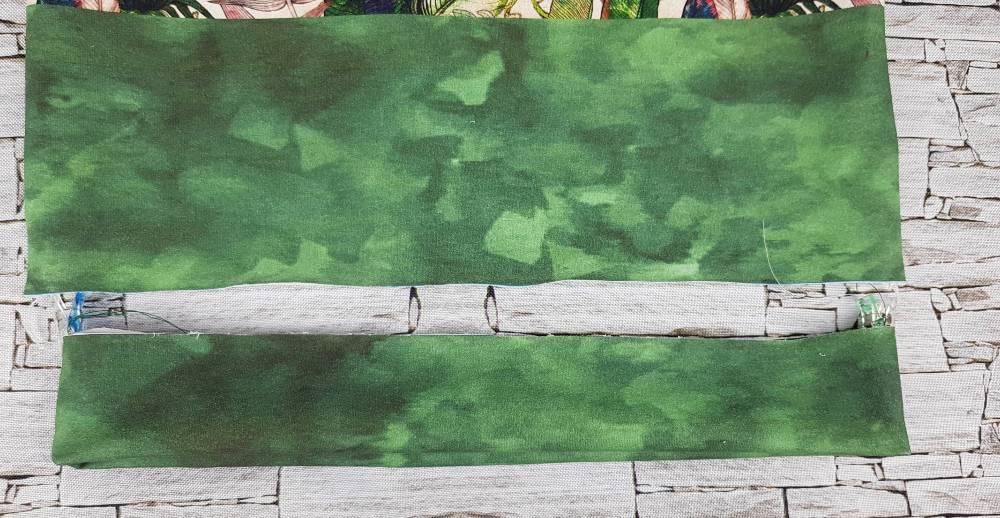
8. Fold the sweatshirt belt in half (same as the cuff). Distribute the seam allowance evenly.
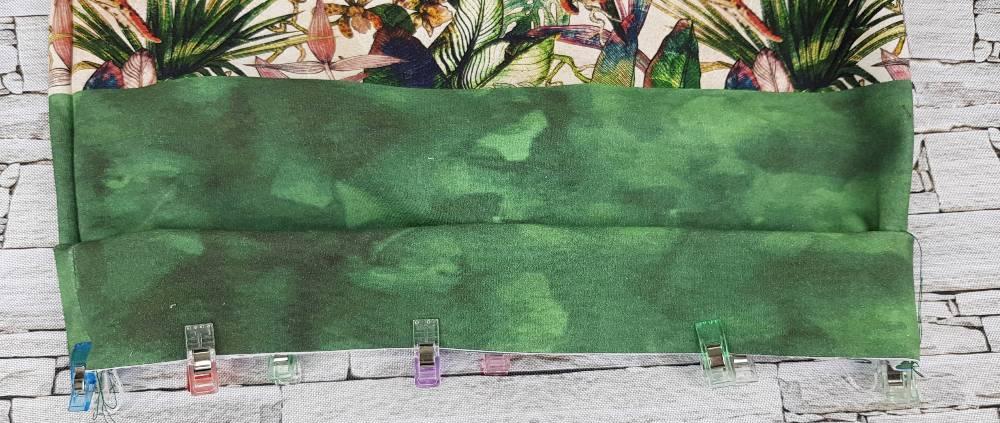
9. Bring the belt and sweatshirt together. The belt is shorter. Start with the side seam, gently stretch the belt until the next side seam. Do it evenly, don't spare on the pins ;)
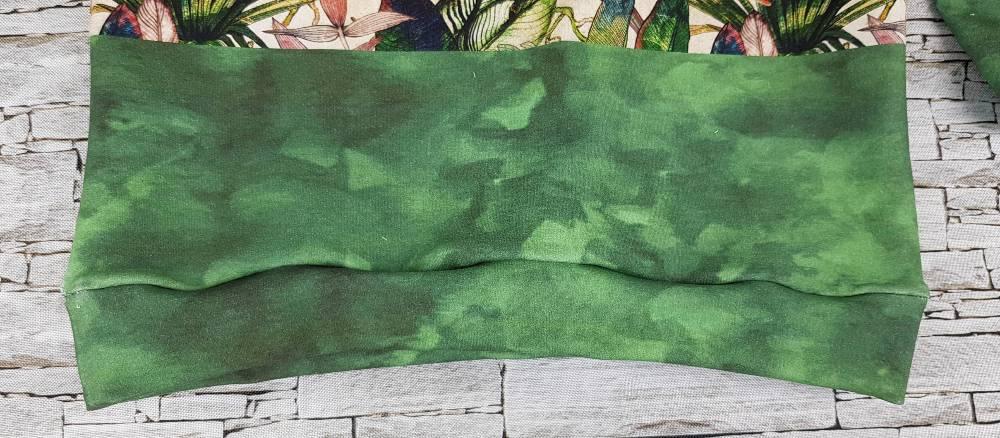
10. Turn the sweatshirt inside out. The seam is undulating, but take it easy, everything will even out after ironing.
11. Sew the spare seam to the sweatshirt by sewing on the top. Iron it out.
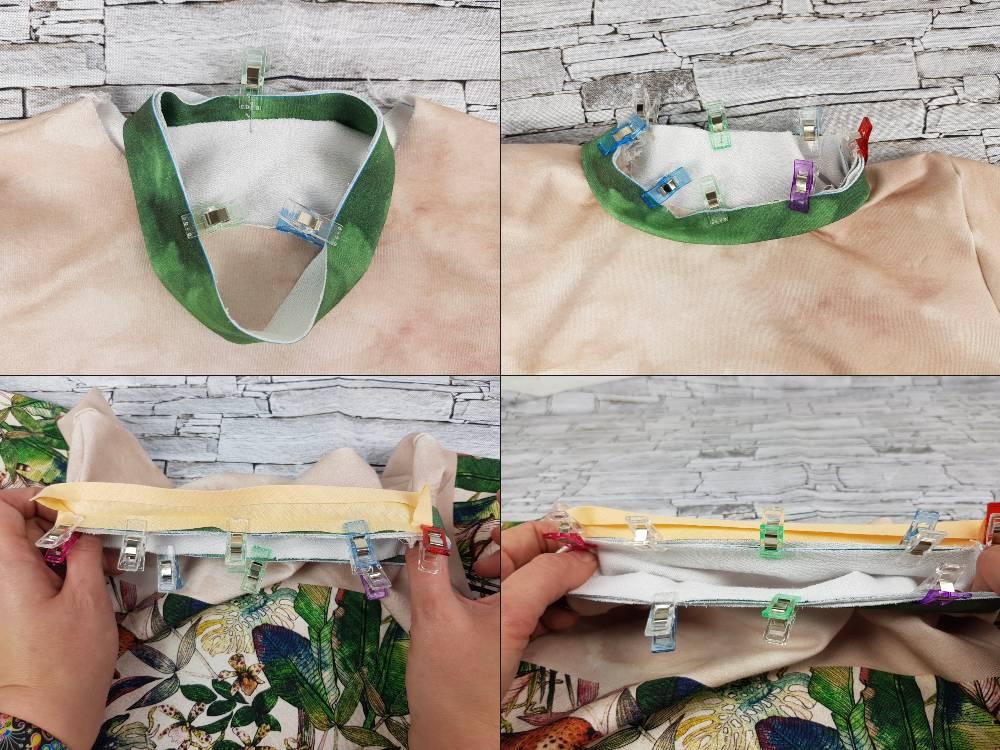
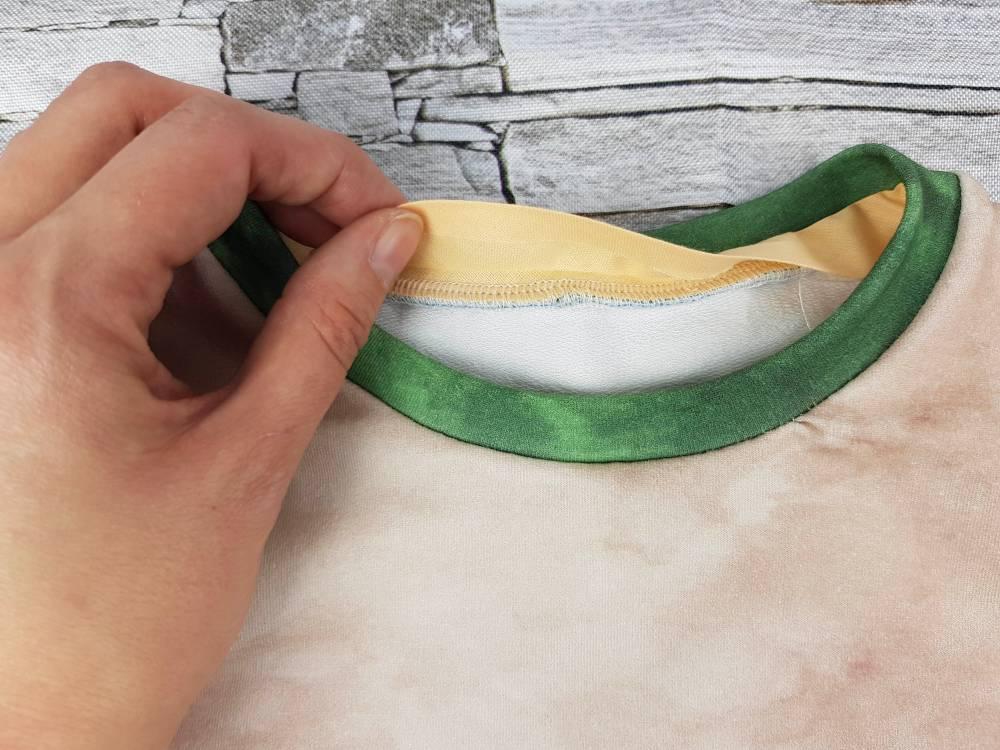
12. When sewing in the neckline pleat, I recommend sewing in some trim, under which the seam will be hidden. Start by marking the center of the neckline on the back of the sweatshirt. Attach the center of the neckline pleat here. Then pin it to the rest of the neckline, keeping the placket evenly tight. Fold one edge of the trim inward and, starting from the shoulder seam, attach it to the stretched pleat (this is important if you have chosen a cotton trim that is not elastic). Finish at the second shoulder seam (fold the edge of the trim inward).
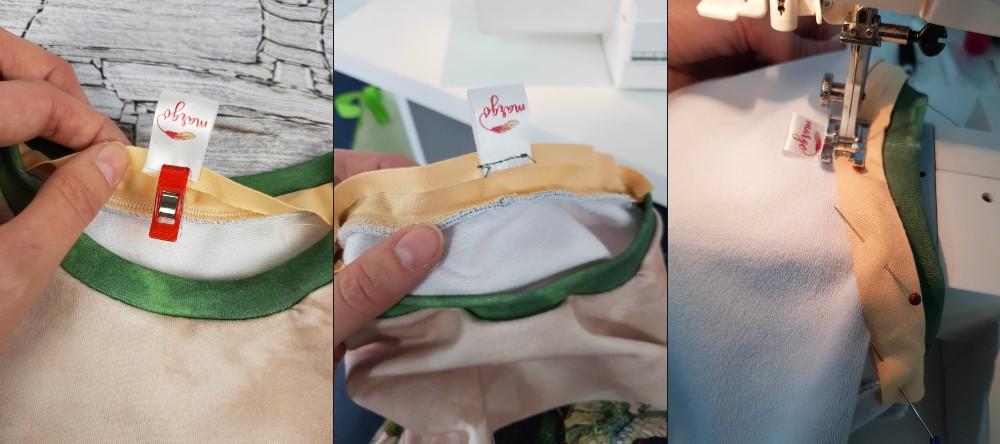
13. Attach the tag to the center of the masking pleat, sew it on. Attach the bottom of the placket with pins to the sweatshirt and sew it on. Sew it slowly with precision.
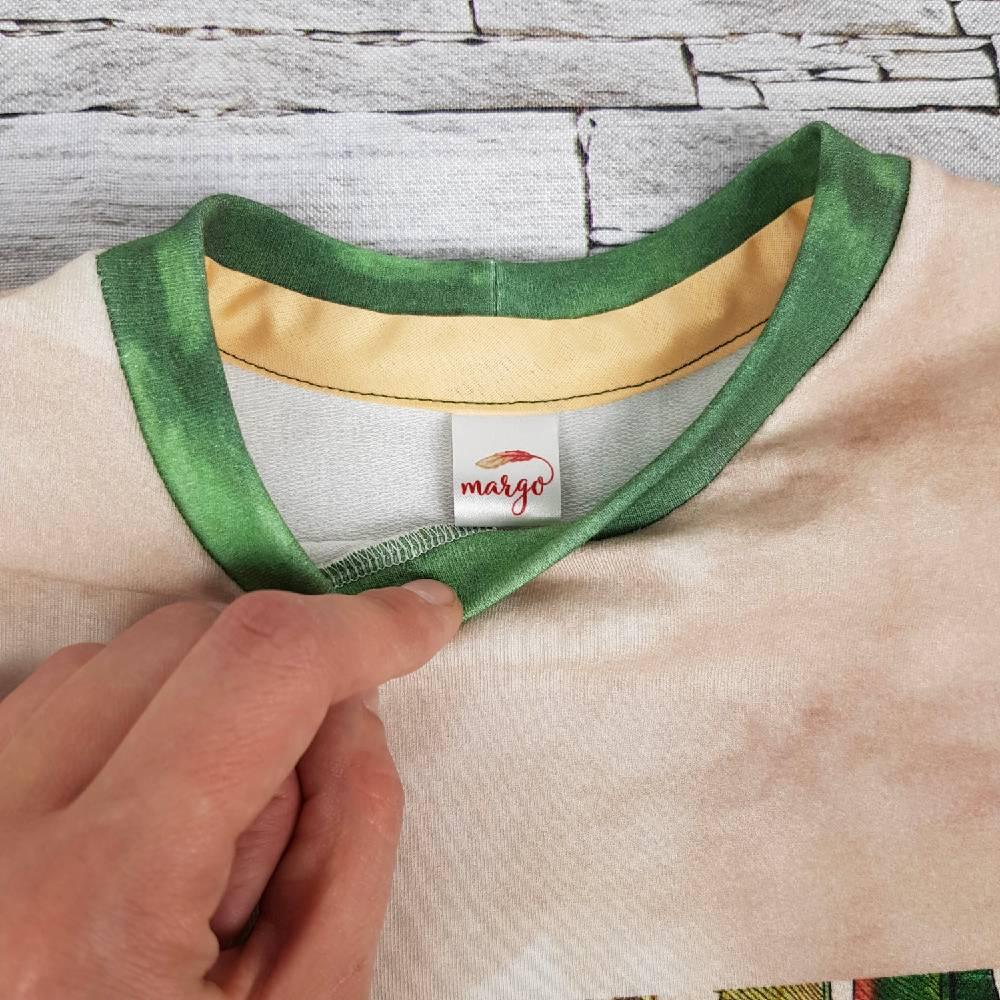
14. Iron the seams and ... ready!
With regards,
Małgorzata Michalewska
Post Comments (0)
To add a comment, you must be a registered customer.
click here to log in


