24/05/2023
| in category:Shorts
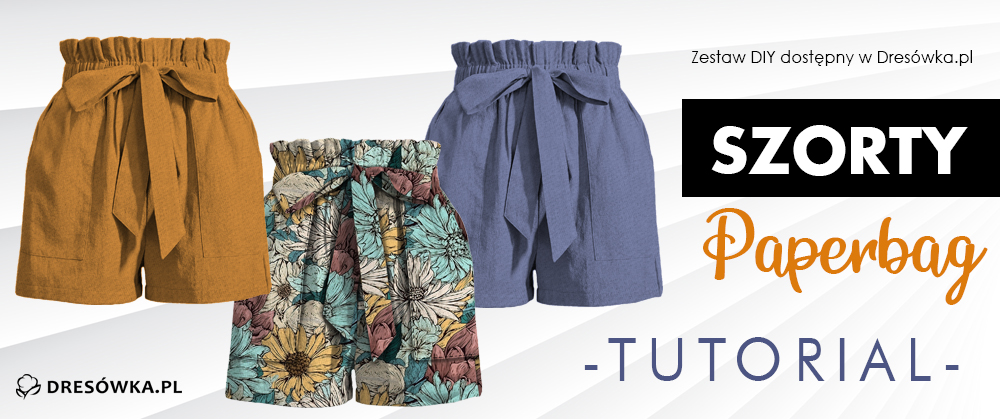
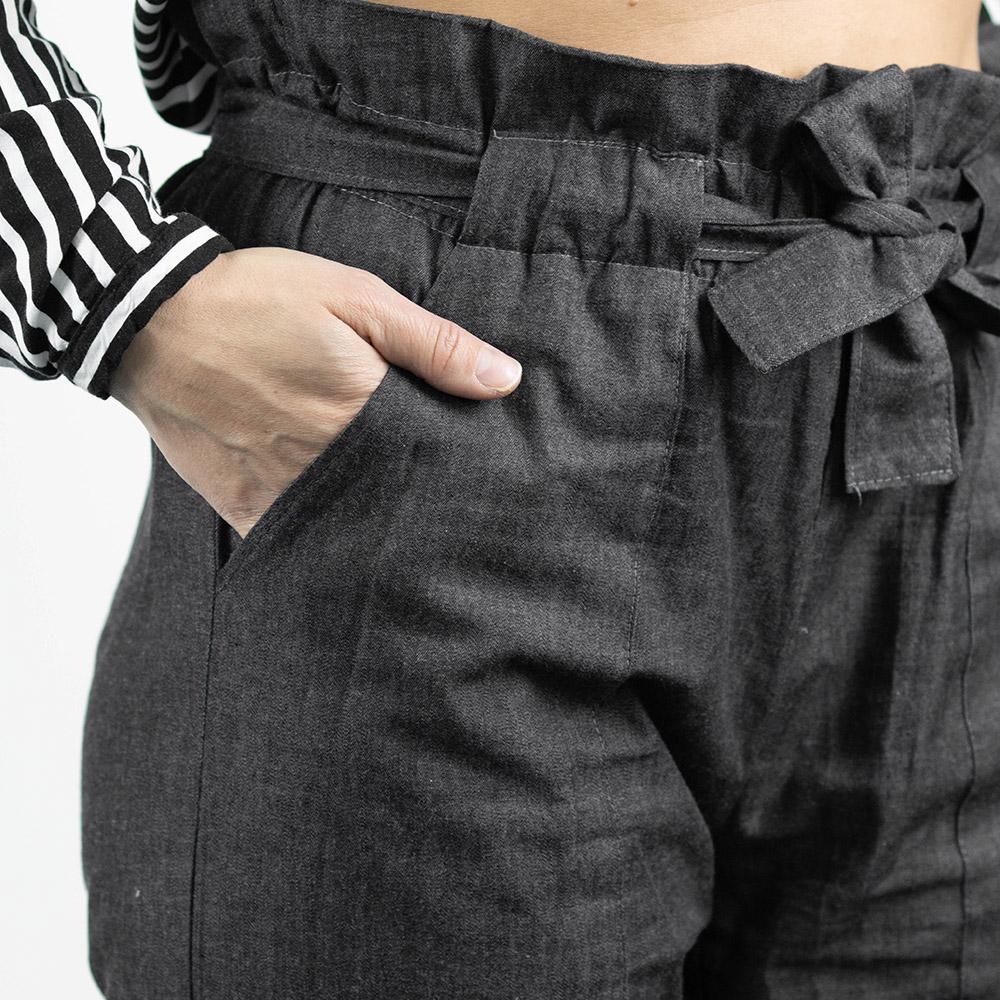
The paperbag shorts have a distinctive high waist, which is accentuated by the tied belt. Details such as elegant topstitching, stylish pockets and a matching belt give these shorts a unique, modern feel. Designed with the latest trends in mind, the shorts are not only a fashionable accessory but also a comfortable and practical option for warm days. Made from high-quality materials, our shorts guarantee all-day comfort, allowing your skin to breathe, even in hot weather. Thanks to their loose fit, with an elastic waistband that allows you to adjust them to the right width, they offer freedom of movement while still maintaining their stylish shape.
Welcome to our tutorial:
Cut out the paper pattern and apply it to the fabric so that all the elements are traced, remember to thread straight and to line up the elements in one direction. Cut out the traced template.

1. POCKET / TASCHE / POCKET
OPTIONAL: you can use interlining to reinforce the pockets, making it easier to sew them onto your trousers. Cut out the pocket parts from the interlining, attach them to the cut-out fabric pockets and iron (glue) them on with a hot iron. Iron the pockets on three sides to a width of approx. 1 cm. Leave the longest side of the pocket, which you will sew together with the edge of the shorts, unpressed. Iron the longest side of the pocket together with the edge of the shorts. Place the prepared pocket on the front of the shorts 5 cm from the top. Sew the top edge. Sew around the rest of the pocket, starting 4 cm from the top edge of the pocket, skip the inlet and the side (the one you will sew to the leg of the shorts) and finish 4 cm from the top edge, the skipped stitching elements will form loops through which you will pull the belt. Repeat on the other side for the other pocket.

2. Sew the shorts together at the crotch and sides, edging the seams with an overlock.

3. Use the shorter strip to cover the waistband of the shorts, sew it on, unpick the seam and overlock one side. Pin the right side of the belt to the upper edge of the shorts (not the hemmed side) and sew the seam to the side of the shorts, unpicking the seam.

4. Fold the hem inwards and make the first topstitch, which will form a flounce at the top of the shorts, start 5cm from the top and sew all the way around. Make the second topstitch around the top of the shorts, also 4 cm from the first one, running along the pockets. Leave a hole in it to pull the elastic through.

5. Sew a loop. With a small rectangle of fabric pressed 1cm on each side, you can also hem it on each side. Sew it onto the back of the shorts in the middle after the stitching you made earlier.

6. Fit the elastic to the tunnel and to the circumference of the waistband, pull it into the shorts, finish the stitching you left unfinished to pull the elastic in.

7. Secure the bottom edges of the shorts with an overlock and fold over approximately 4 cm.

8. Fold the longer strip in half right side out and sew, leaving a hole for the turn out. Turn the belt right side out, iron and sew around the opening. Pull the belt into the loops.

Ready
Post Comments (0)
To add a comment, you must be a registered customer.
click here to log in


